
Step-by-Step instructions for making an Easter Egg garland with plastic Easter Eggs.
An easy to do project for kids, Making an Easter Egg garland.
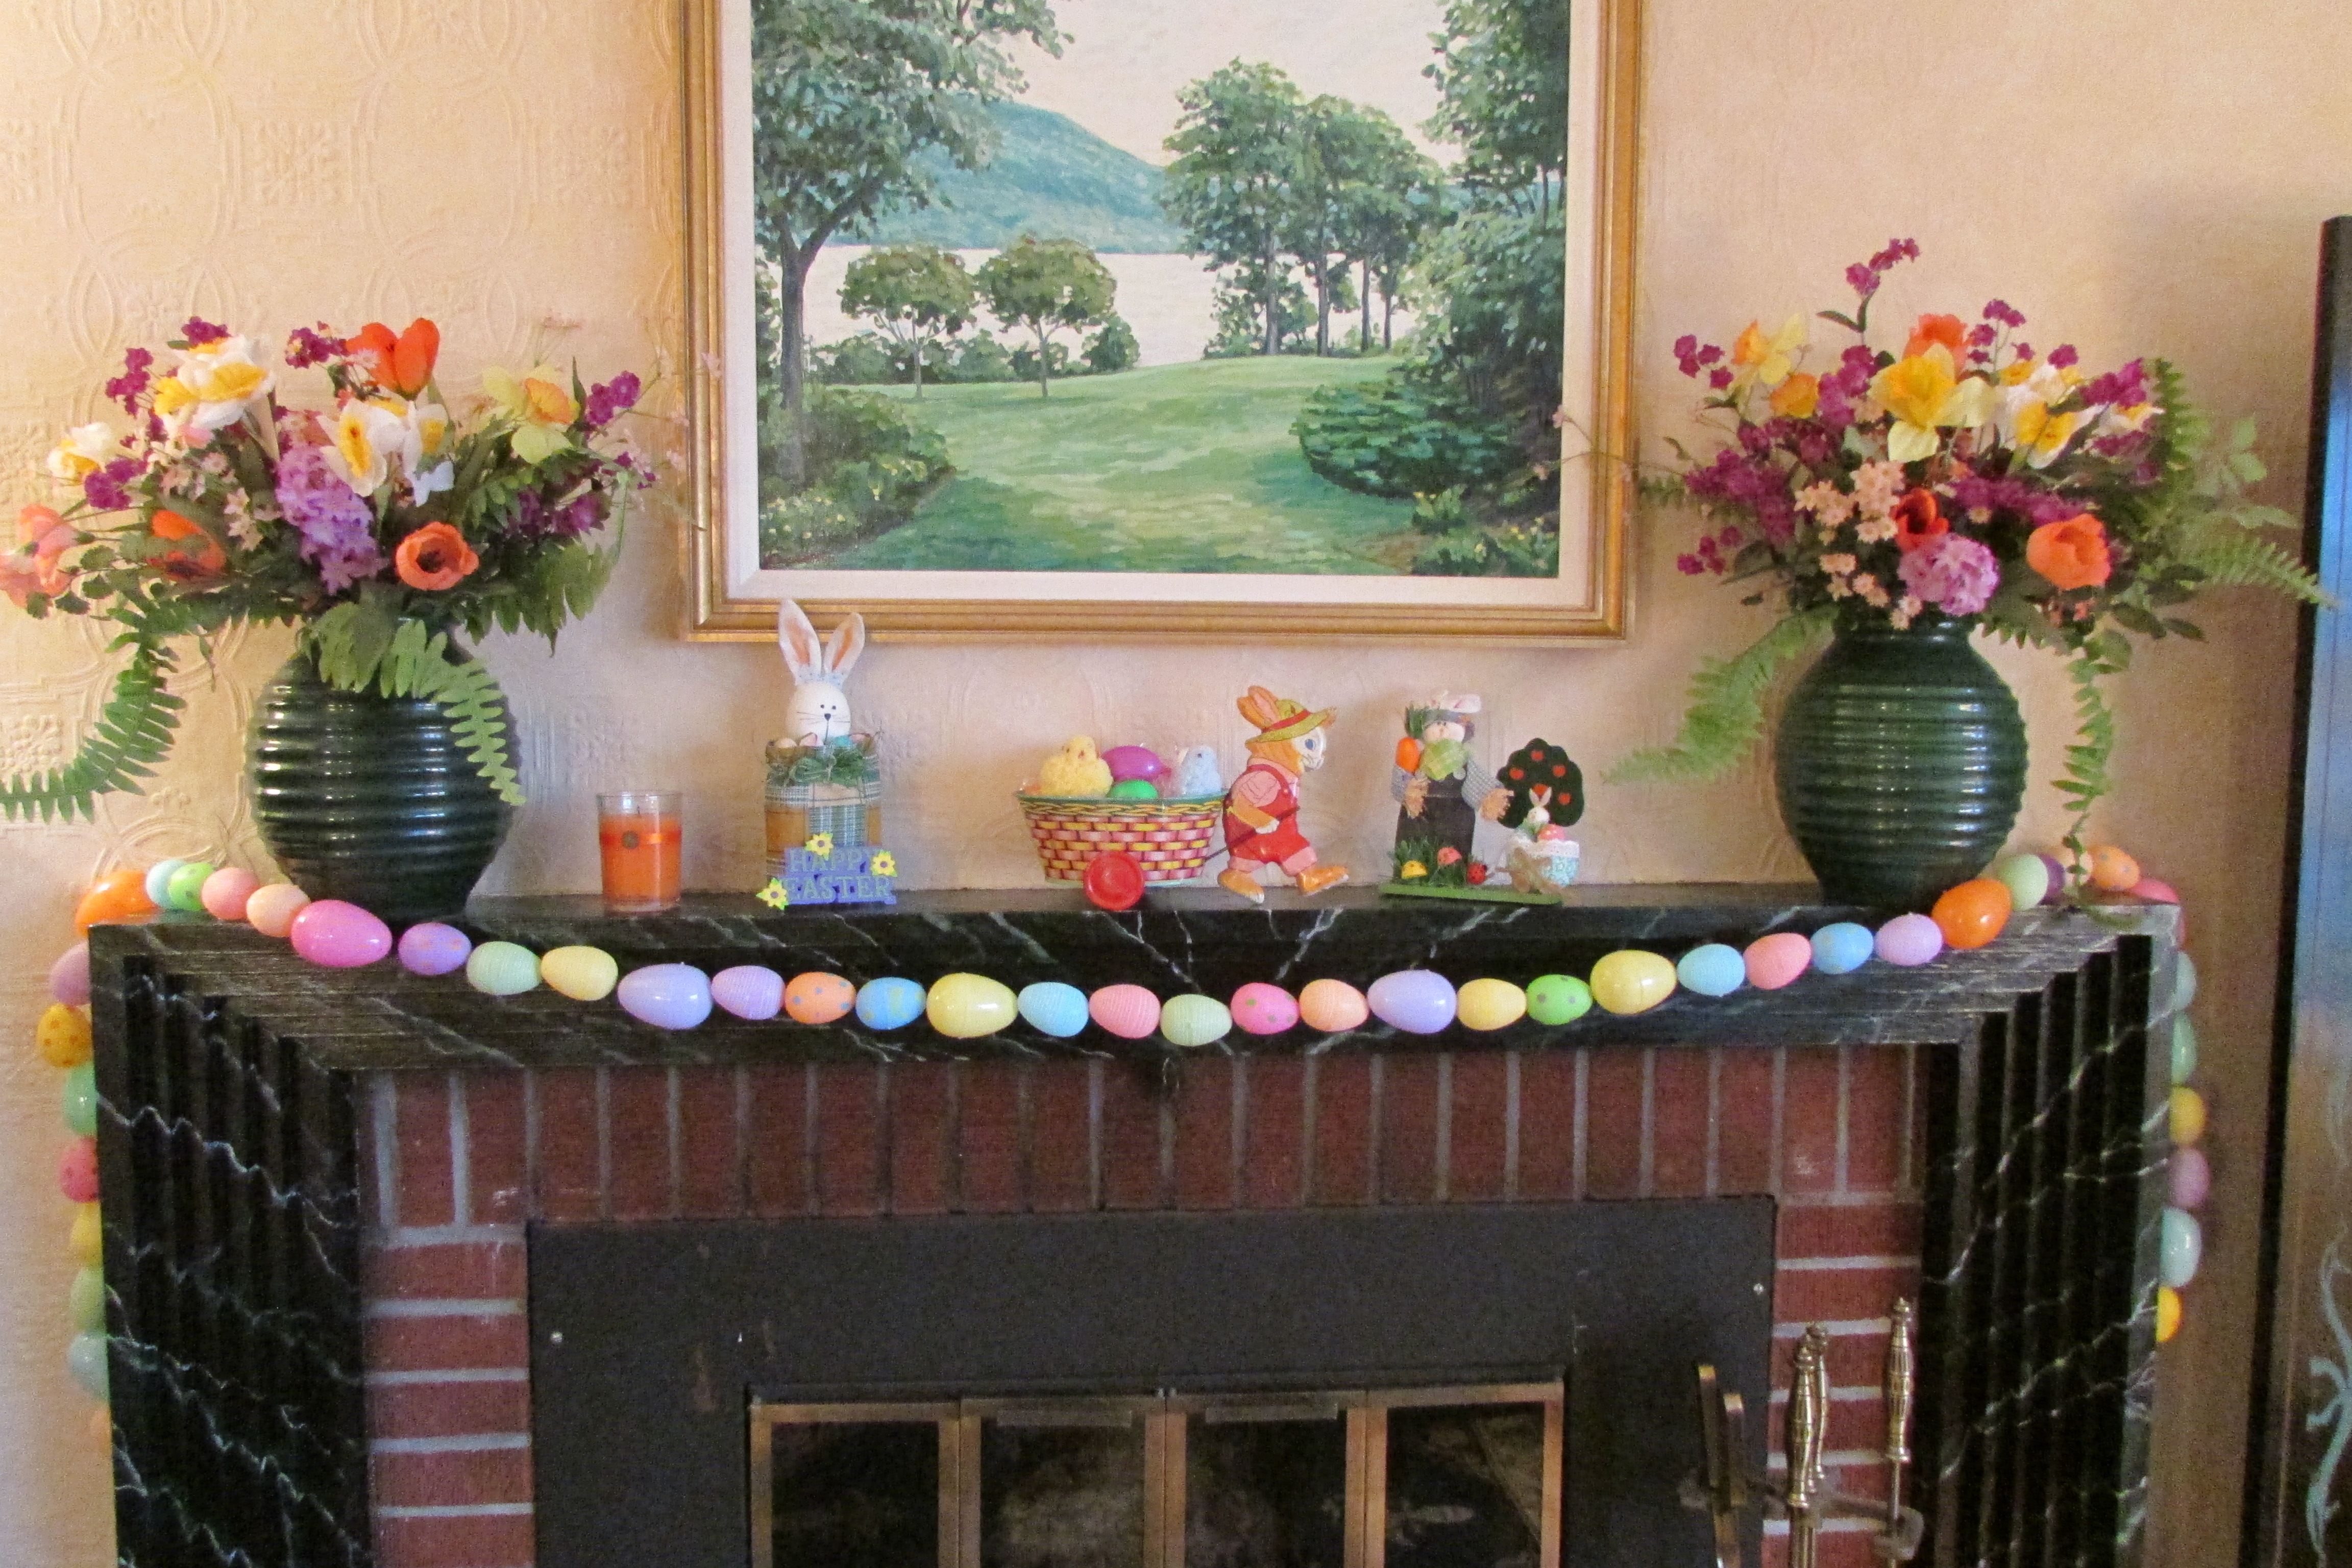
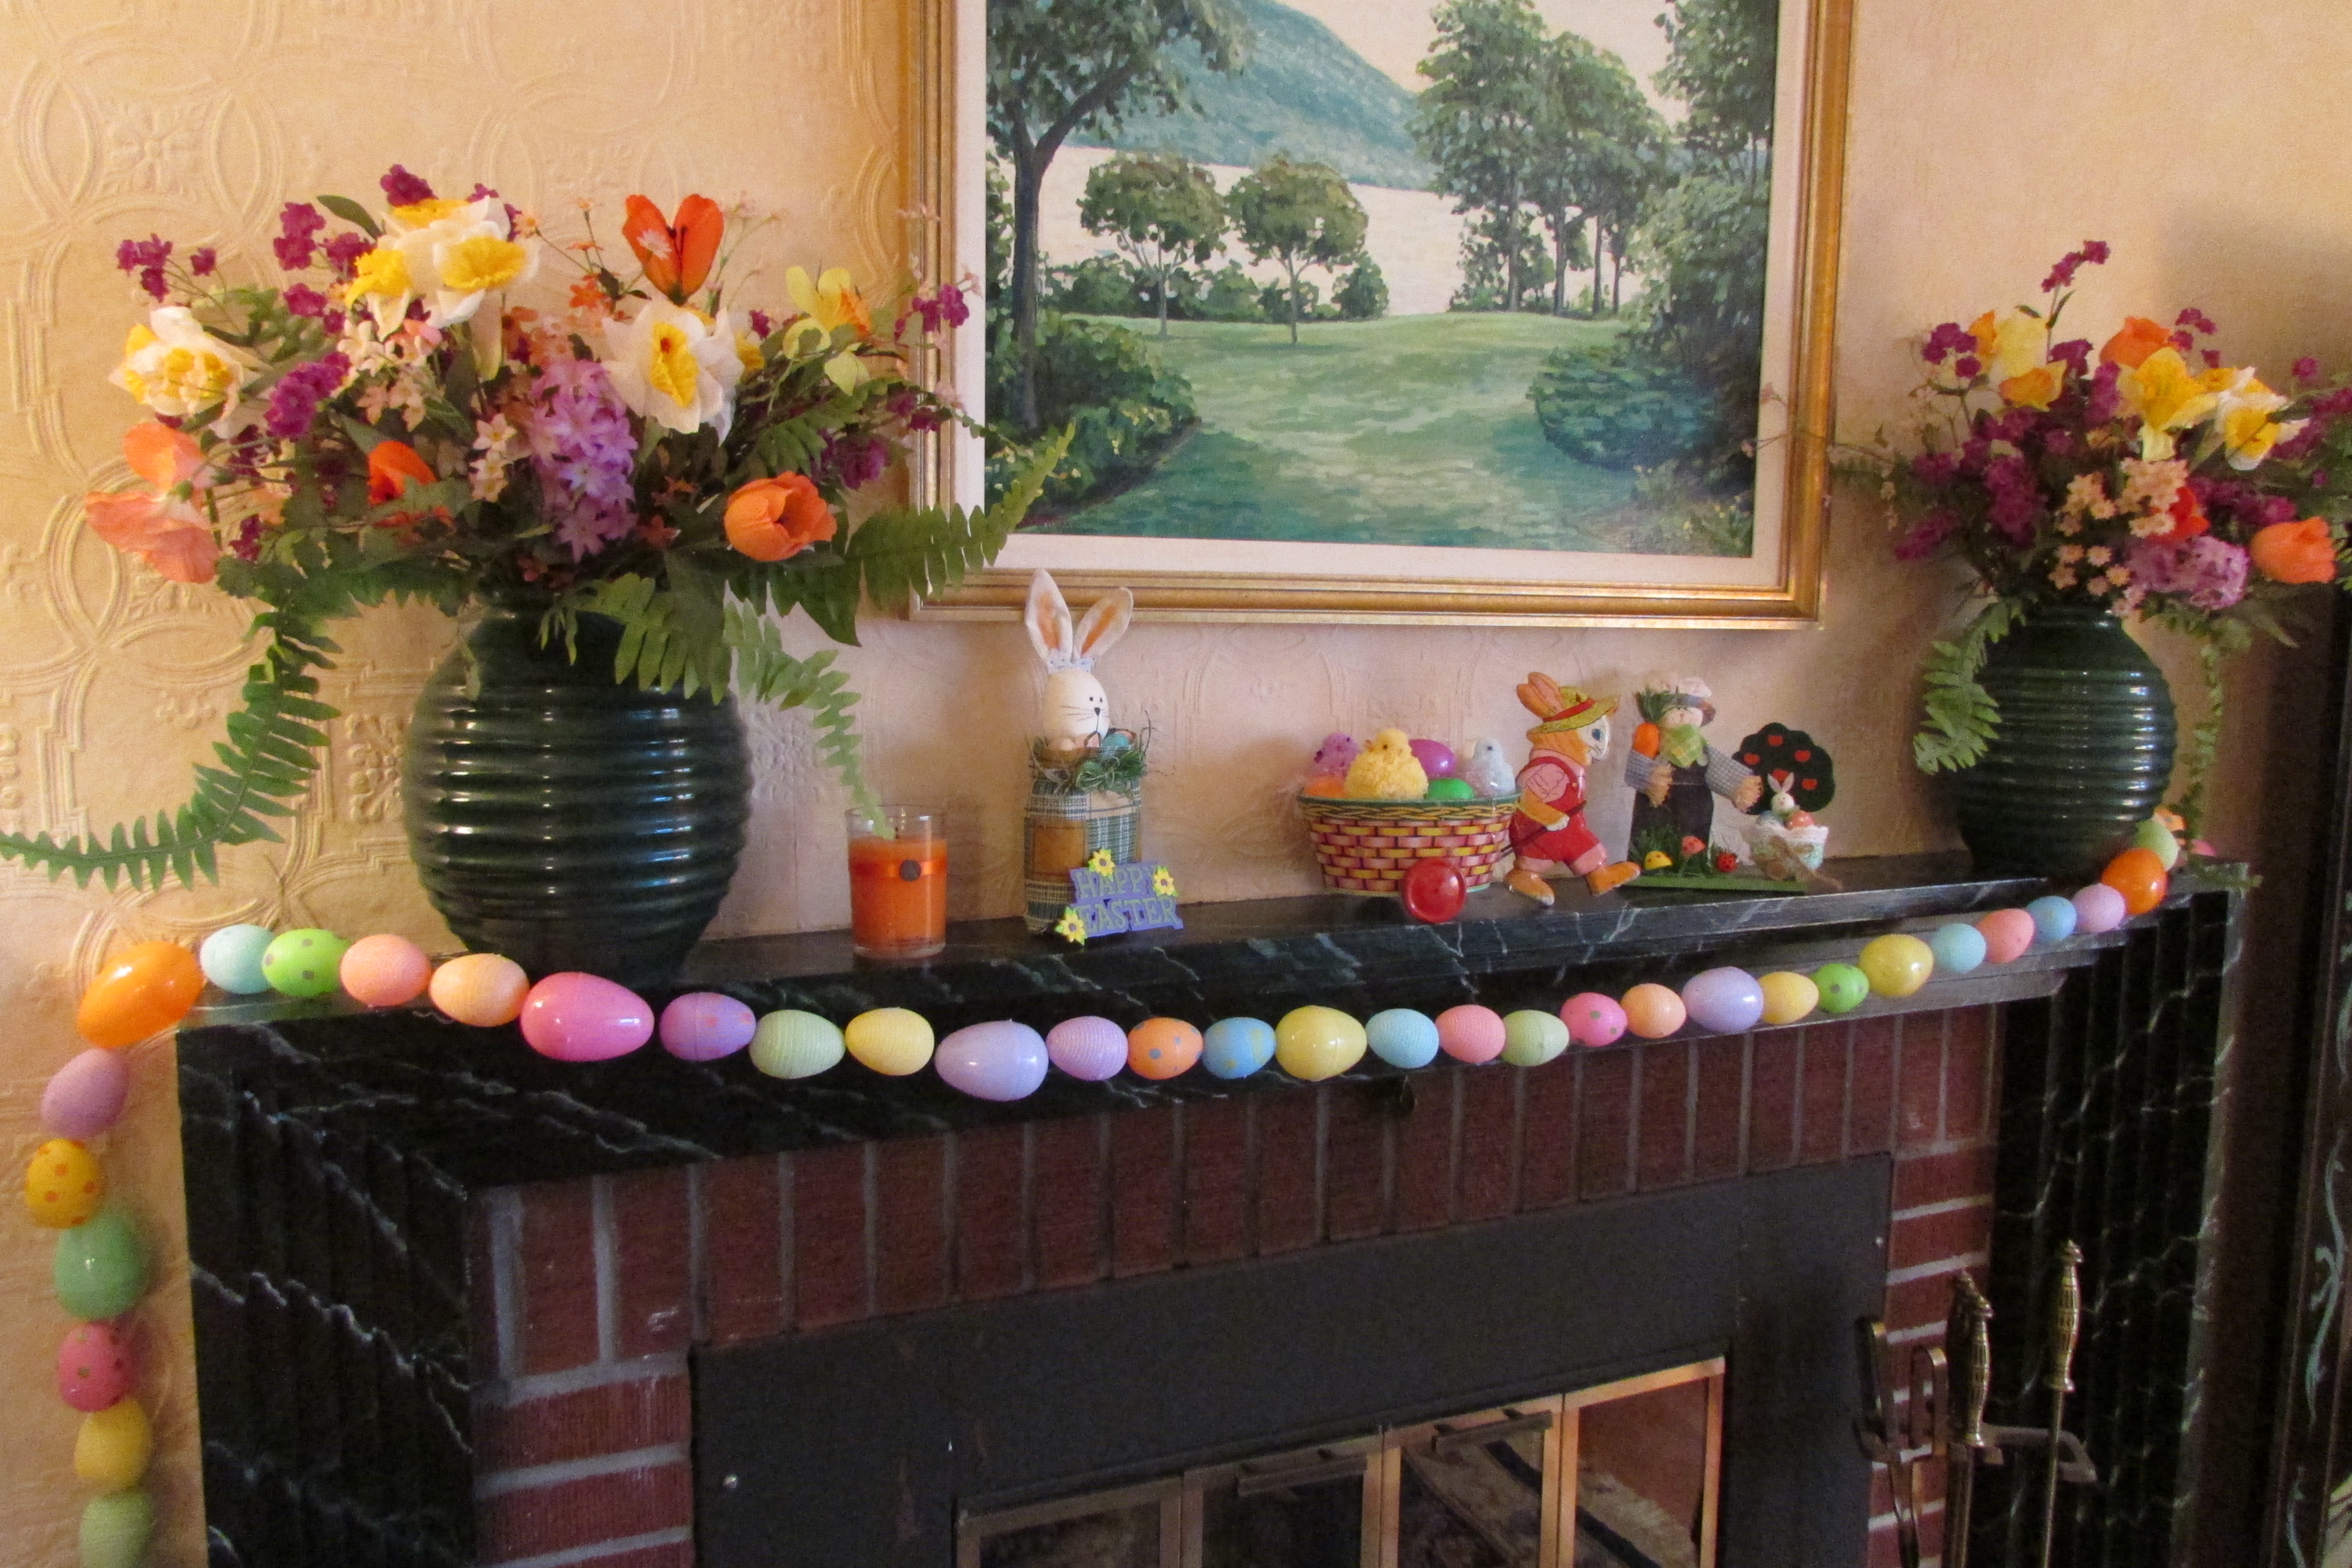
Easter is almost here and plastic eggs are inexpensive and plentiful. How about this year adding an Easter Egg Garland to your seasonal decorations. The bright-colored and happy looking garland can be swagged on a fireplace mantel, as seen in the two cover photos for this post. It could also be used in the dining room on the table, running straight down the middle or snaked around the centerpiece and candles; the egg garland would also look nice on a sideboard. Another place to decorate with the egg garland is in a kids room. What fun it would be to hang it around a window(s), the inside door frame of the bedroom, or even see it hung around the headboard. Outside the Easter Egg Garland could be wrapped around a light post, or draped around the front door. Right inside the front hall, a really long egg garland could be attached to the staircase banister, held in place with bright colorful ribbons. Where you place the egg garland depends on your imagination. This post shows you how easy it is to make.
Supplies needed to make a TEN FOOT LONG Easter Egg Garland…
Plastic Easter eggs, with holes in both ends, I bought mine at the local pharmacy.
For the 10 foot long garland, as seen in the two cover photos for this post, I used…
3 packages of plastic Easter eggs that were 2 1/2 long and came 12 to a package.
And 2 packages of large plastic Easter eggs that were 3 inches long and came 6 to a package.
Florist wire 24 GA (for a 10 foot garland you will need about 11 feet of wire)
A pair of Wire Cutters.

Step 1…
Working on the floor or a large table, starting with the smaller eggs, take them out of the packages and lay them out in rows so the same colored eggs are in the same place in each row (as seen on the right side of the above photo). You can place them exactly as they came out of the packages, or rearrange them to a color progression that you like, but make sure in the end, all of your rows have the same eggs in the same spots (my small eggs have tone-on-tone glitter stripes on them).
Next, between the eggs that you have already placed in rows, scatter here and there any other kind of design of egg that you have (mine were polka dot). Finally, place any large eggs that you have, here and there in the rows. Your objective with the laying out of the eggs is to have the colors evenly distributed across the egg garland, the patterned eggs distributed across the garland, and different sized eggs evenly distributed across the garland.
Step 2…
Take the end of your florist wire and make a small hangman’s noose at one end; by doing that you are making a somewhat good-sized knot that will not pass through the hole on the inside side of the first egg that you attach to the garland. Twist the knot tight and then flatten it down. Next open up the first egg, from the first row of eggs that you made, and from the inside of the egg, pass the other end of your florist wire through one of the holes in its bottom or top, then close up the egg. You have just hidden the knot that will be holding all of the other plastic eggs together on you garland. After that open up the next egg, thread it onto the florist wire, and keep on adding eggs to your garland.
When stringing your eggs on the florist wire you don’t want them all going in the same direction. Every fourth or fifth egg, have the next egg or two going/pointing in the opposite direction toward the ones just placed on the wire; that will make your garland more balanced and visually interesting.
If for any reason you run out of florist wire before finishing your garland, take the end of your wire and pass it through one end of your egg, then take another length of florist wire and make a knot joining the old wire to the new inside of the egg and then continue on. The joining of the two wires will be hidden inside of the last egg you attached to the garland.
Finally, keep stringing the plastic eggs onto the garland until it is complete. End the garland again, with a small hangman’s noose formed knot, that you hide in the inside of the last egg that you attach. By hiding the knots inside the eggs, on both ends, no one will see the garland’s mechanics.
How I hung my garland. Years ago, on both ends of my fireplace mantel, I hammered a one inch picture framing brad (a small nail) to hang seasonal garlands. I took the Easter Egg garland and gently folded in in half to see where the exact center of it was, and placed that spot in the center of the mantel. I then took a length of florist wire and tied it between the eggs on one side of the garland, then took the florist wire and lash it to the brad. After that I did the same with the other side. I then stepped back to see if correction should be made. I did take down the garland one time, moving the florist wire down two eggs or so on one side and rehung the garland. It now looks fine.
So there you have it, a look at my newest Easter decorating project. I hope this post will inspire you to make one for yourself. I do feel that, with some supervision, it can easily be made with kids. The stringing goes quickly, and the end result is something that you can have for years. Happy Easter to All!
Companion Posts on Fred Gonsowski Garden Home.com
Make an Easter Egg Tree, Celebrate Spring 3-21-2011,
It’s Easy to Grow PUSSYWILLOWS 2-15-2012,
Planting Hellebores (Lenten Roses) to Celebrate Spring 4-25-2013.


Beautifully done, and the different sized eggs add more interest and whimsy. Happy Easter and Happy Spring to you too!
Thank You Margaret for your comment ;-}