
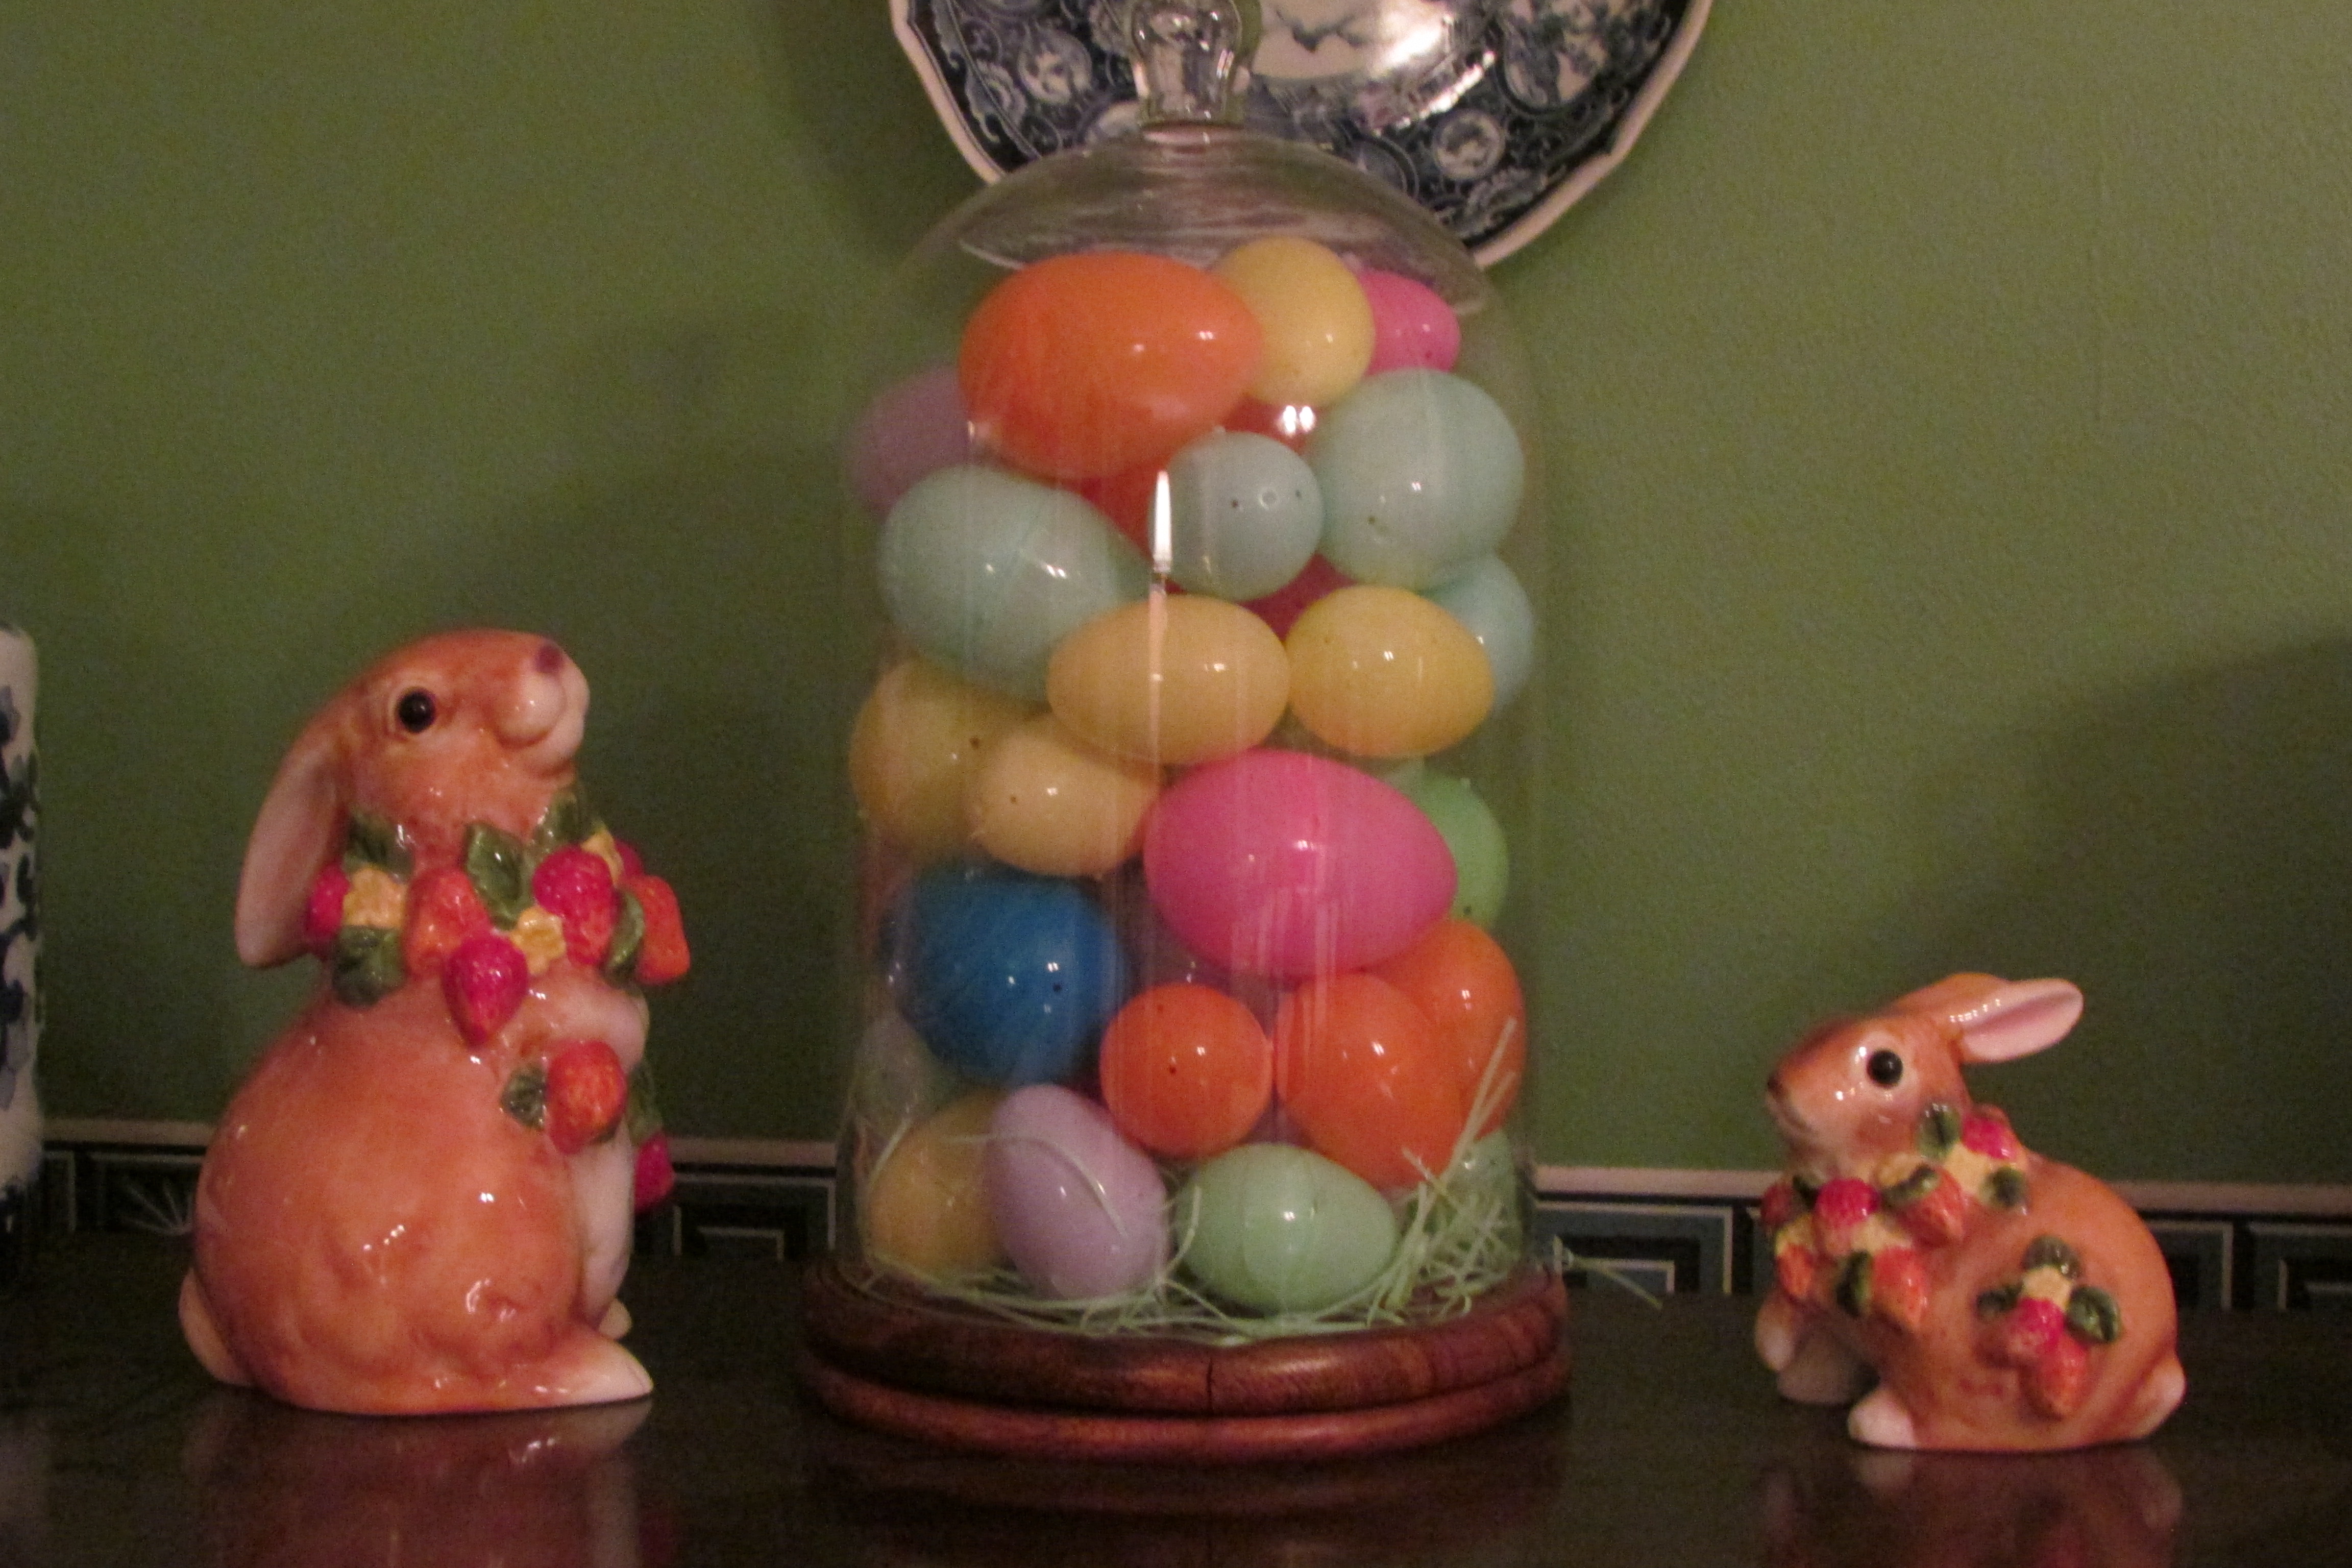
Arranging Easter Eggs and other things under a Glass Dome.
Supply list…
A glass dome (any size you have is fine)(preferably with a glass knob top).
Items to be displayed under the glass dome.
A round plastic bathroom wastepaper basket, or depending on the size of your dome a 6, 8 or even 10 quart pot. If using the cooking pot, you will need one or two soft kitchen towels, folded lengthwise and draped around the rim of the pot to support and protect the glass dome from the metal container.
A large dinner plate, silver or other round metal tray, large wooden disk, decorative cake stand, etc. that is firm and larger than the opening of the glass dome.
Easter Egg grass, tinsel or cotton snow for use with Christmas decorations, sheet or Spanish moss from a craft store to use with artificial fruit, or crumpled colored tissue paper for just about everything else.
Step One…
Working close to where you want to display your dome, take your dome and place it upside down in the wastepaper basket (or large pot). It is now stable and you can leisurely fill it with product.
Step 2… Filling the Dome…
Start by placing the first element that you want to display at the top of your dome, face down, so when turned right-side up again, it will be facing the top of the dome. Continue filling your dome until you get close to the rim. If you’re working with Easter Eggs, take your decorative grass and top-off the inverted dome with about an inch or more of the product.
When working with metallic Christmas ornaments think about their placement. If you have, for example, a few Santa Clause bulbs that you want positioned close to the outside of the dome for viewing, you first want to place them in the dome head first and facing out, around the inside edge of the dome. To keep the fancy Santa bulbs pushed up close to the glass, place smaller, more common, Christmas bulbs in the center of the dome’s space to keep them from moving. Top-off your holiday bulbs with the tinsel or cotton snow.
Step Three…
With your dinner plate, metal tray, cakes stand, etc. close by, pick the filled dome out of the waste paper basket, and hold it by its handle with one hand, and with the other hand place the dish, etc over it. Slowly, but steadily invert/flip the dome so it is now, right-side-up again, and on the plate. Move it to where you want it displayed. How easy was that! If you need help, have someone hold the plate, while you invert the dome.
Many different kinds of things can be displayed seasonally under a dome. You could have pine-cones, holiday bulbs, antique wooden letter blocks, old match box cars, Lincoln Logs, Legos or even beautifully wrapped candy displayed under a dome for Christmas; and for Spring, Easter Eggs of course. Artificial fruit or vegetables would look wonderful year round in a kitchen or dining room (real fruit and vegetables might give off moisture and condensation might form inside of the dome). If you or your mate likes golf, how about displaying golf balls from all of the courses that you played. A dome filled with sea shells picked while on vacation, matches from fancy restaurants where you’ve dined, or even filled with corks from bottles of wine and champagne that you’ve drunk would be interesting. If you have old ties that belonged to your dad, why not roll them up and display them under a dome in a men’s dressing room or bedroom on a chest of drawers. The possibilities are endless. Just think of things that are seasonal, evoke happy memories of life’s events, or memories of loved-ones who have passed.
Step Four… Emptying the glass dome With your plastic wastepaper basket or large towel lined pot handy, pick up the dome and plate, invert it again, discard the plate, place the dome in the wastepaper basket, and empty it.
So there you have it, the demystification of filling a glass dome. I hope you try it. Just make sure you don’t have friends, relatives, or kids with mischievous fingers who want to lift the dome once you set it in place ;-}
Companion Posts on Fred Gonsowski Garden Home.com….
Make an Easter Egg Tree, Celebrate spring 3-21-2011,
How to make an Easter Egg Garland 3-18-2016,
Putting Lights on a Christmas Tree..The Easy Way 11-3-2011,
Christmas Tree Decorating..Step-by-Step, Like a Pro 11-13-2011,
Cutting / Making Paper Snowflakes 10-27-2011
How to decorate a Christmas tree with Tulle 10-20-2012.


Your blog is a wonderful discovery. I came here for “how to root and plant a pussy willow” and found an adventurous love of beauty and design. Thank you.
Hi there L Sellmer, Thanks for your comment. If you have a minute, look to the right side of the screen, you will see the word Categories there, it kind of helps readers isolate topics that might interest them. Happy Spring to you!