
Some Easy and Imaginative ways to lay out Garden Beds
When most people thing about making a flower garden on their property, they clear a strip of land that runs along a fence or walkway (creating a border), or if imagination strikes they might try making a kidney bean-shaped bed that floats like an island out on some part of their lawn. Both the flower bed and border are just fine, and I have both of them myself, but after a while you need more planting options to make your garden layout interesting.
Recently, after writing a post about Planting a Garden Room on your Property (click on title to read), I started thinking about reshaping part of my vegetable and raspberry patch, along with my daylily and ornamental grass beds, to create a two-sided long vista walk that runs from my great border out back, back toward the house. I’ve come up with many different patterns for beds that are all interchangeable and any one, or all of them can work on any kind of land, no matter the slope of the property or its shape.
On a piece of paper I came up with many kinds of garden bed layouts; some are a bit formal, and based on squares, while others are more curvilinear (consisting of curved lines (and round shapes). Any / most of the bed shapes could be used by themself on a small piece of land, or lengthened and widened and added onto, to fit the largest property. All the beds and borders have a central path that leads you through that garden space. 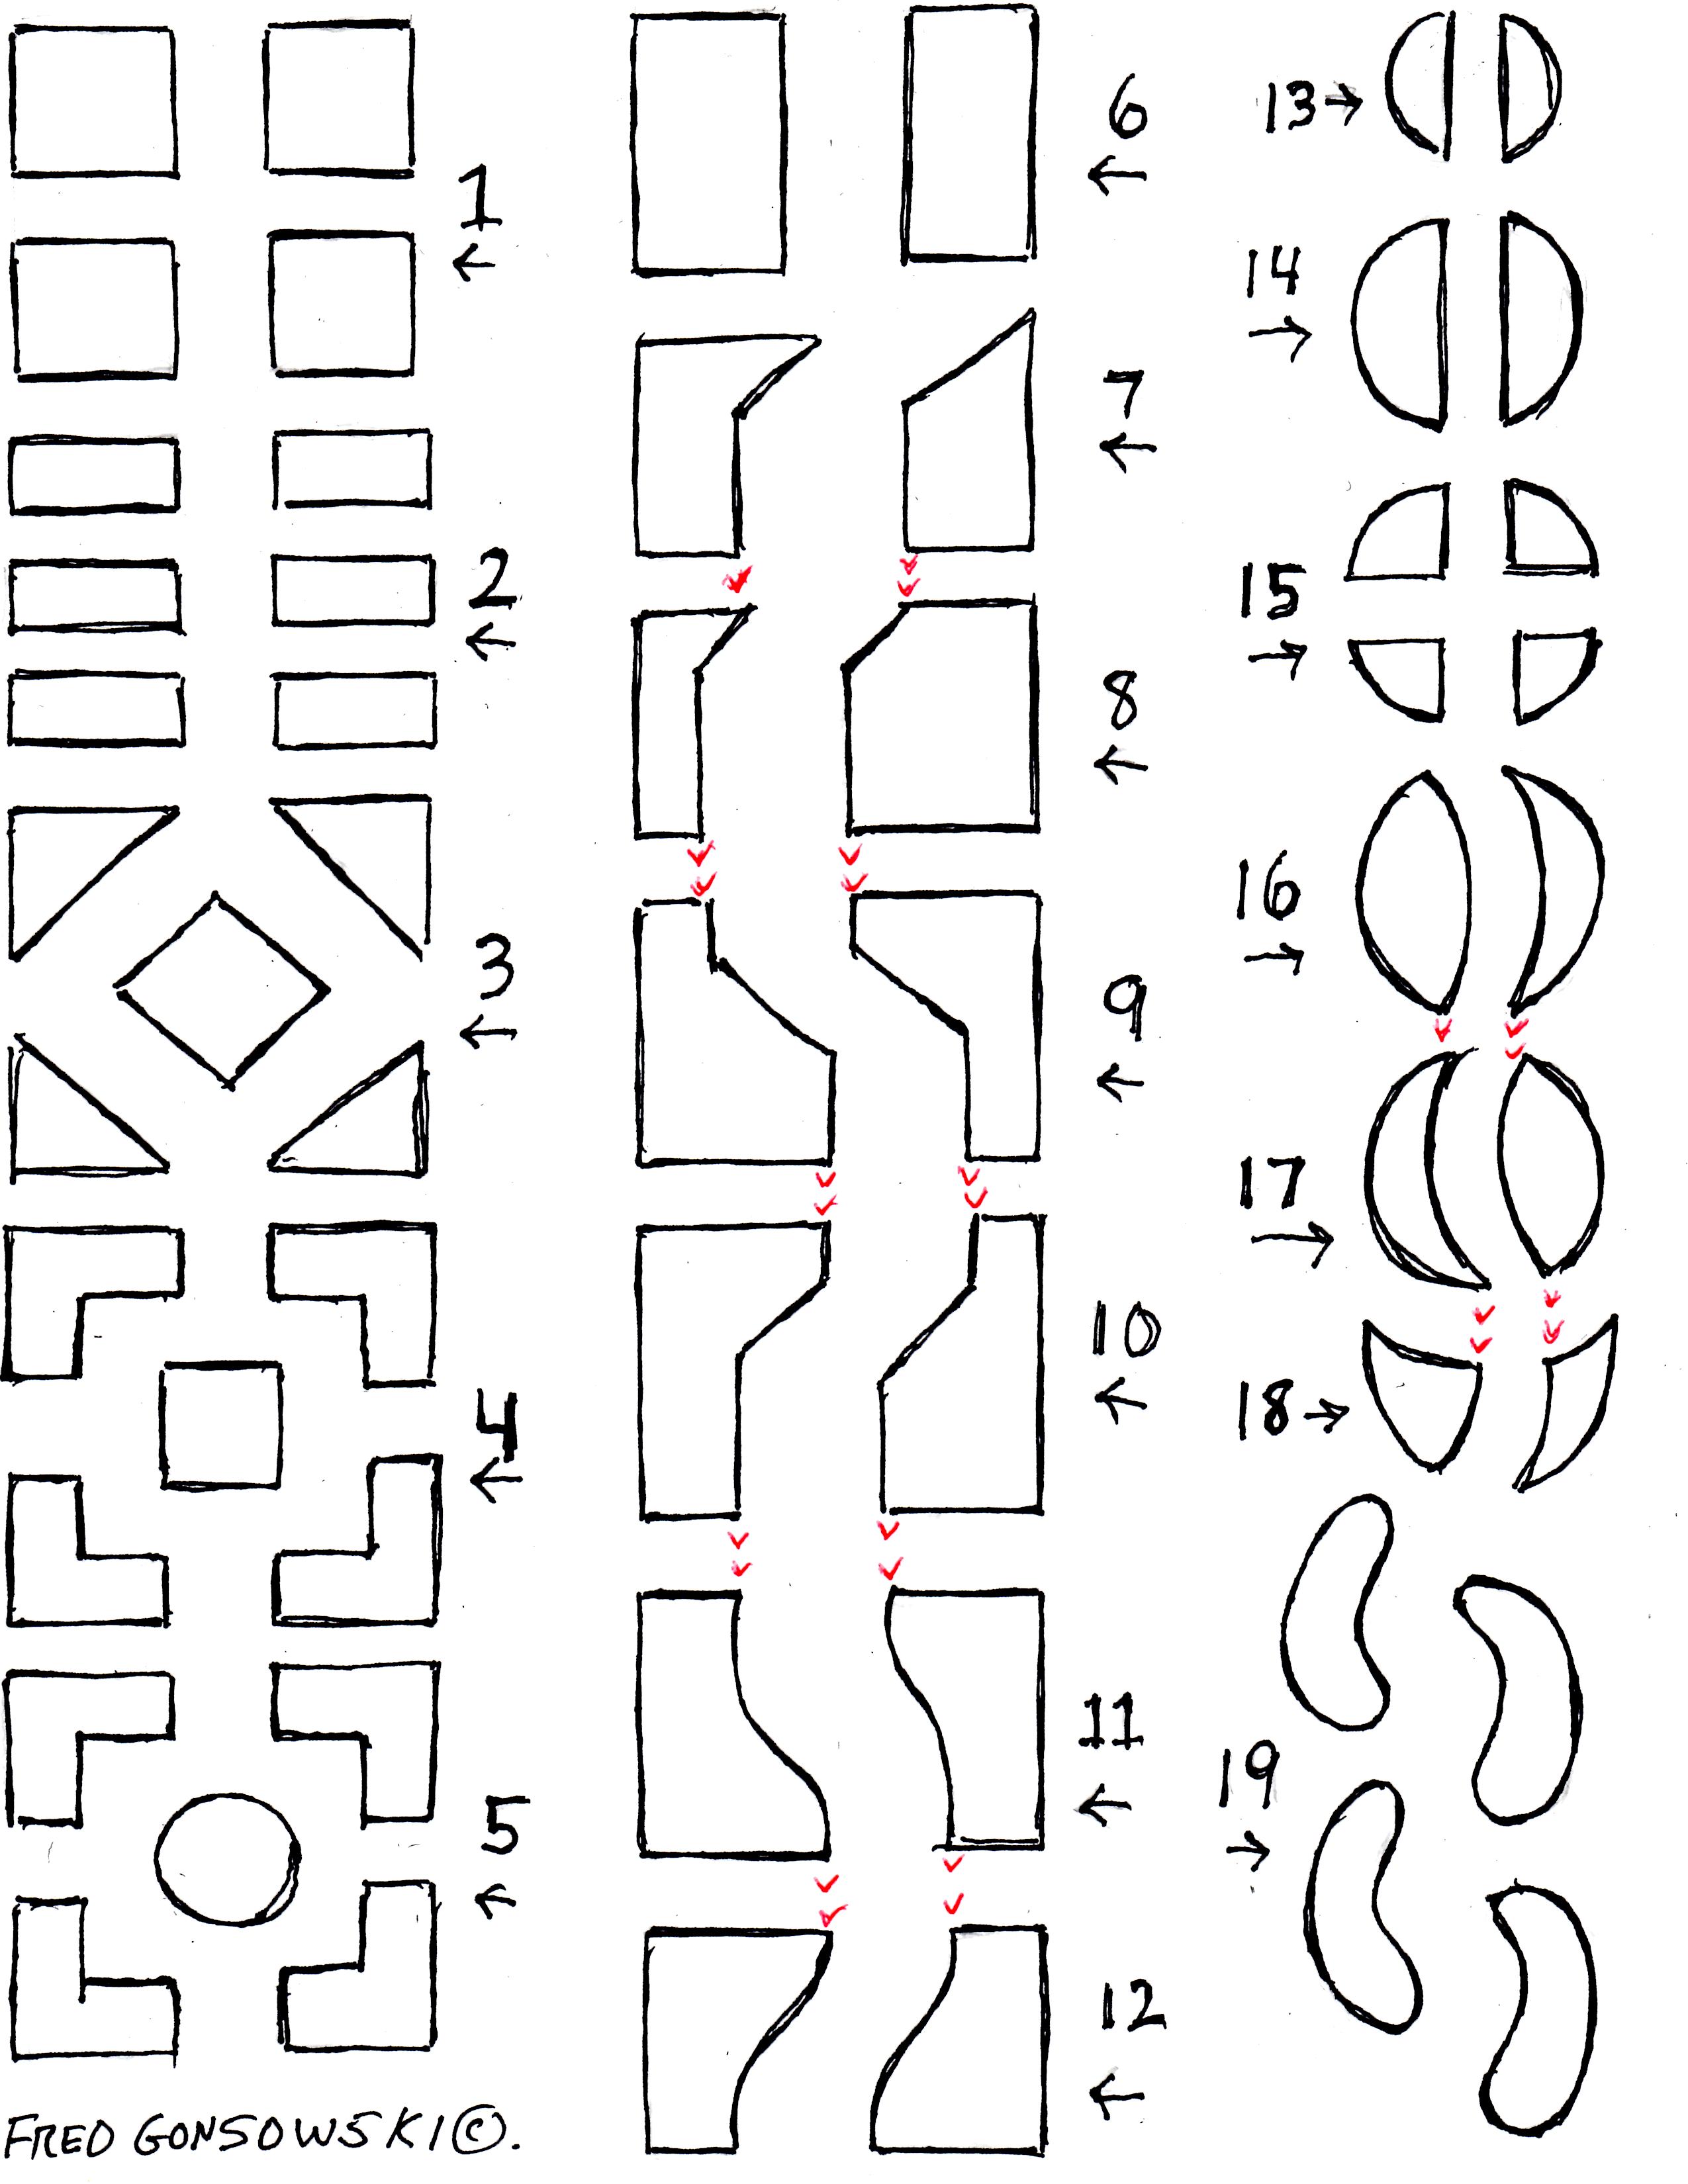 Illustration 1 consists of four equal sized square beds with a path that crisscrosses through them.
Illustration 2 is a bit similar to illustration one. The 4 square bed in illustration 1 have become six rectangular beds with a grassy (or it could be crushed stone or paver) walkways between them.
Illustration 3 shows a square-shaped garden layout with the inside edges of the 4 outside beds cut off, forming 4 triangular beds; a diamond-shaped bed is in the center.
Illustration 4 is similar to illustration 3, except the four outside beds are now “L” shaped, and they surround a central square bed.
Illustration 5 is similar to illustration 4, except now you have a round center bed.
Illustration 6 shows two rectangular beds flanking each other.
Illustrations 7, 8, 9, & 10 show 4 different square planting beds following one after another, with a walkway passing in an angular fashion through the center of each bed. Notice how the outside edges of the pathways, from one garden to another, line up with each other (follow the red arrows).
Illustrations 11 & 12 are similar to illustrations 7-10, except instead of an angular path running through the beds, there are more curvilinear paths instead.
Illustrations 13 & 14 show two round beds (one smaller, one larger) with a path going through their centers.
Illustration 15 shows a round bed with a path crisscrossing through its center.
Illustrations 16 & 17 show two round beds with a curvilinear path running through the center of them. Theses two beds are similar to illustration 11 for path movement. Next, look at #17’s convex lower half (it relates to #18).
Illustration 18 shows a half round bed, its upper part is concave. Notice how the bottom edge of the circular bed of illustration 17 is lining up / fits into the top edge of the half circle bed in illustration 18.
Illustration 19 shows four kidney bean-shaped beds that are moving across space. Notice how 1/3 to 1/2 of each bed overlaps with the one opposite it.
Laying out Garden Beds ..When laying out square / straight edged garden beds on your property, first take bamboo garden sticks (available at garden centers everywhere) and stab them in the ground marking off the bed’s four corners. Run string between the bamboo sticks so your can see how large each garden space will be. If you are making many garden beds, one after another, first mark off the center walkway, and then the size / shapes of your beds. Figure 3 to 4 feet for paths. Think about 2 people walking alongside one another in your garden.
To create a round bed, start by sticking a bamboo stick in the ground at the spot where you want its exact center to be. Tie a string to the bamboo stick one half the length you want the bed to be. For a 20 foot wide bed, tie a 10 foot length of string to the bamboo stick. Stretch the string 10 feet away from the center stick, and walk in a circle around the center stick, inserting other bamboo sticks in the ground to mark off the outside edge of your 20 foot circle.
To create curvilinear walkways or kidney bean shaped beds, lay garden hoses on the ground, and move them around until you see a shape you like.
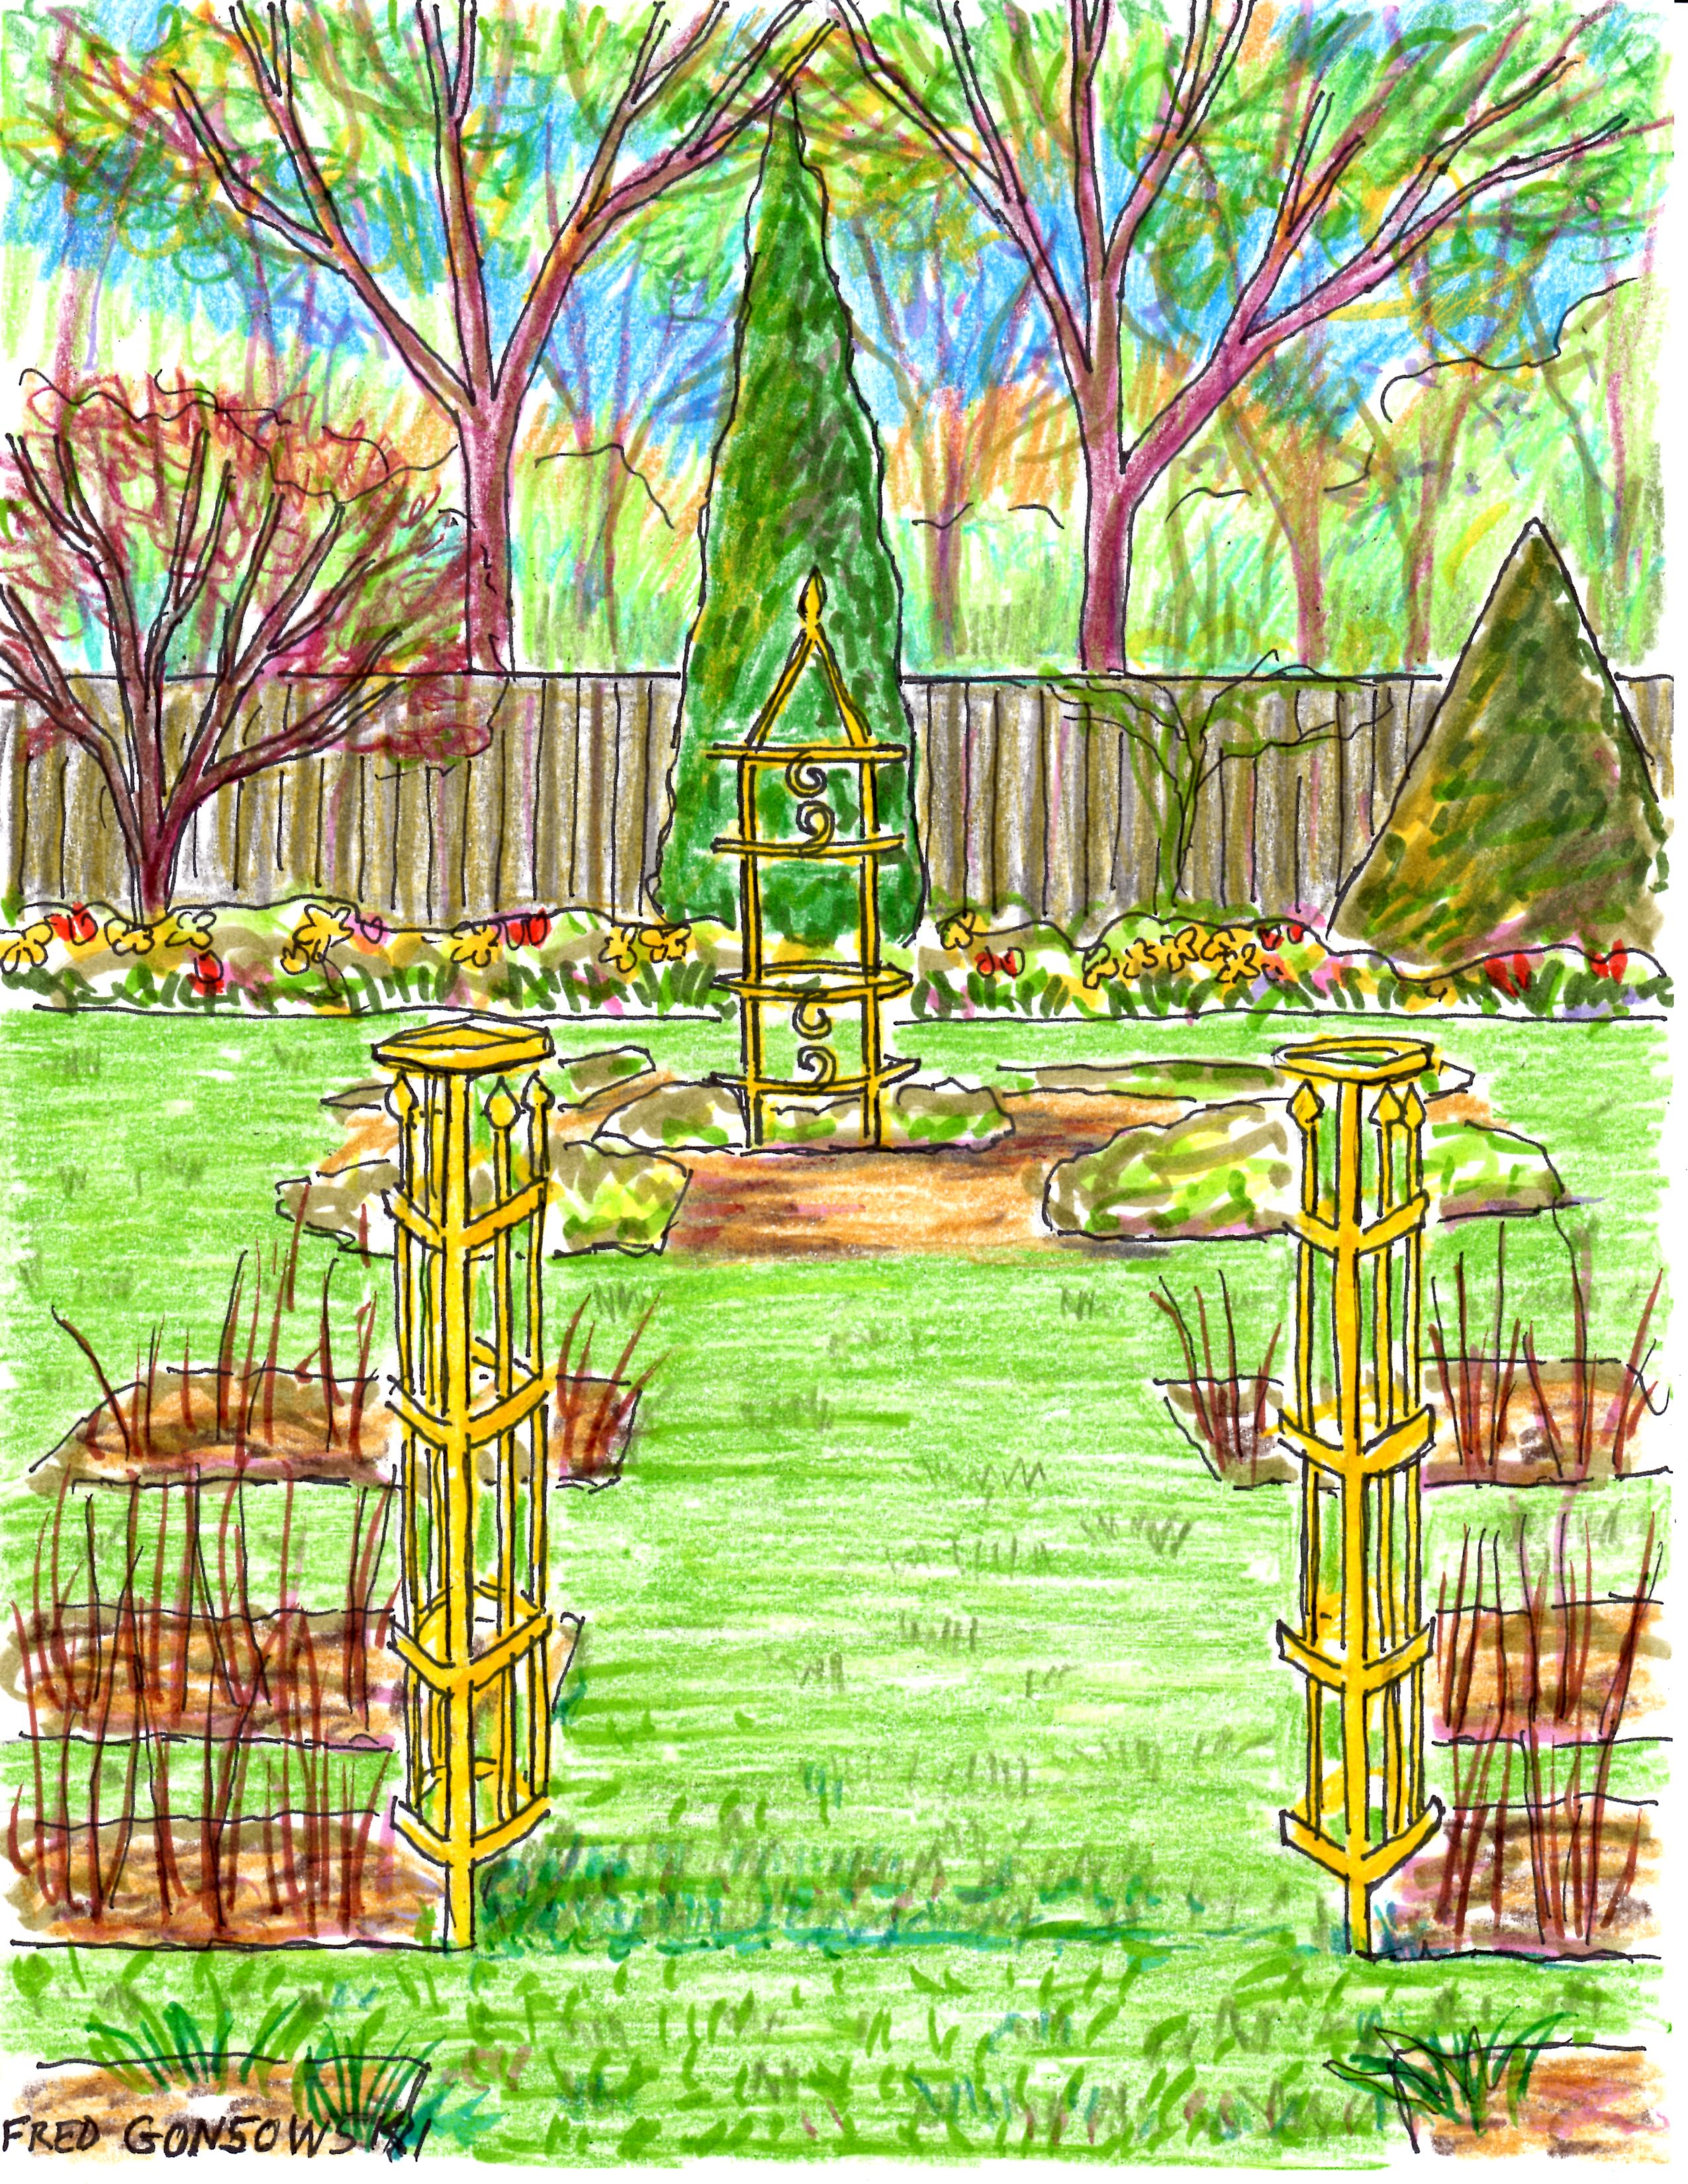
Finally, the cover illustration for this post is of my own garden. It is a composite of three garden layouts. The first bed, closest to the great border out back is my vegetable patch, it has the yellow obelisk tuteur in its center and is patterned after illustration 3. The raspberry patch with the two yellow towers in it is shaped like illustration 2, and the beds closest to the house are like illustration 6.
I hope this post, as well as all my other posts get you thinking about possibilities. Happy Gardening!
Companion Posts…
When designing a perennial garden, it’s all about the shapes of leaves 1-15-2011, How to Plant (Design) a Garden, Mass versus Specimen planting 2-17-2011,
Colored Foliage adds that WOW Factor to a Garden 2-22-2011,
Stagger plant heights when Planting (Designing) a garden 2-23-2011,
Plant (Start) a Flower Garden for Sun or Shade, Celebrate Spring 3-31-2012,
Got Grass growing out onto your Sidewalk or Driveway? Edge it! 8-26-2012,
When Designing a Shade Garden, think Focal Point, Plant Color and Shapes of Leaves 9-4-2011,
Some ideas about using Garden Ornaments, they add that Finishing Touch to a Garden 6-29-2013,
Designing a Rock Garden with Different sizes of Stones 6-28-2012,
Siting a Garden Shen on your property 6-9-2012,
Al Fresco (Out Door) Dining..Two cafe/bistro-patio tables EQUAL one Picnic Table 5-22-2012,
Foundation Planting, Laying out Foundation Plants in Front of Your Home 9-28-2013.

