
 Last week, with the nightly temperatures rising a bit and days looking to not be that cold, I decided it was time to put out the lawn furniture and the more delicate garden ornaments (accessories). It is surprising that with just a few hours work and some lawn furniture, garden ornaments and planting containers, how quickly my property was transformed from the ho-hum that I see during Winter, to a much more visually pleasing sight for my eyes to view, and I didn’t even have to plant up my containers with late Spring and Summer annuals to have something to look at.
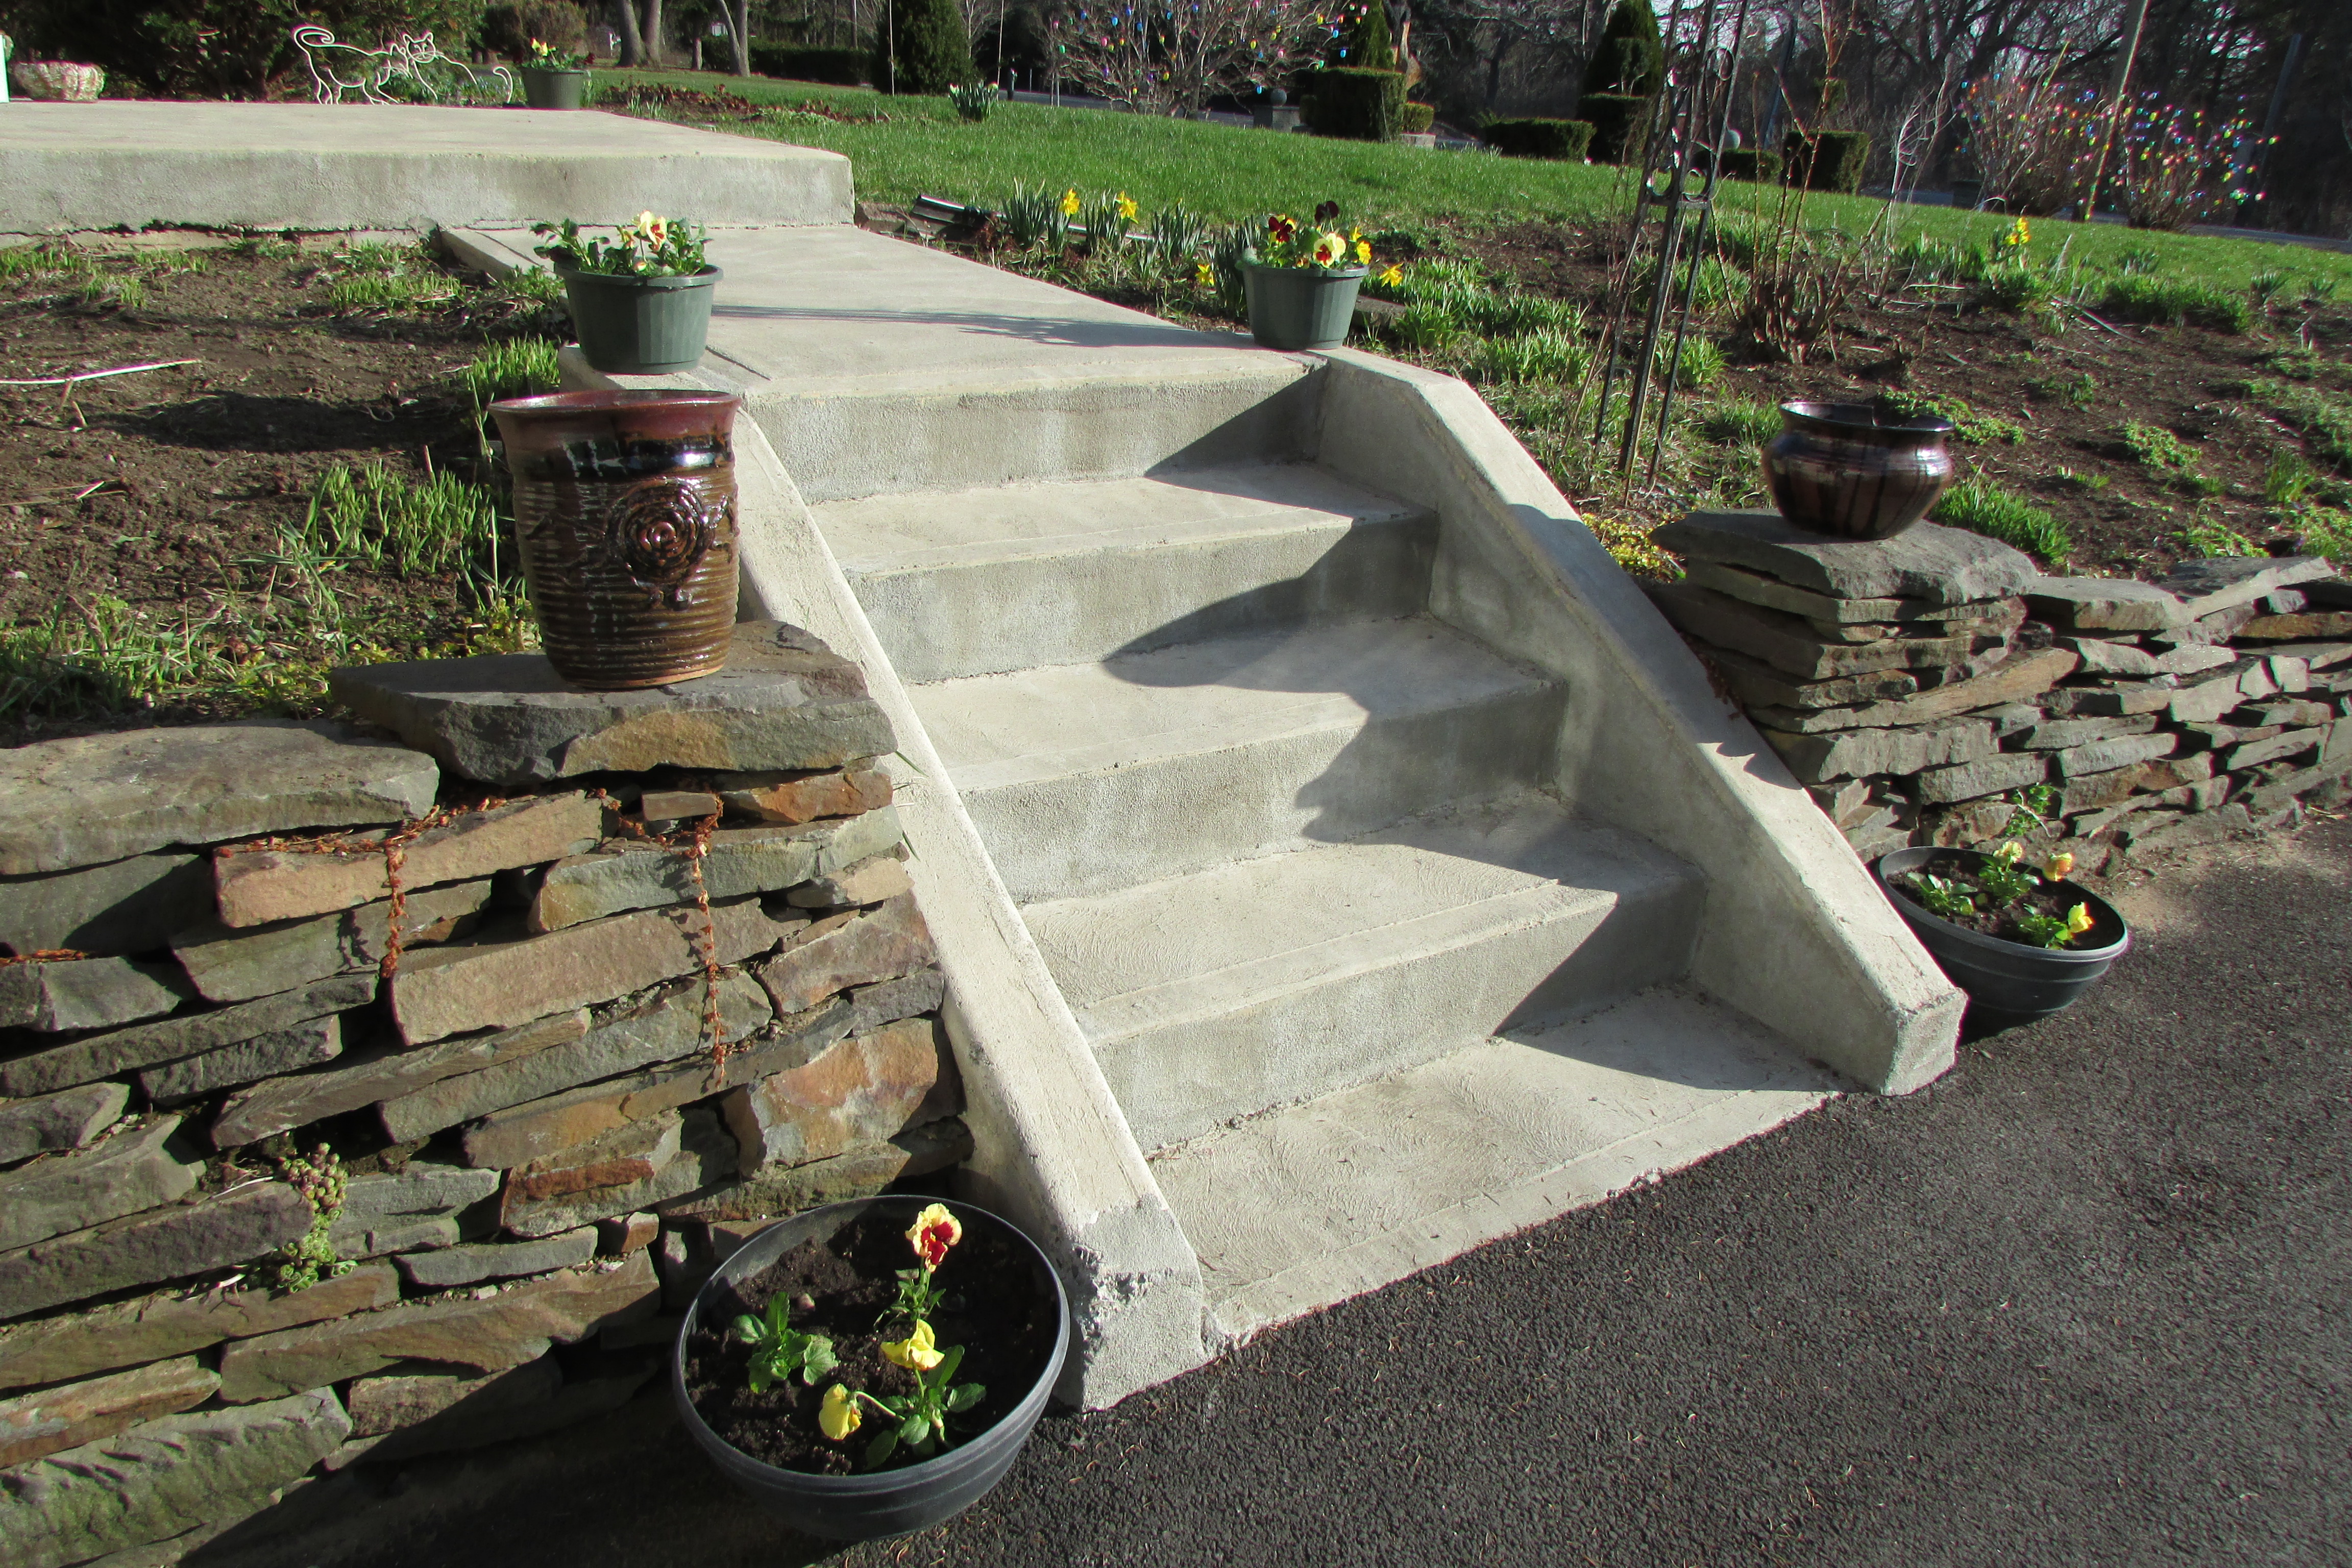
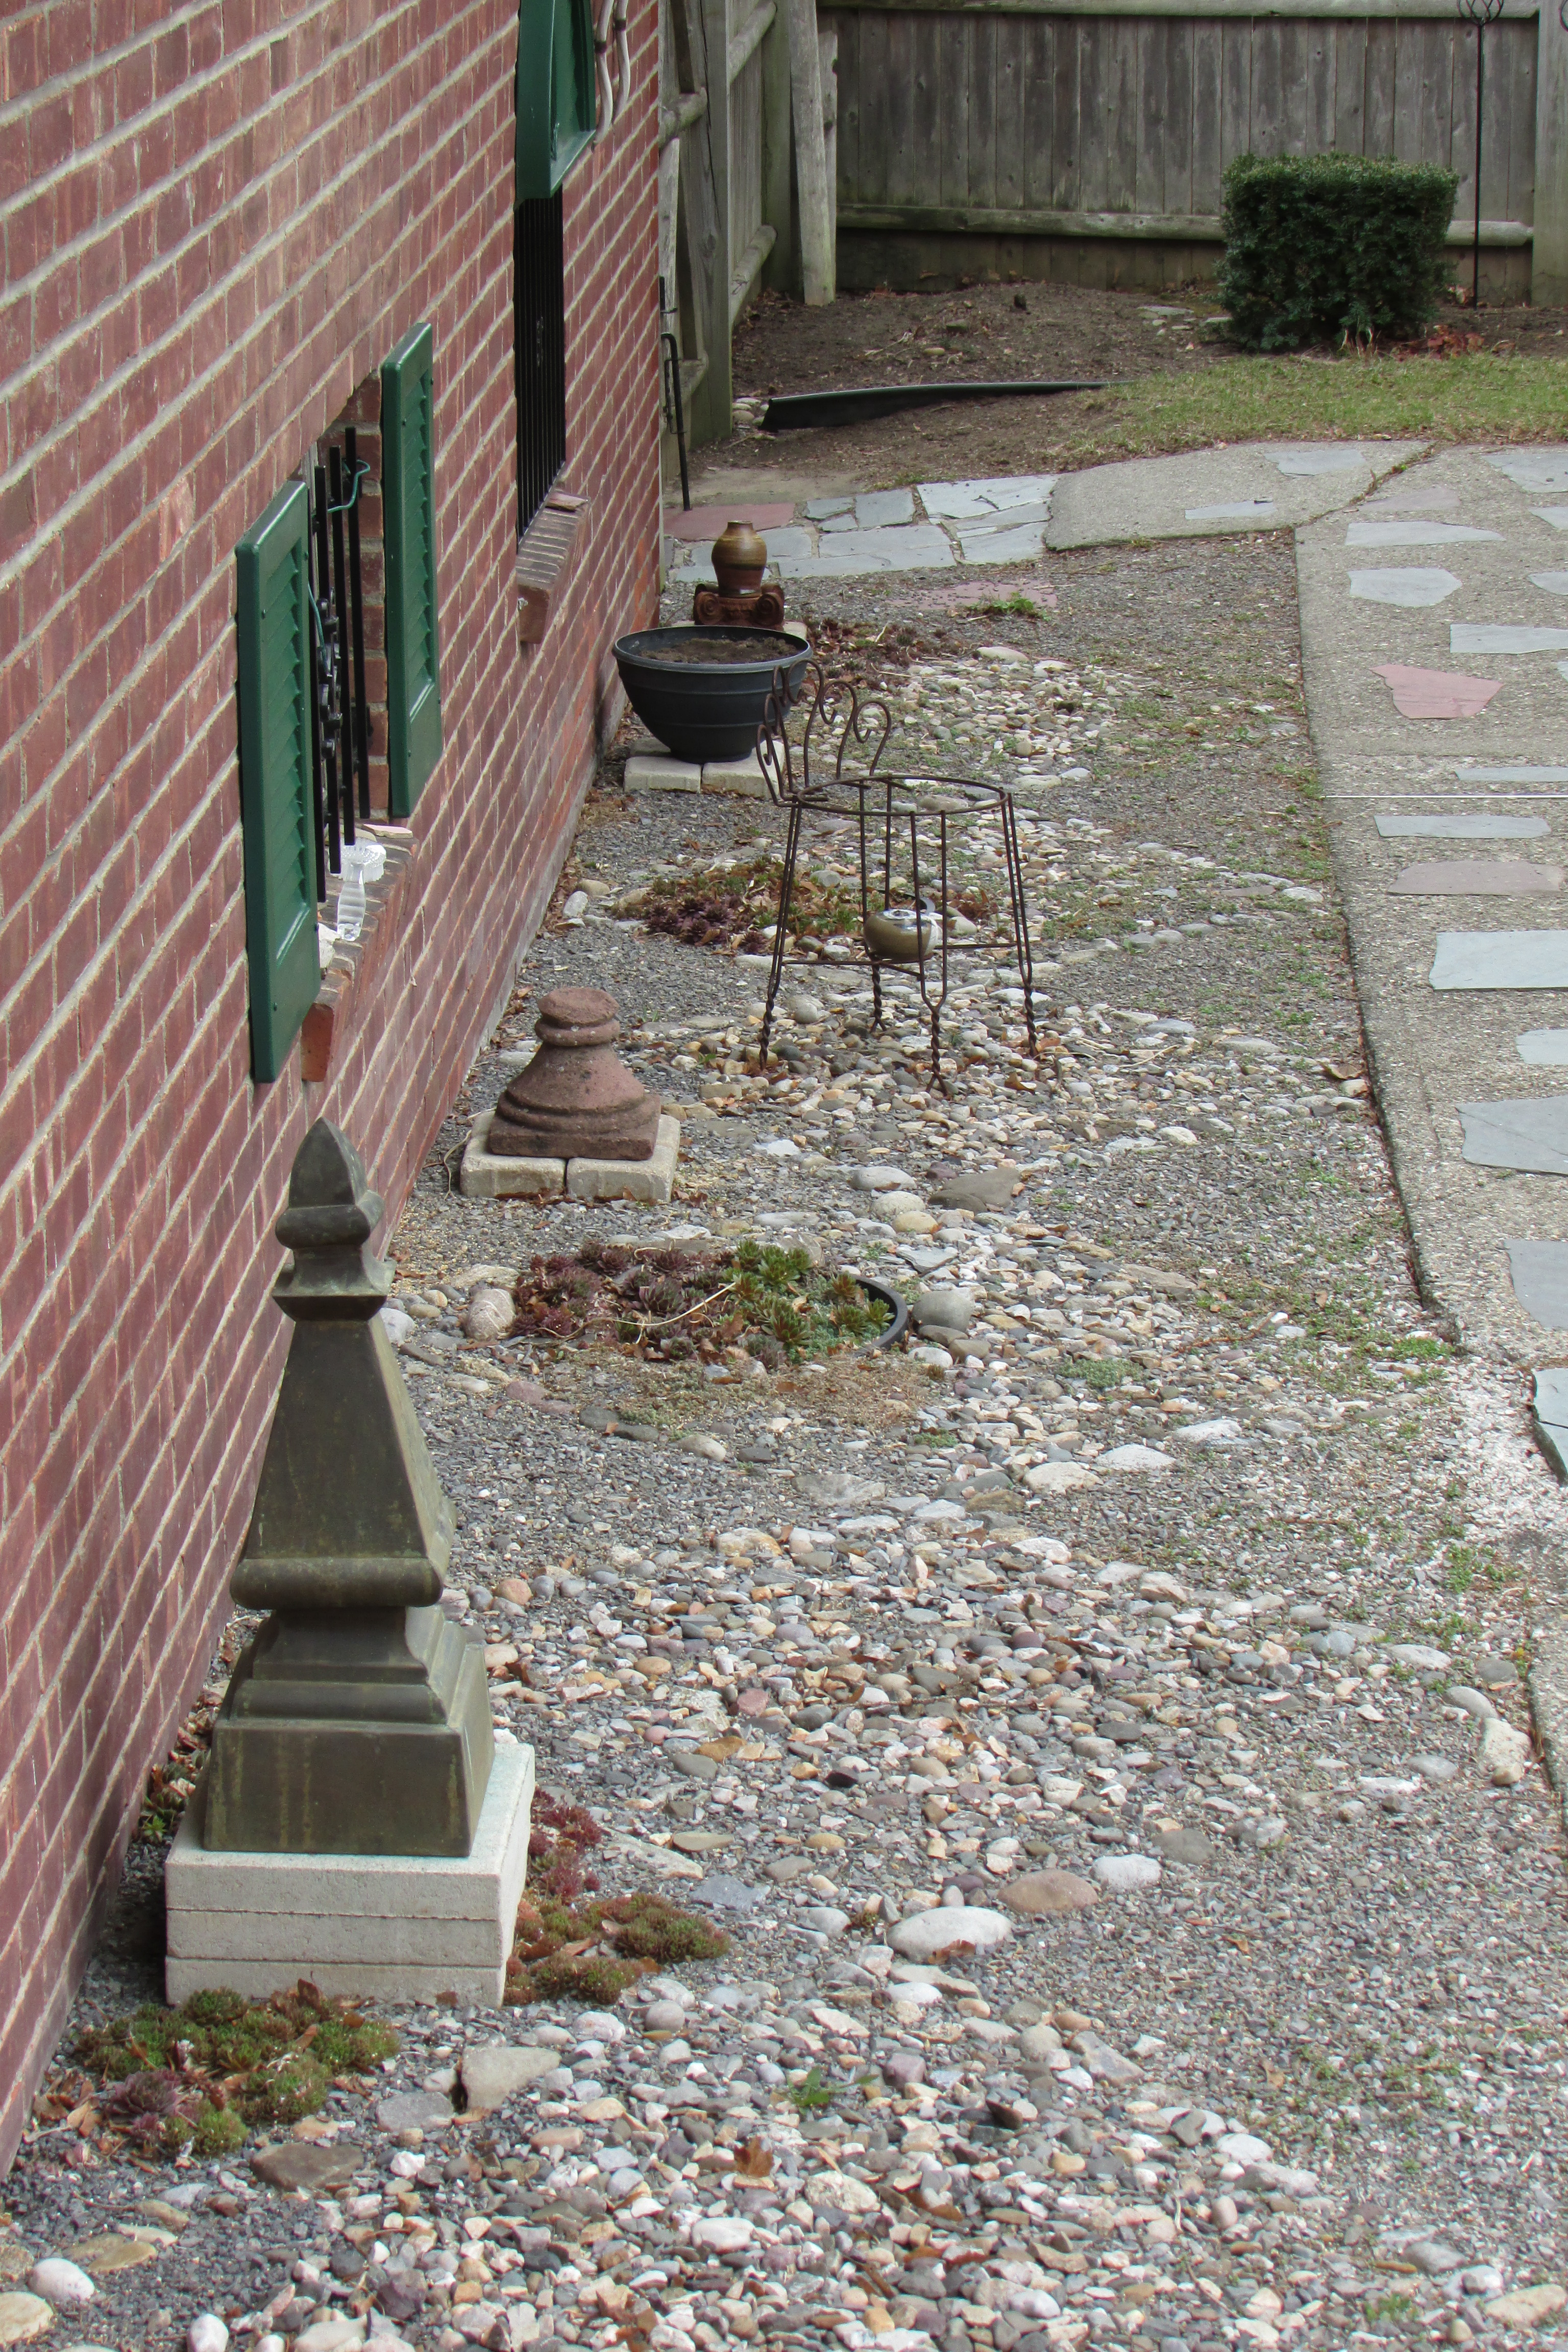
Now let’s look at the first photos, the cover photos for this post. The first two photos show the steps and the landing that bring a person up from my driveway to the front porch. Notice the two different ceramic pots on the stacked stone wall; I made them almost 40 years ago in college. Once I had a matched set, like the one on the left, but a big storm came up when I was away, and when I got home one of them had blown to the grown and smashed into a million pieces. The two blackish gray pots sitting on the driveway are made of plastic. I like them because they blend in with the black top, don’t fight the pots I made in college in any way for visual superiority, and I got them fifty percent off at an end of year sale. Each year I like to plant up some pansies for just a bit of early season color to see when approaching my front door. 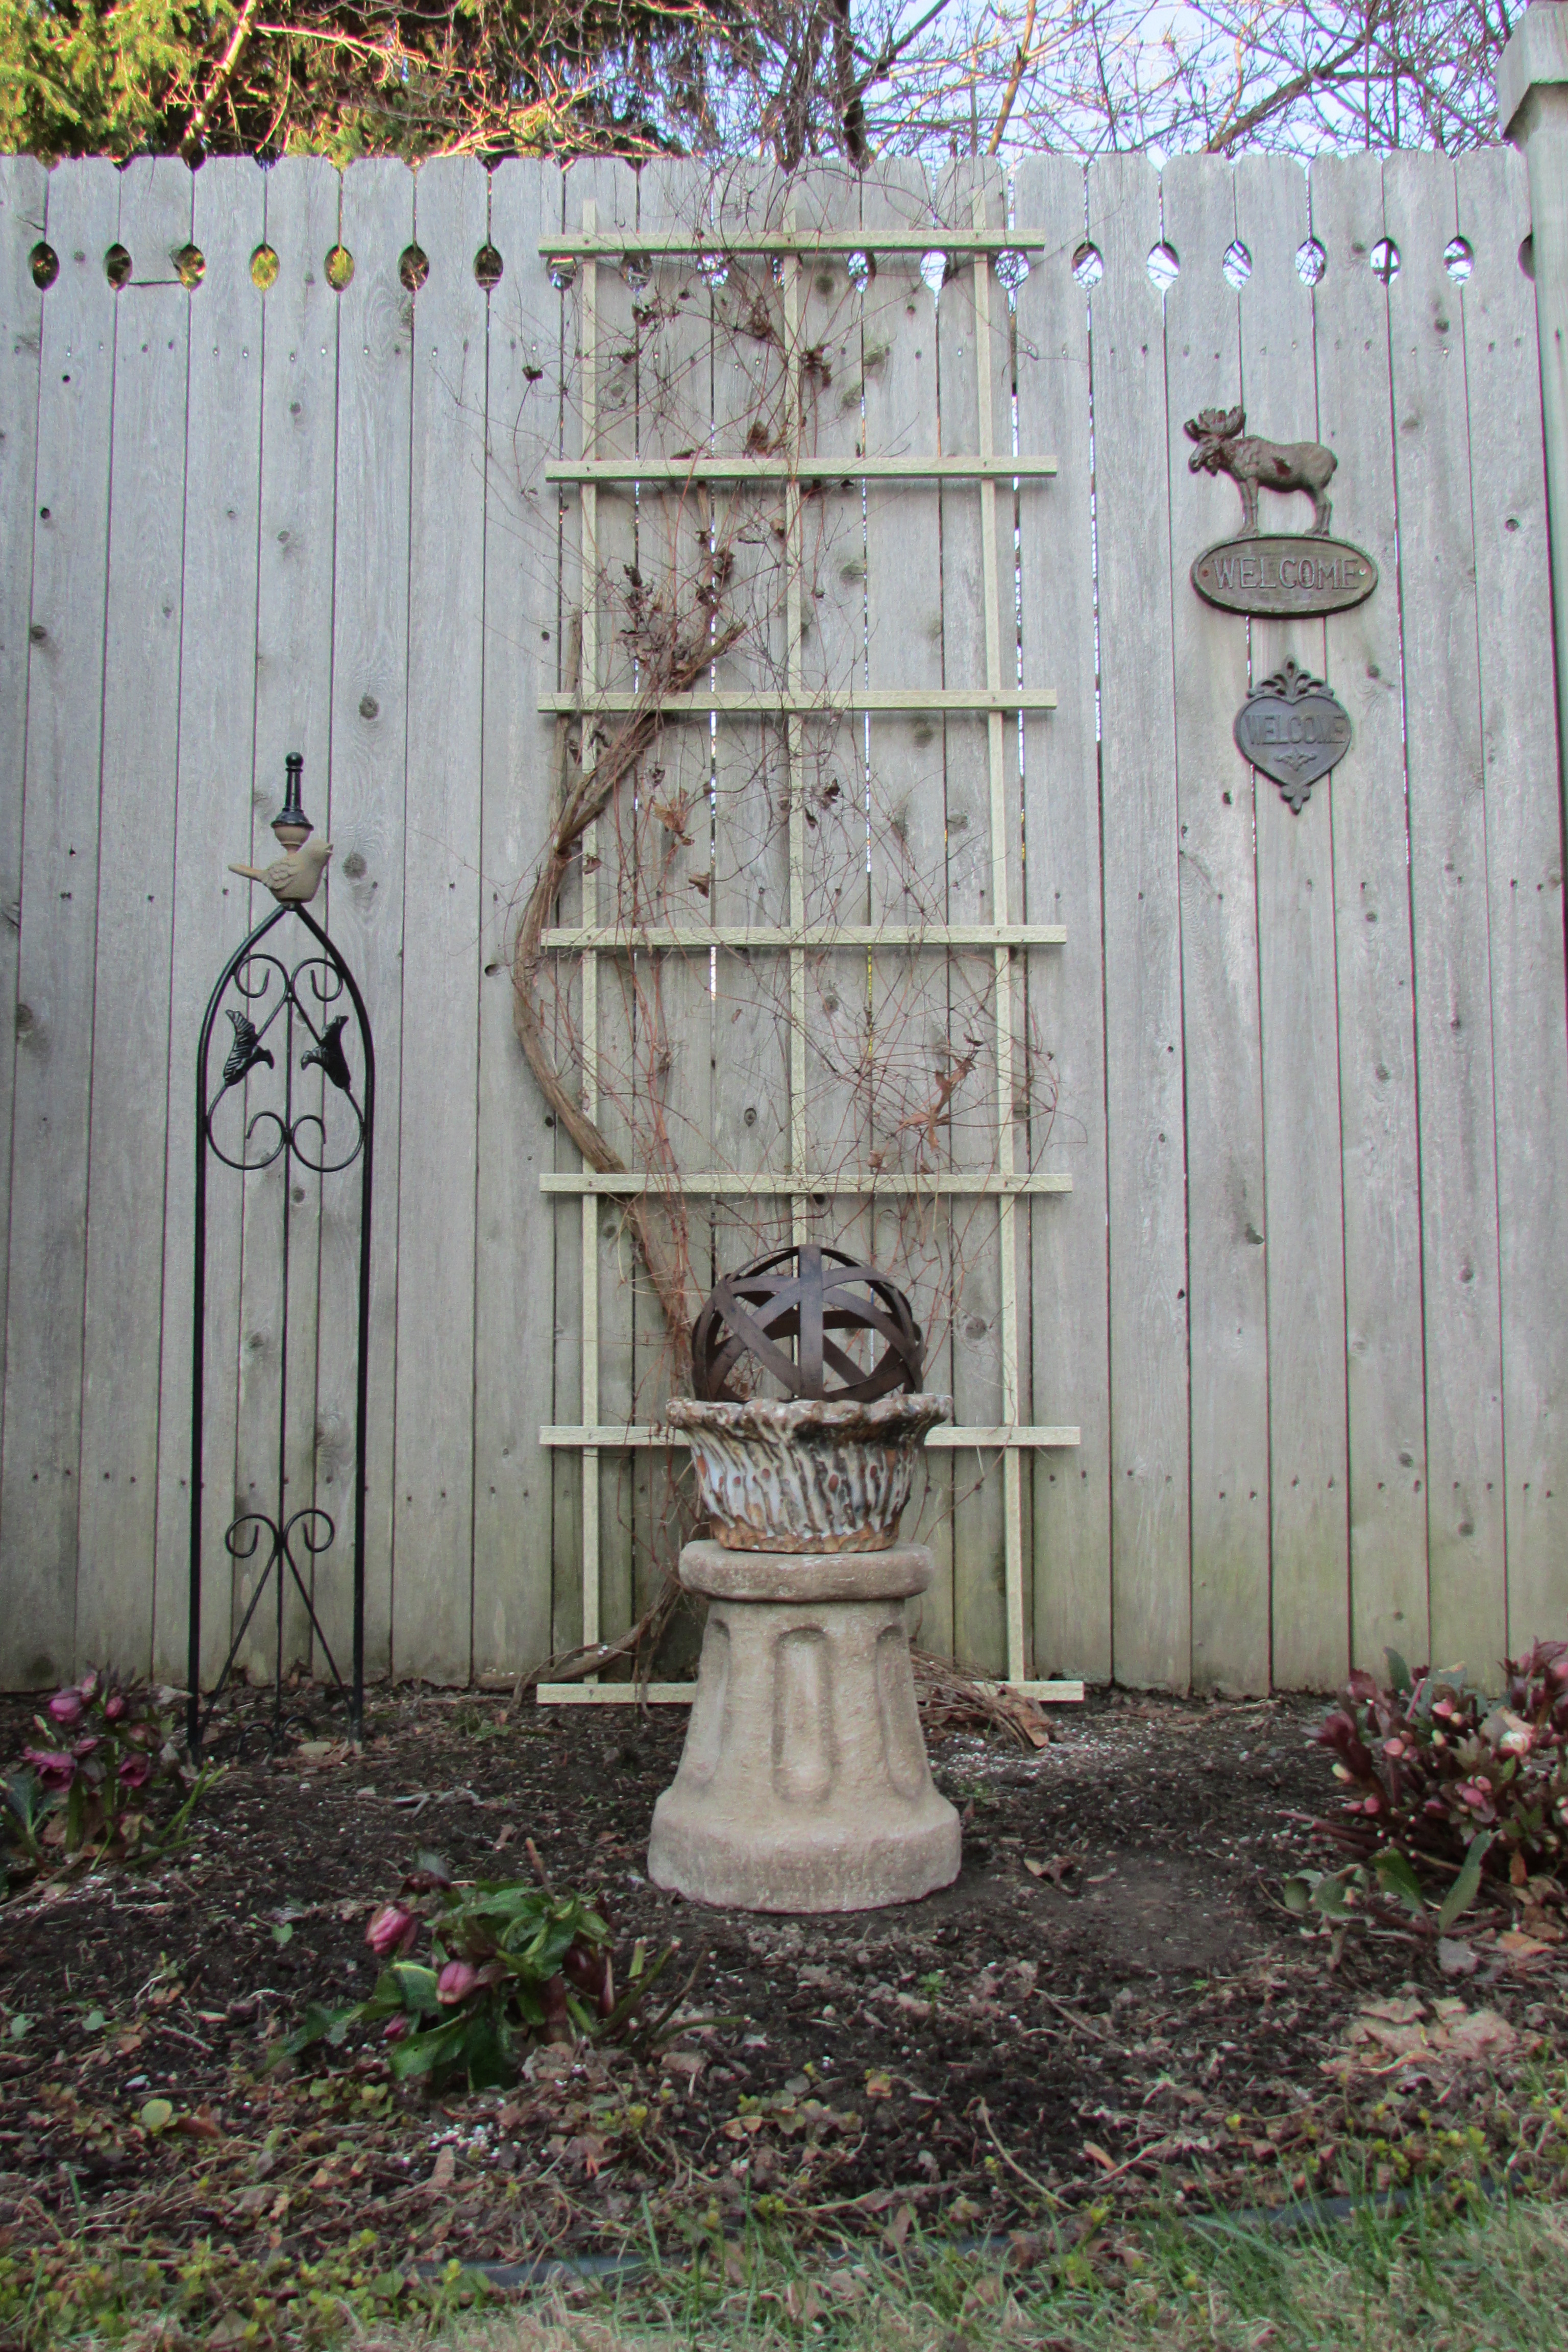 This is a view of some things I assembled by my side garden gate. The cement base I got, on sale, at a garden center in the Berkshires of Massachusetts, the planter on top of it I made in college, and the metal strap sphere came from Target. What I want you to think about here is how you can stack / repurpose different things to make an interesting garden presentation.
  Opening my garden gate, this is the first thing you see. Instead of a picnic table under the tree, I put two bistro tables together. I can easily sit six with them set like this, or if separated, eight can sit between the two tables.
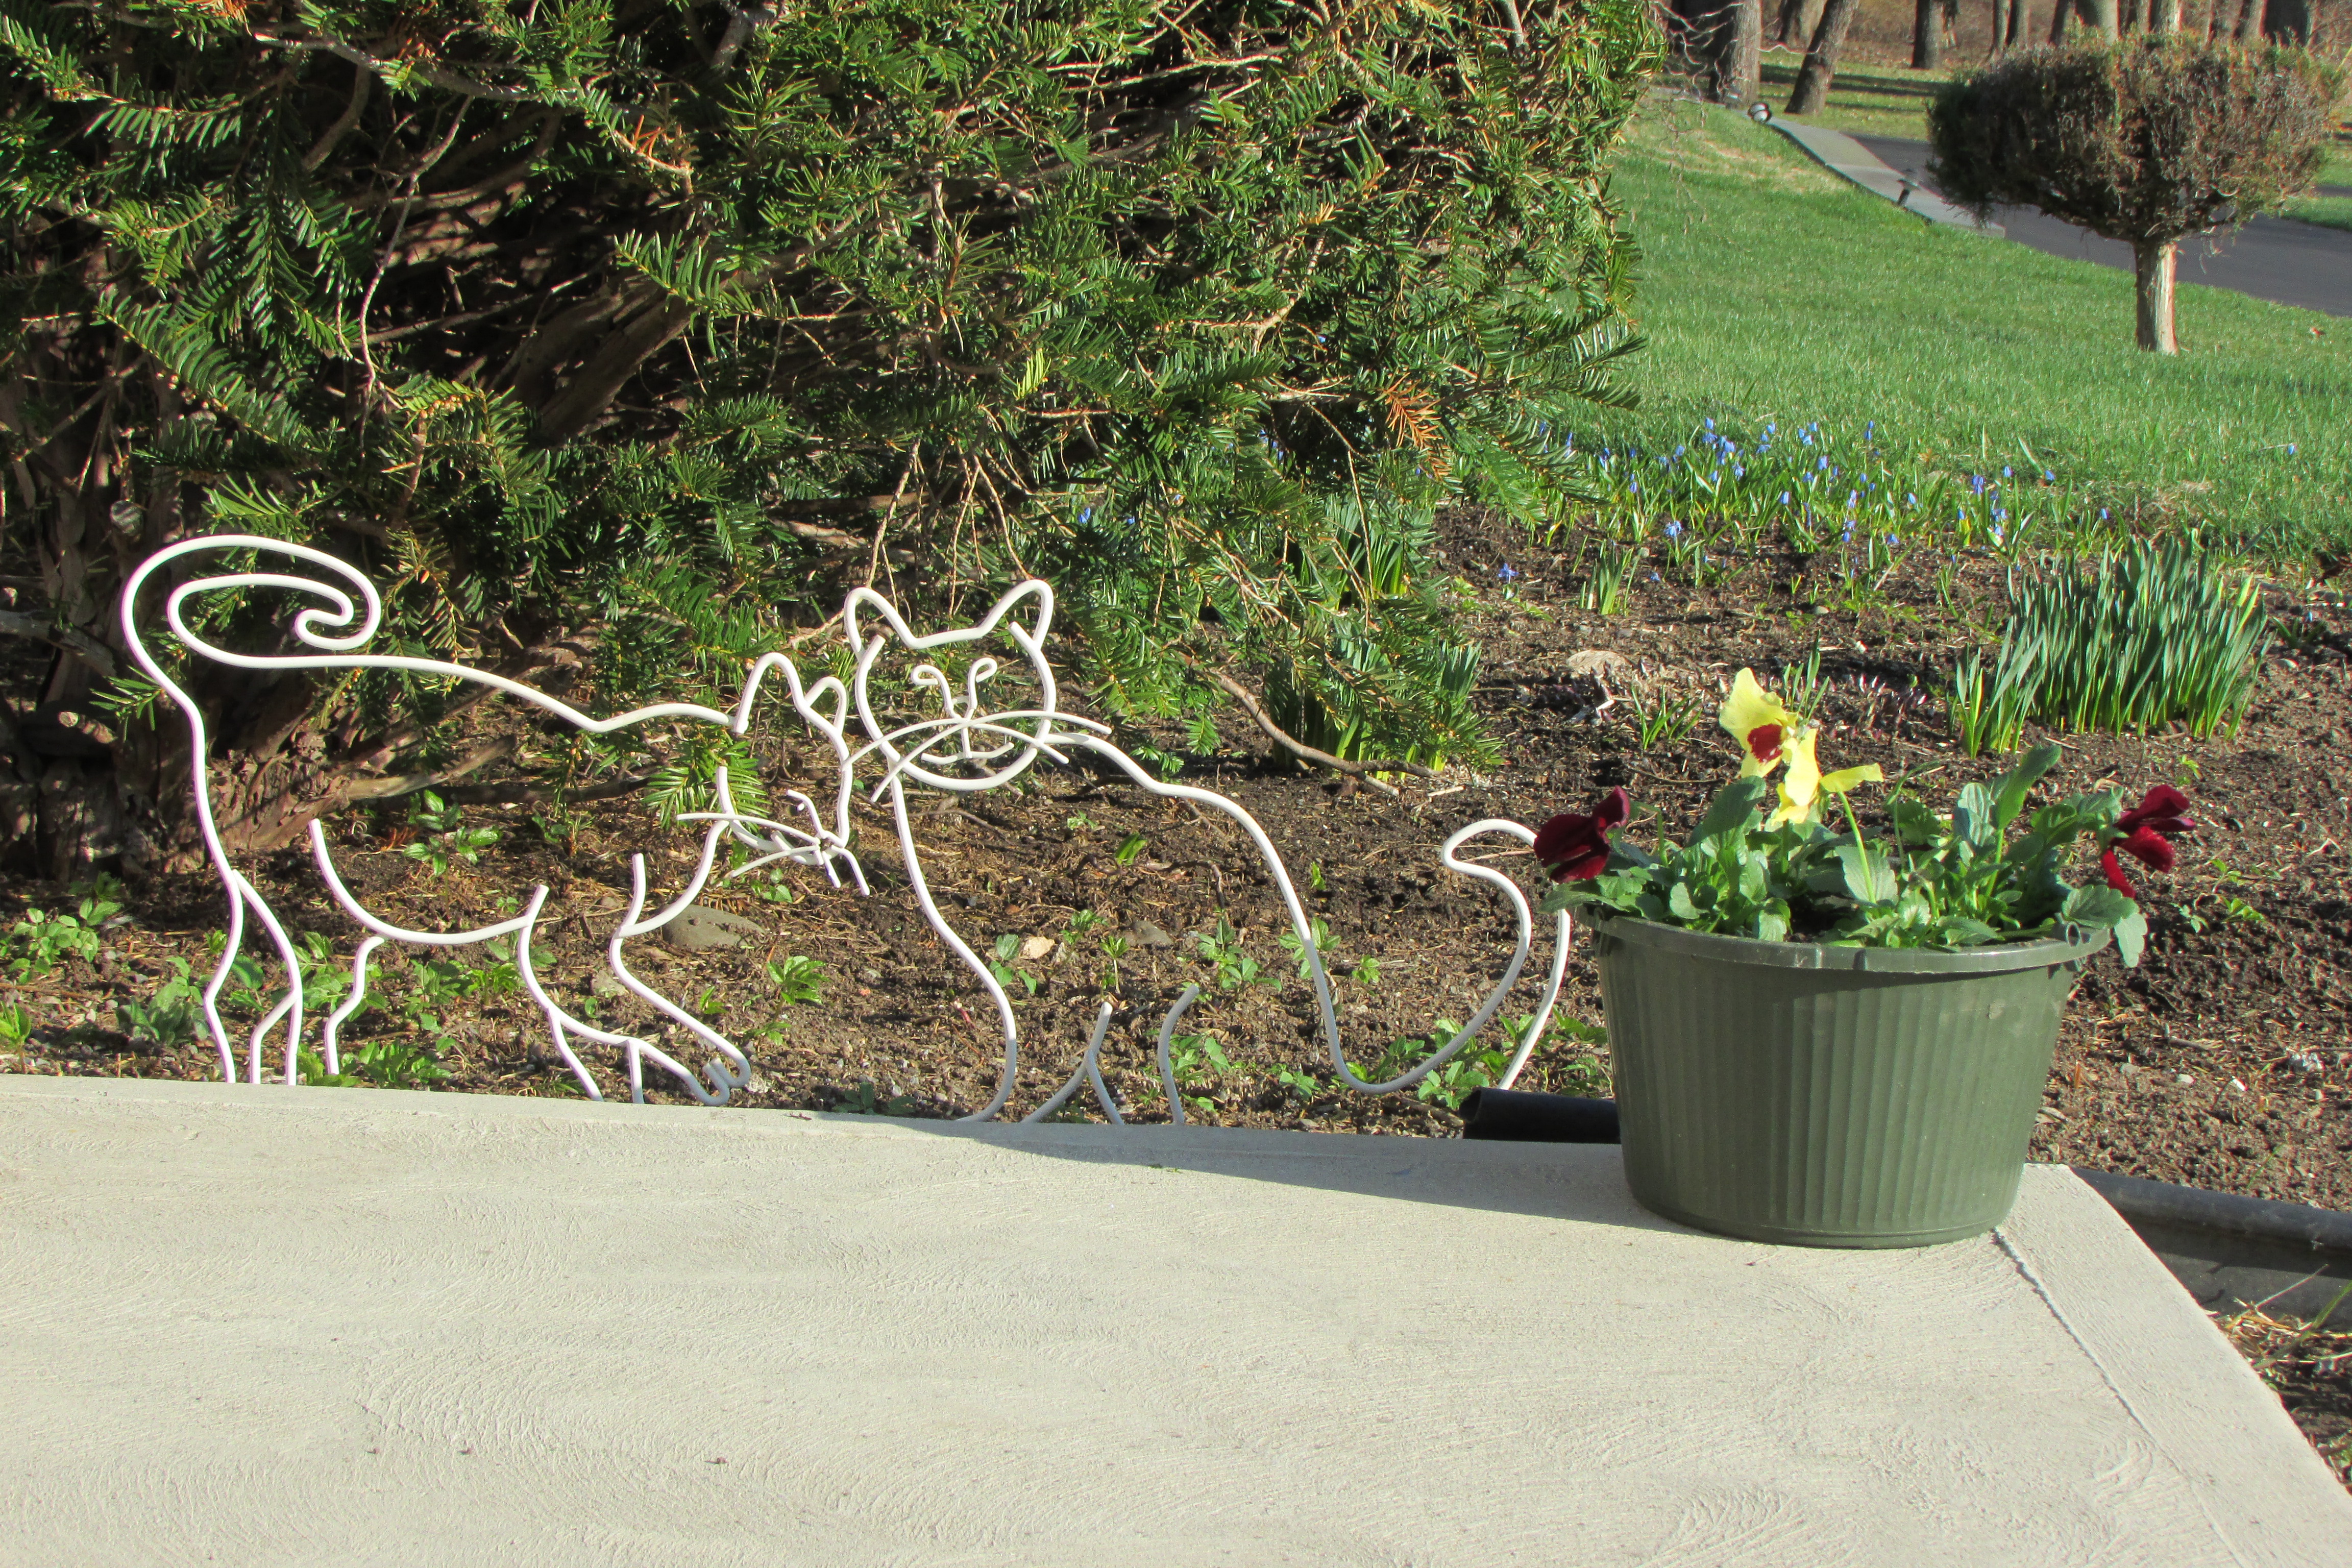
Now look at the bricks I planted in the grass below the tables. They form a checkerboard kind of rug that designated the eating area under the tree. Next look up above the tables and notice the chandelier or should I say “candlelier”. Again, as with a lot of the things I decorated the garden with, it was found on sale. Did you notice the wire screen cone?, it is one of two that flank the chandelier. 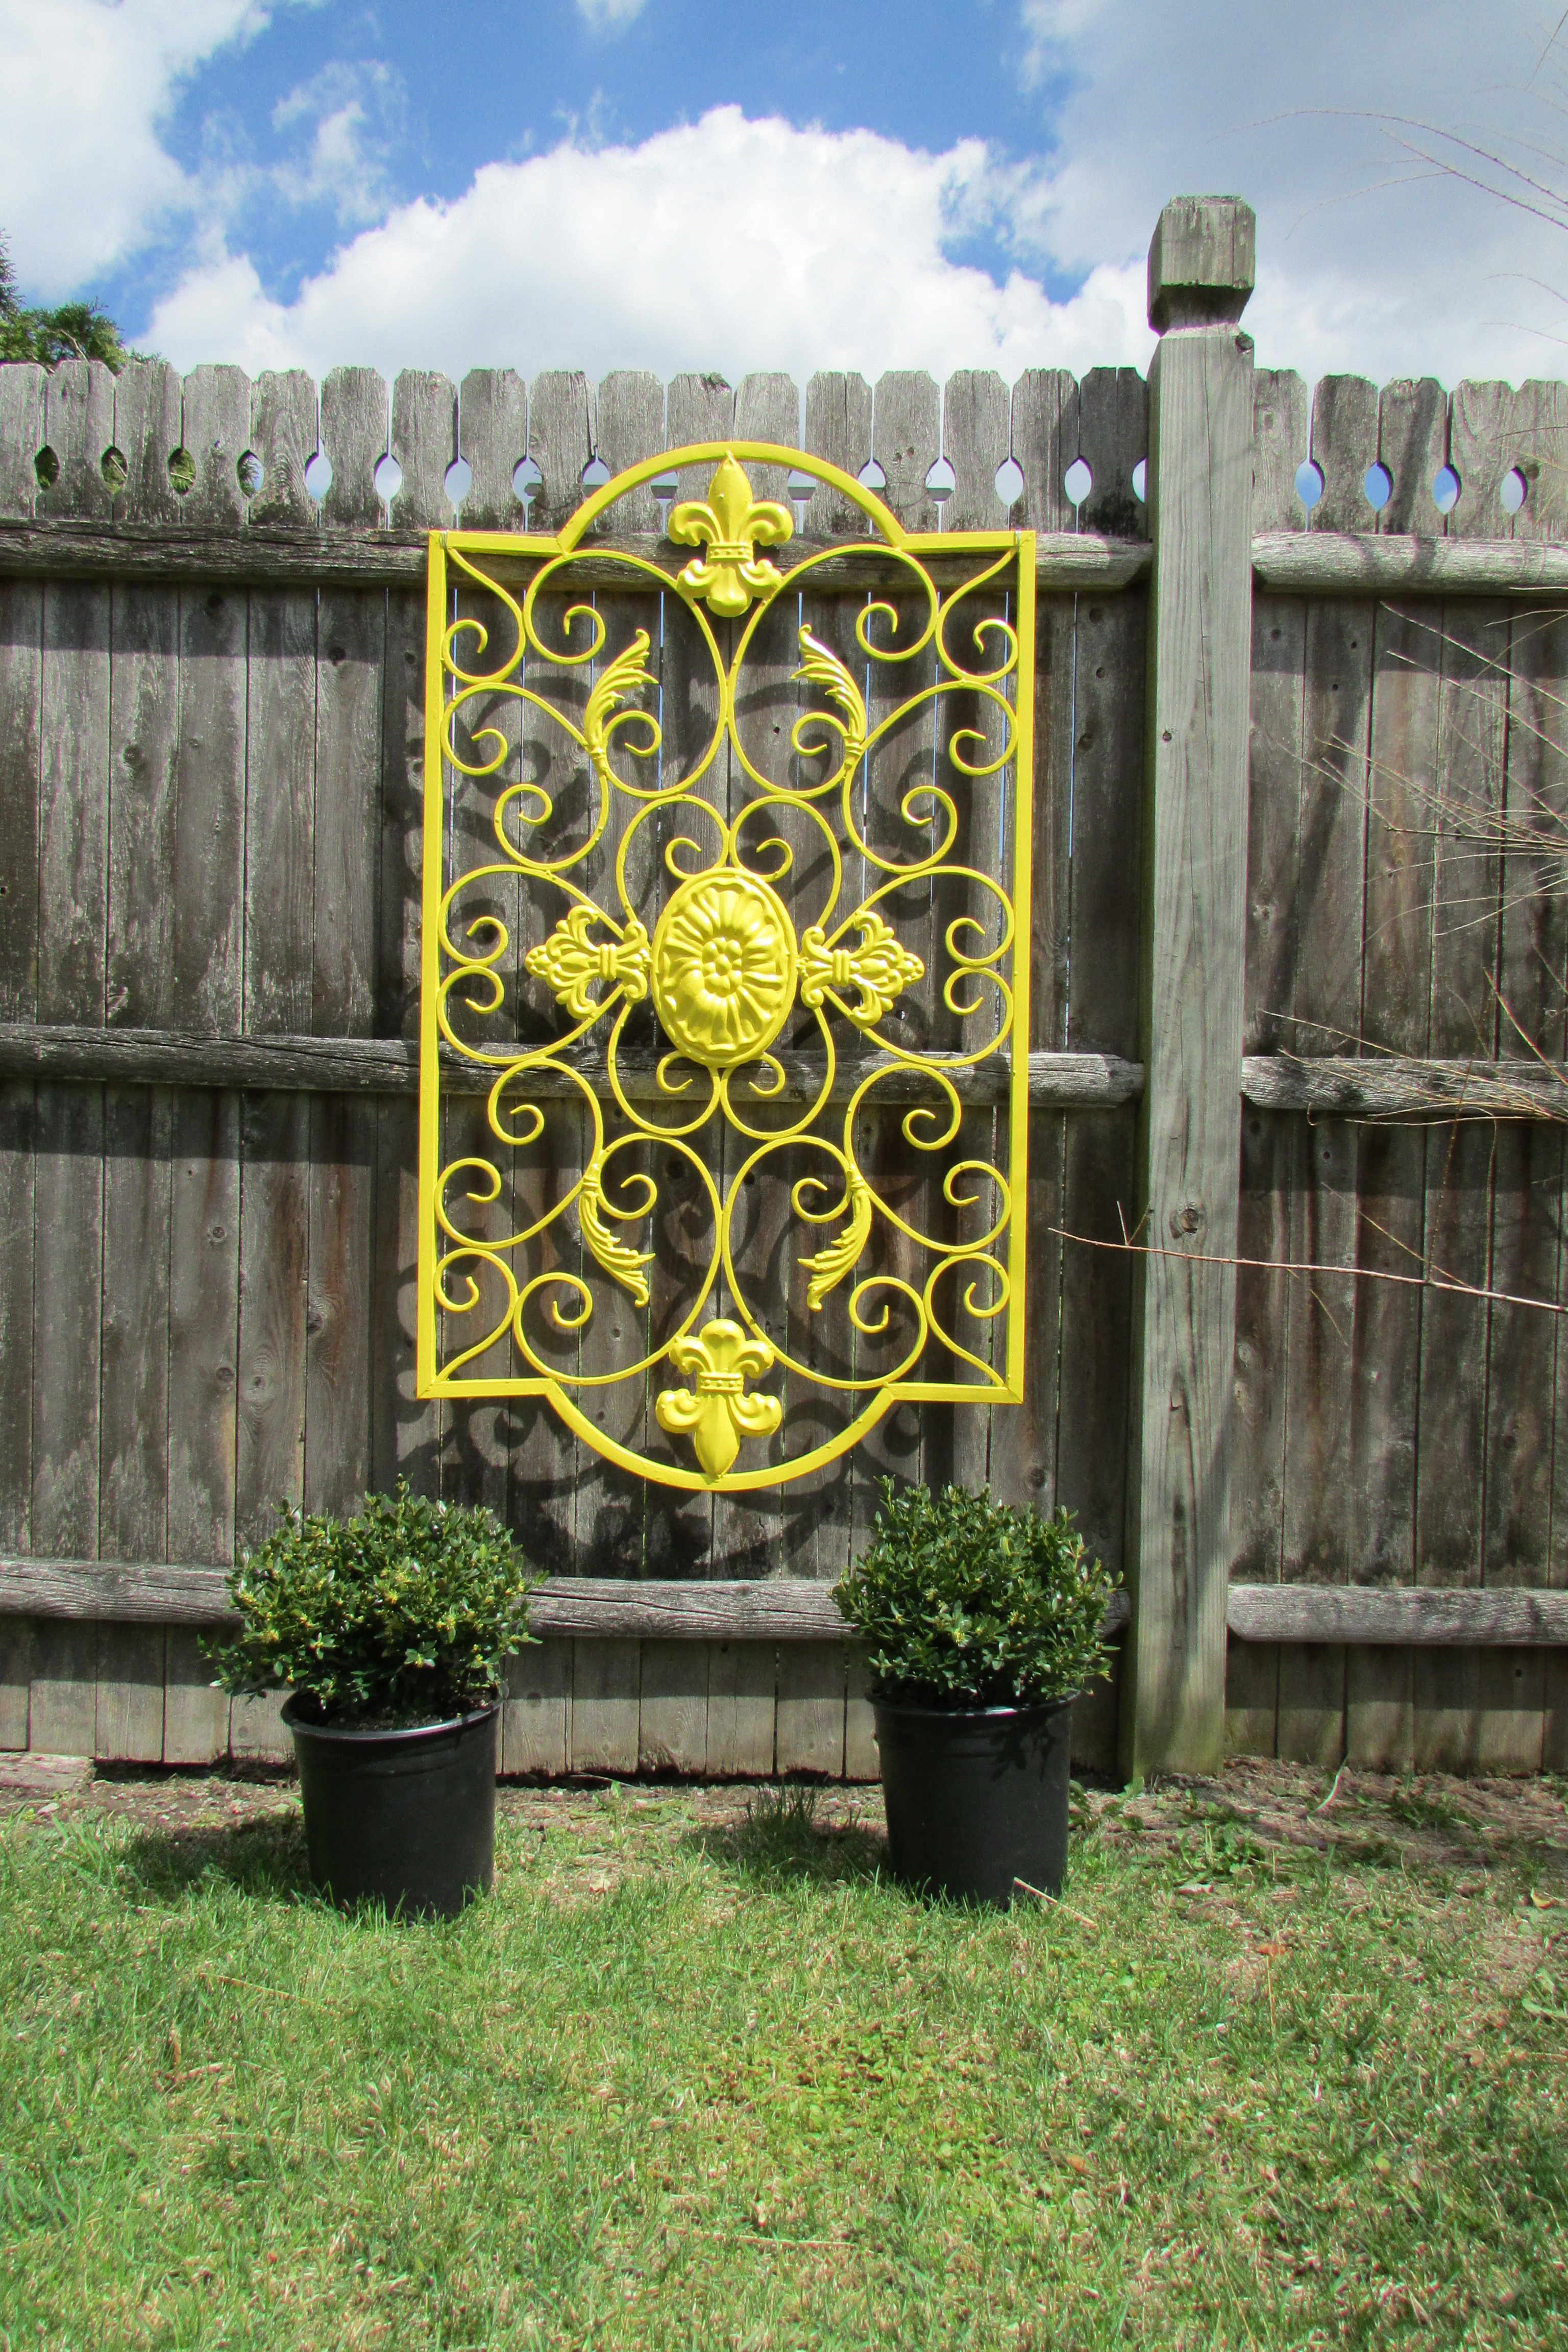
 Recently, at my local Hobby Lobby, I found this wonderful metal decoration, it reminds me of gates you see in Charleston. The piece started out in a rust and green color, but blended into the fence too much, when I put it up. Three coats of primer and paint brushed on its front and back made it stand out, and now it looks perfect at the far end of the long walk.
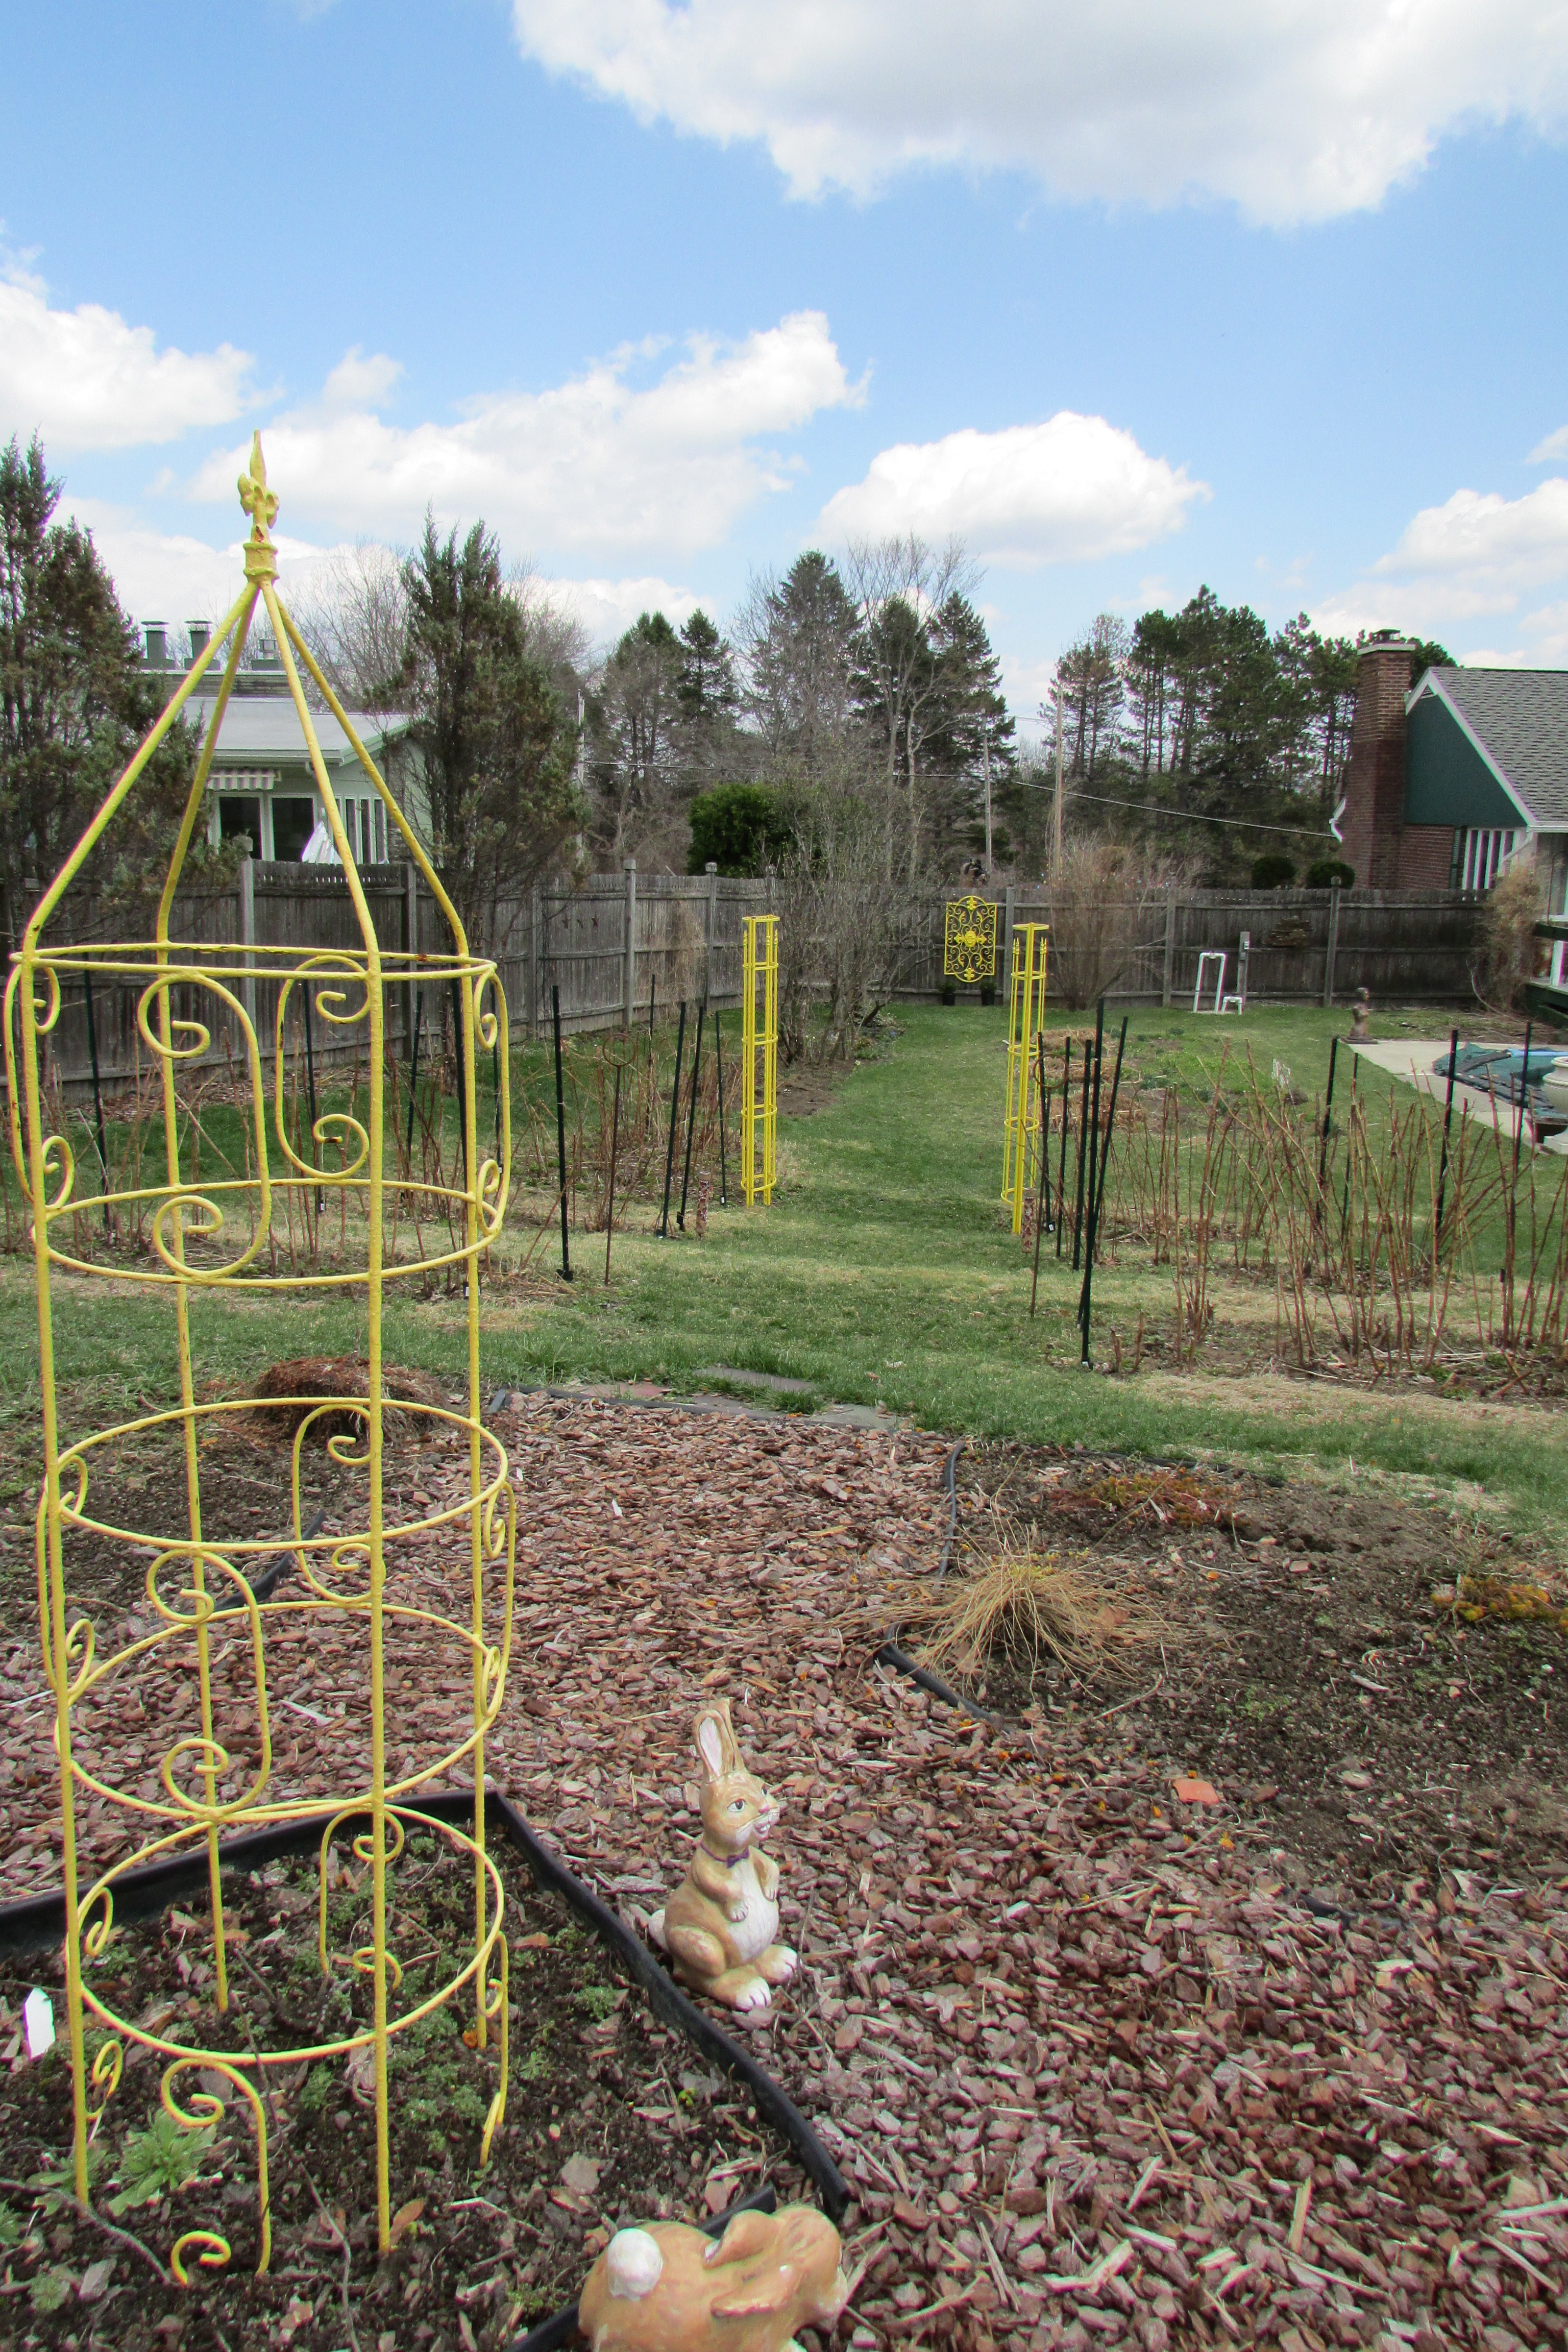
I’ve gone on many garden tours, and a lot of the great gardens have boxwood. I’m running out of planting space, but I will soon be planting the two boxwood spheres at the base of the metal decoration. They will be allowed to grow about 3 feet tall, and I will try shearing them into whimsical shapes. They also add a bit of Winter interest at that part of the garden. 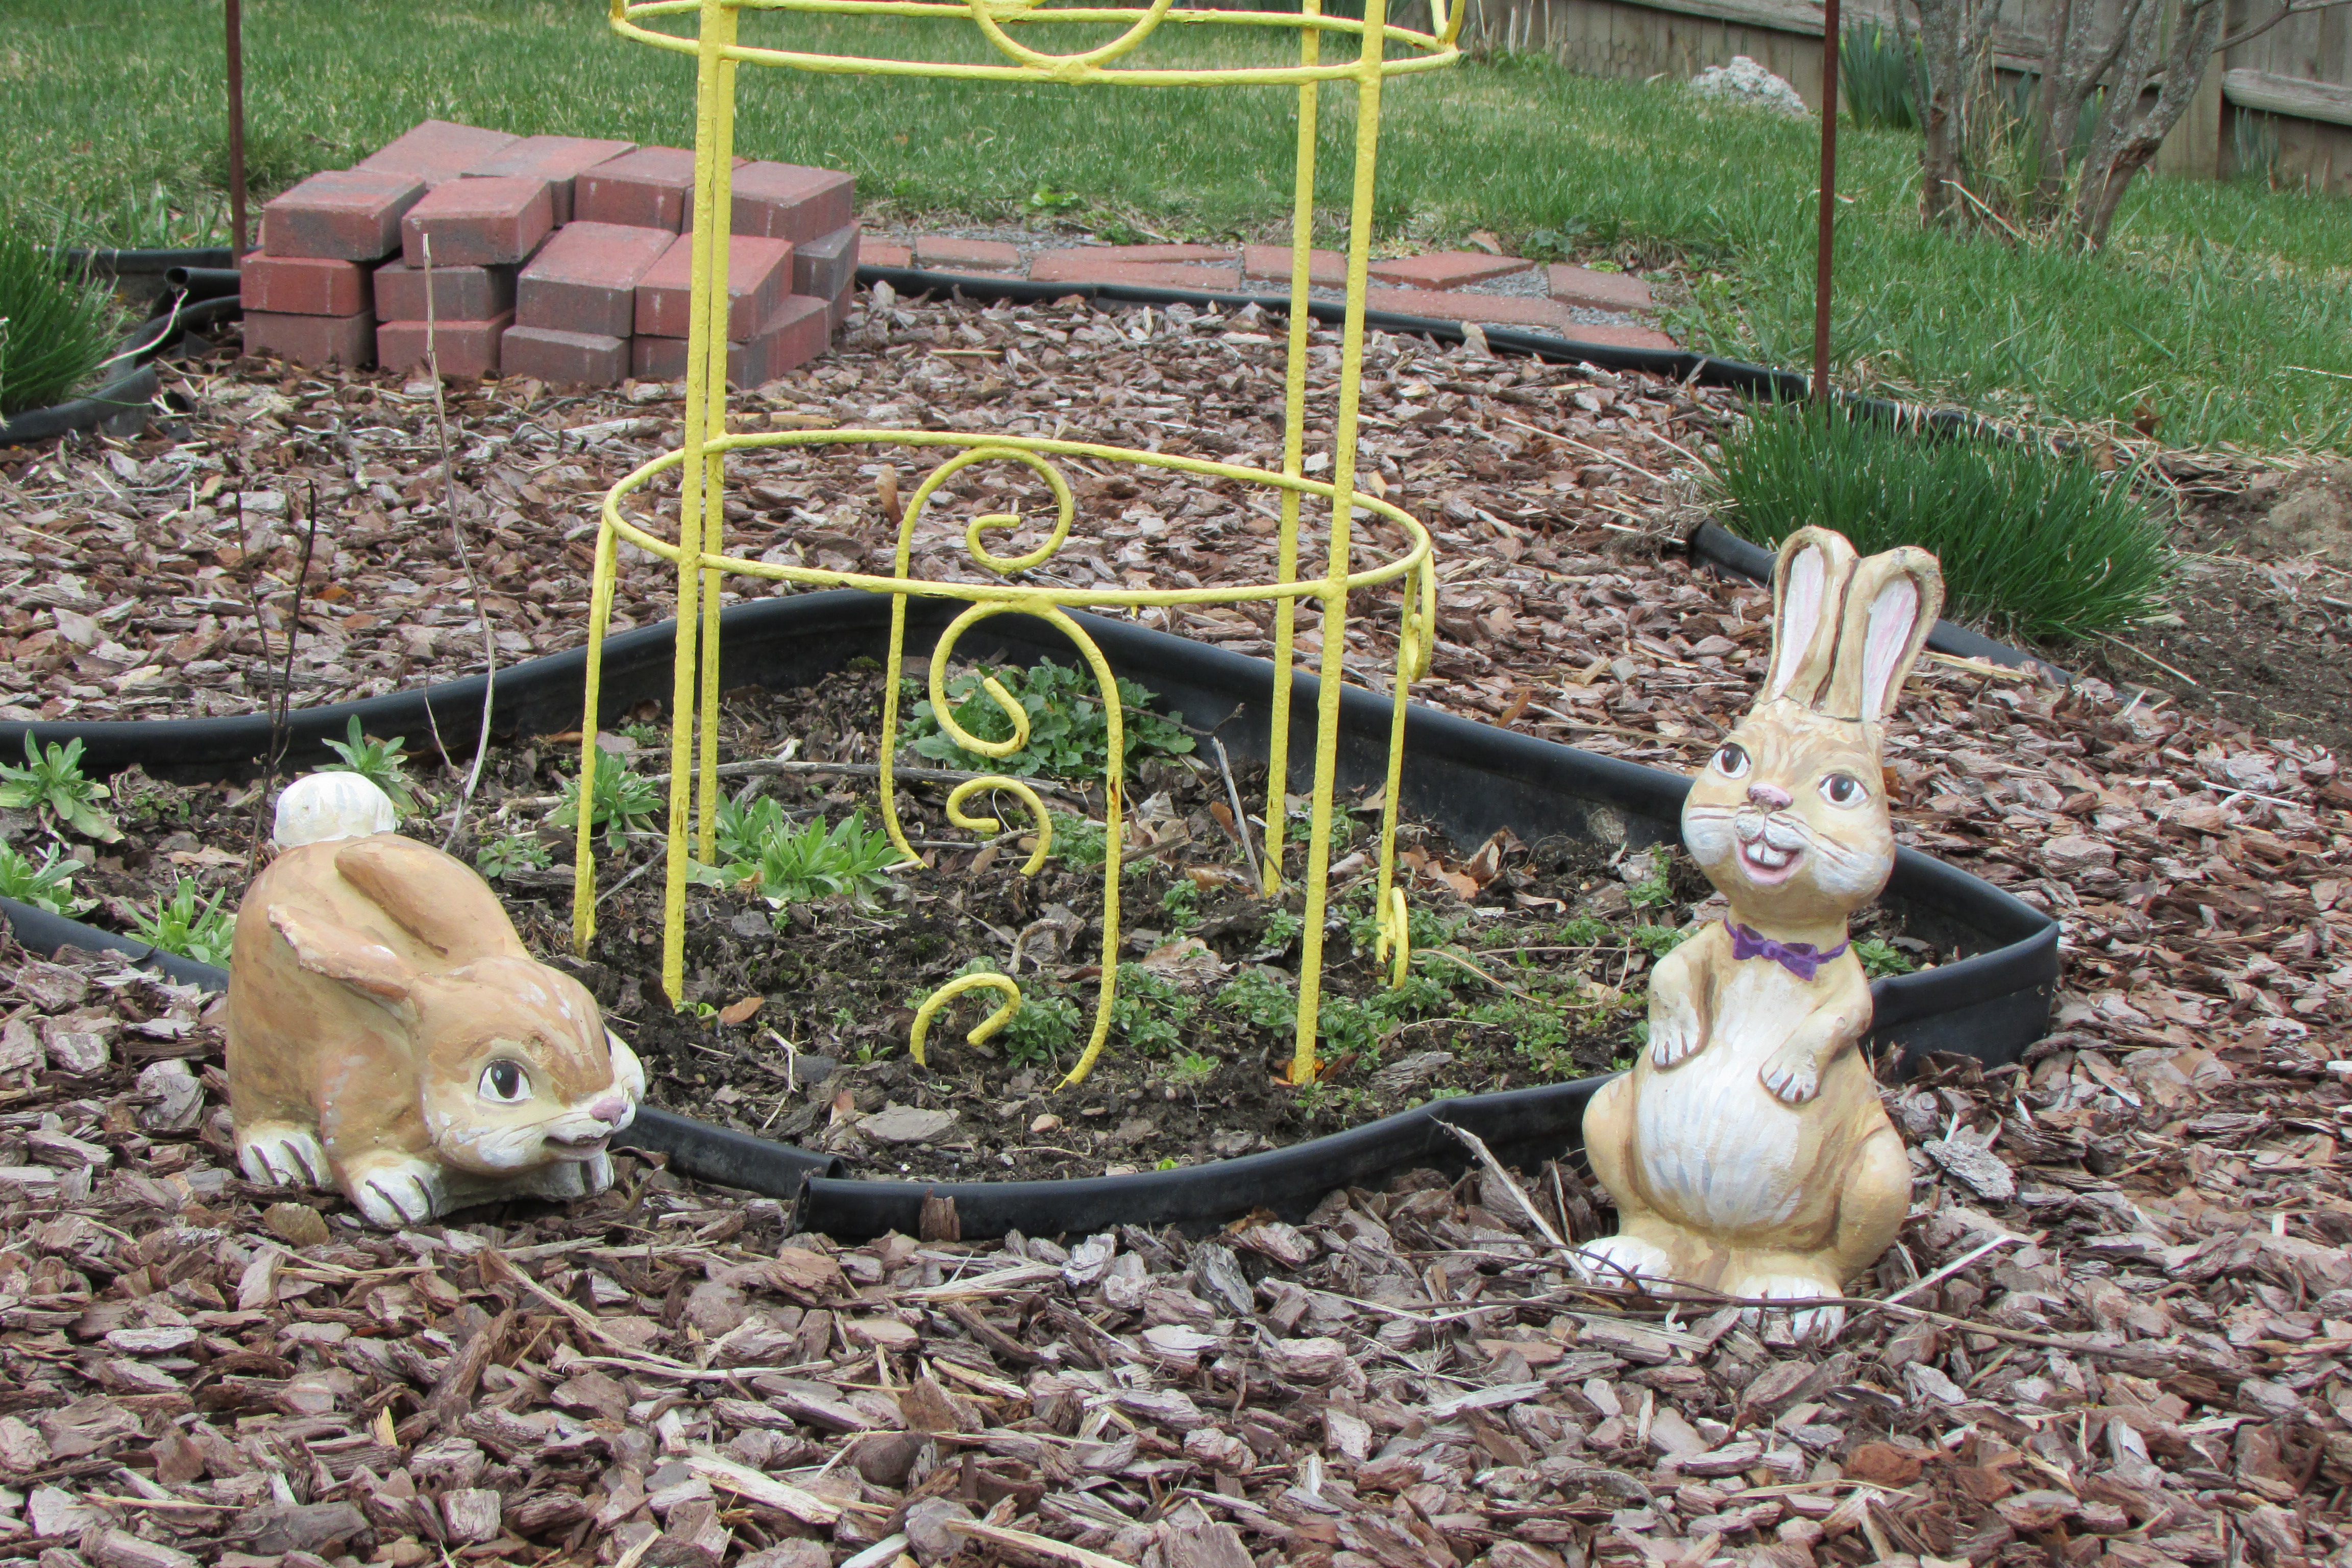 Did you notice the two rabbits at the base of the wire obelisk in the center of the vegetable garden, at one end of the long walk? In 1970 my family went on a cross-country vacation, with my father driving from New York state to California and back again. Those two cement rabbits I picked up at a garden center next to the Knott’s Berry Farm. They came back, across country, on my lap. Those rabbits, that I then just had to have, started out painted white with touches of black and red, but a few years ago they looked worn, so I changed their colors.
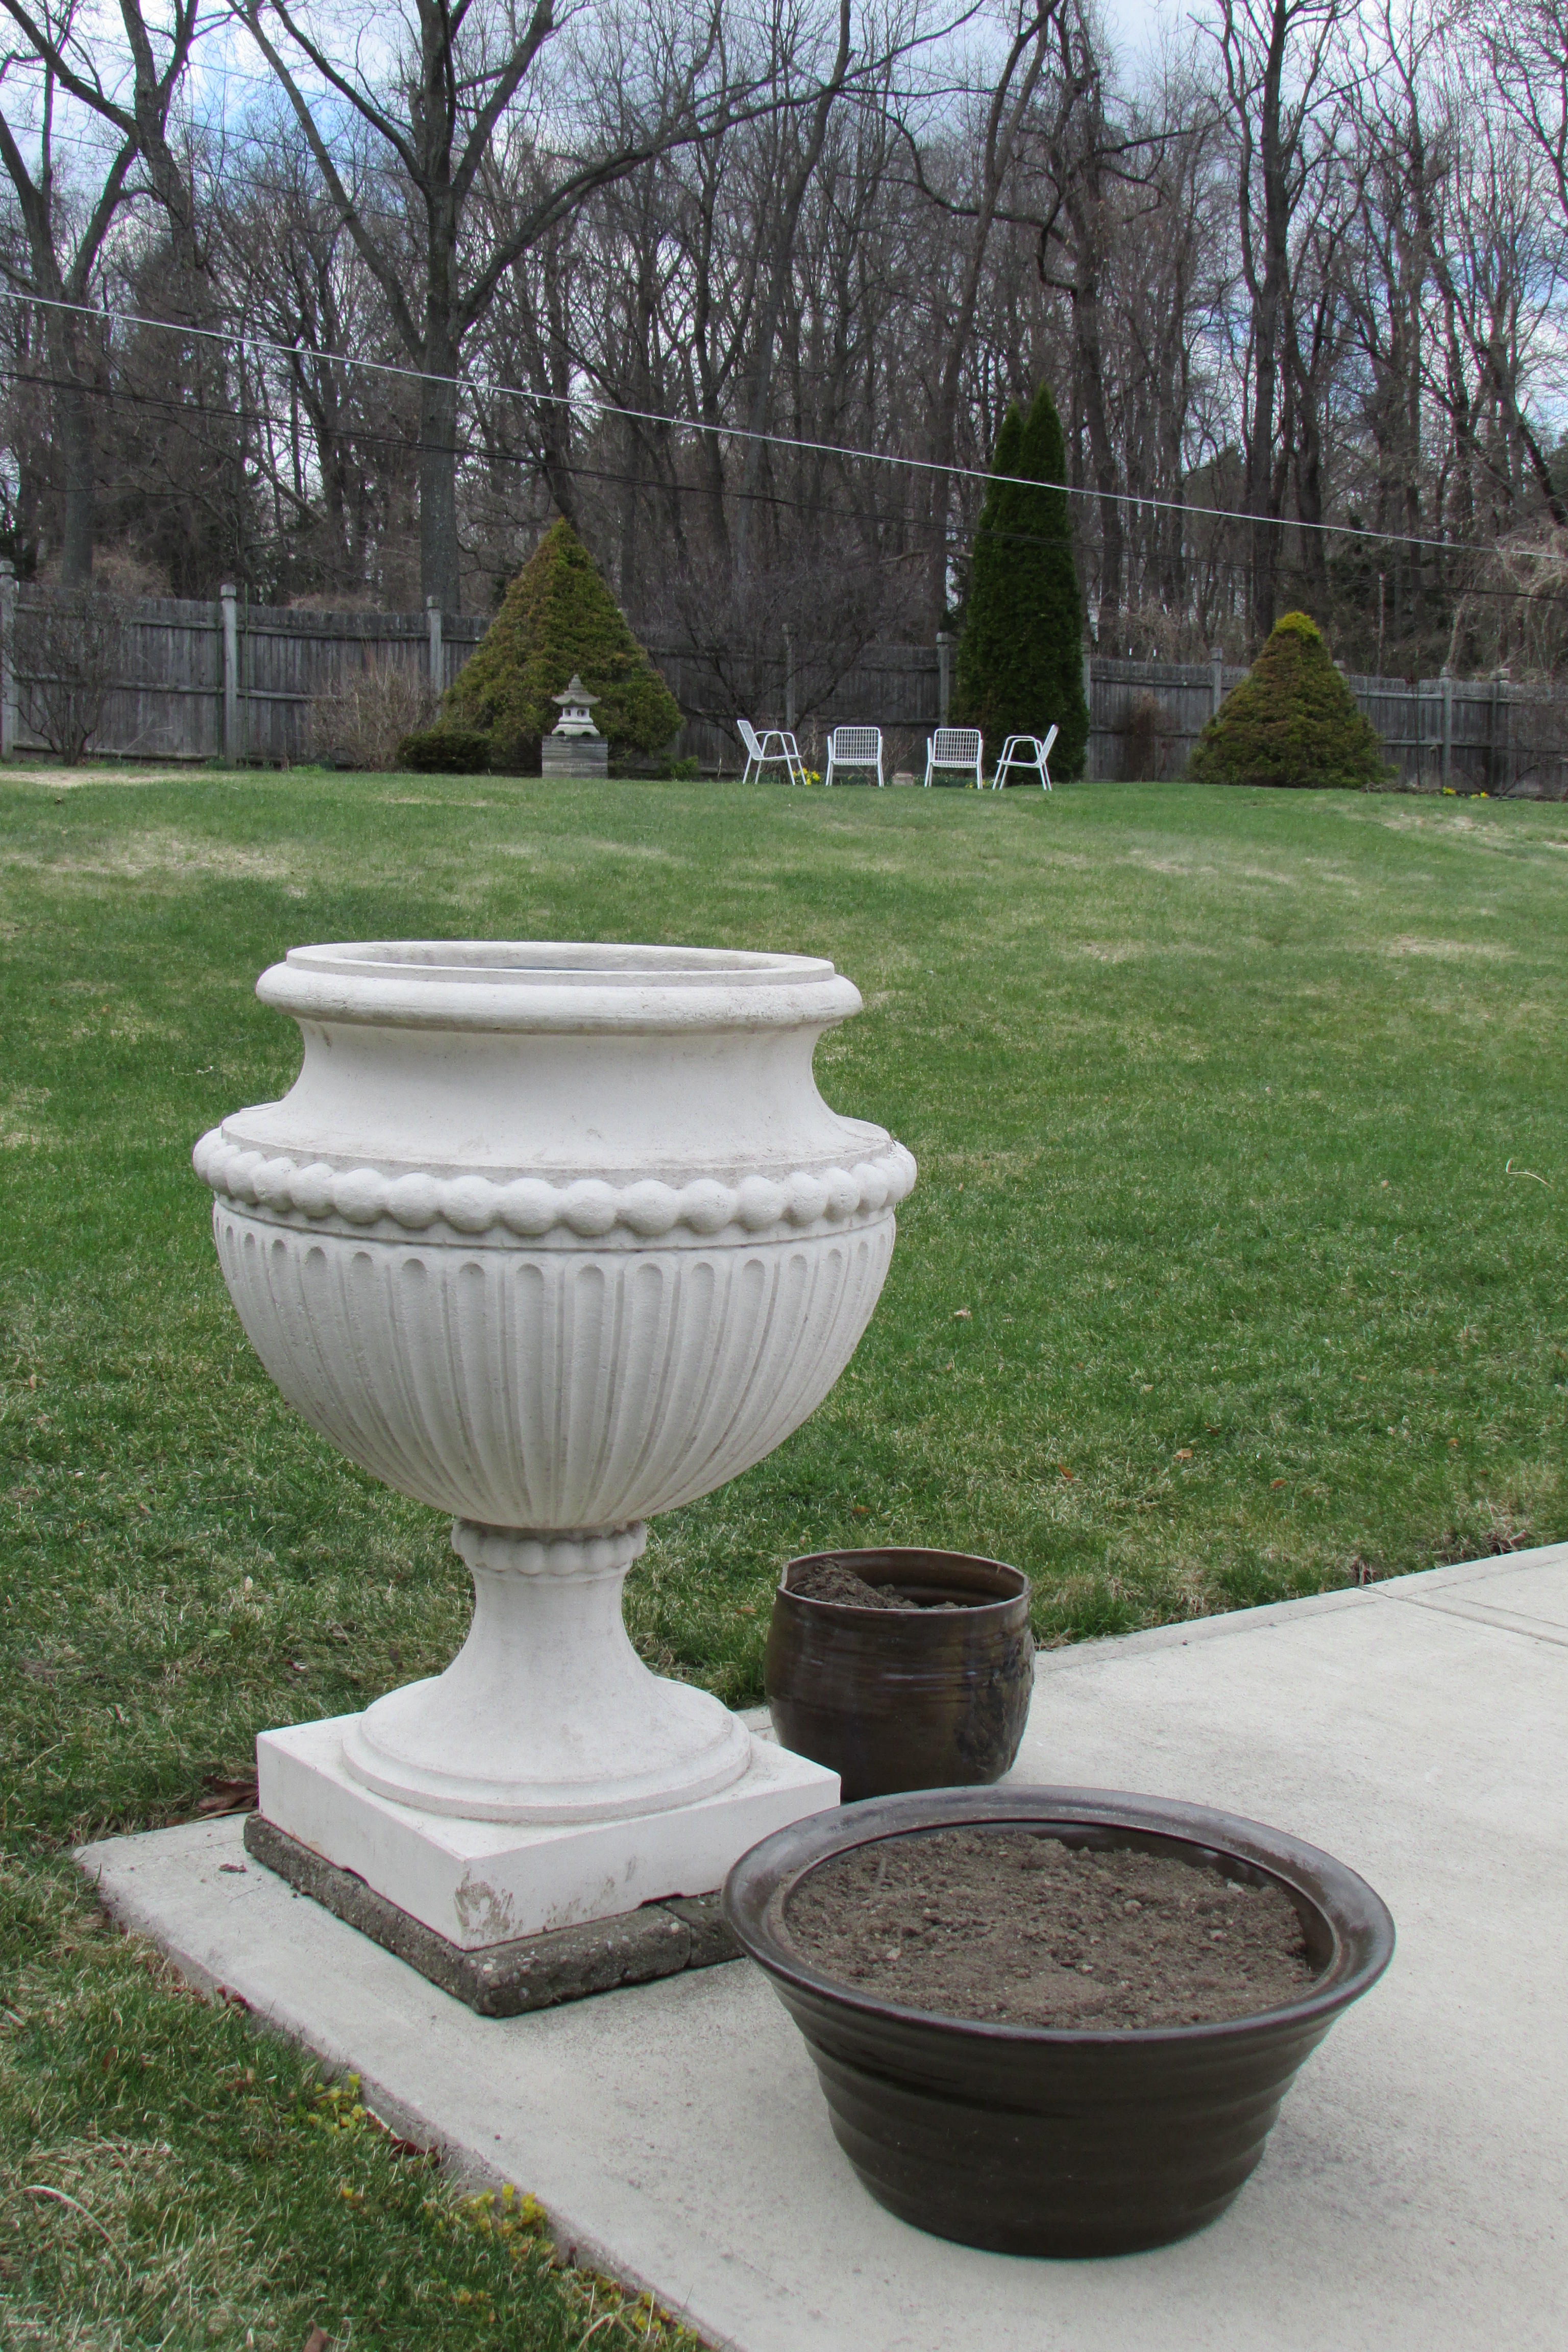
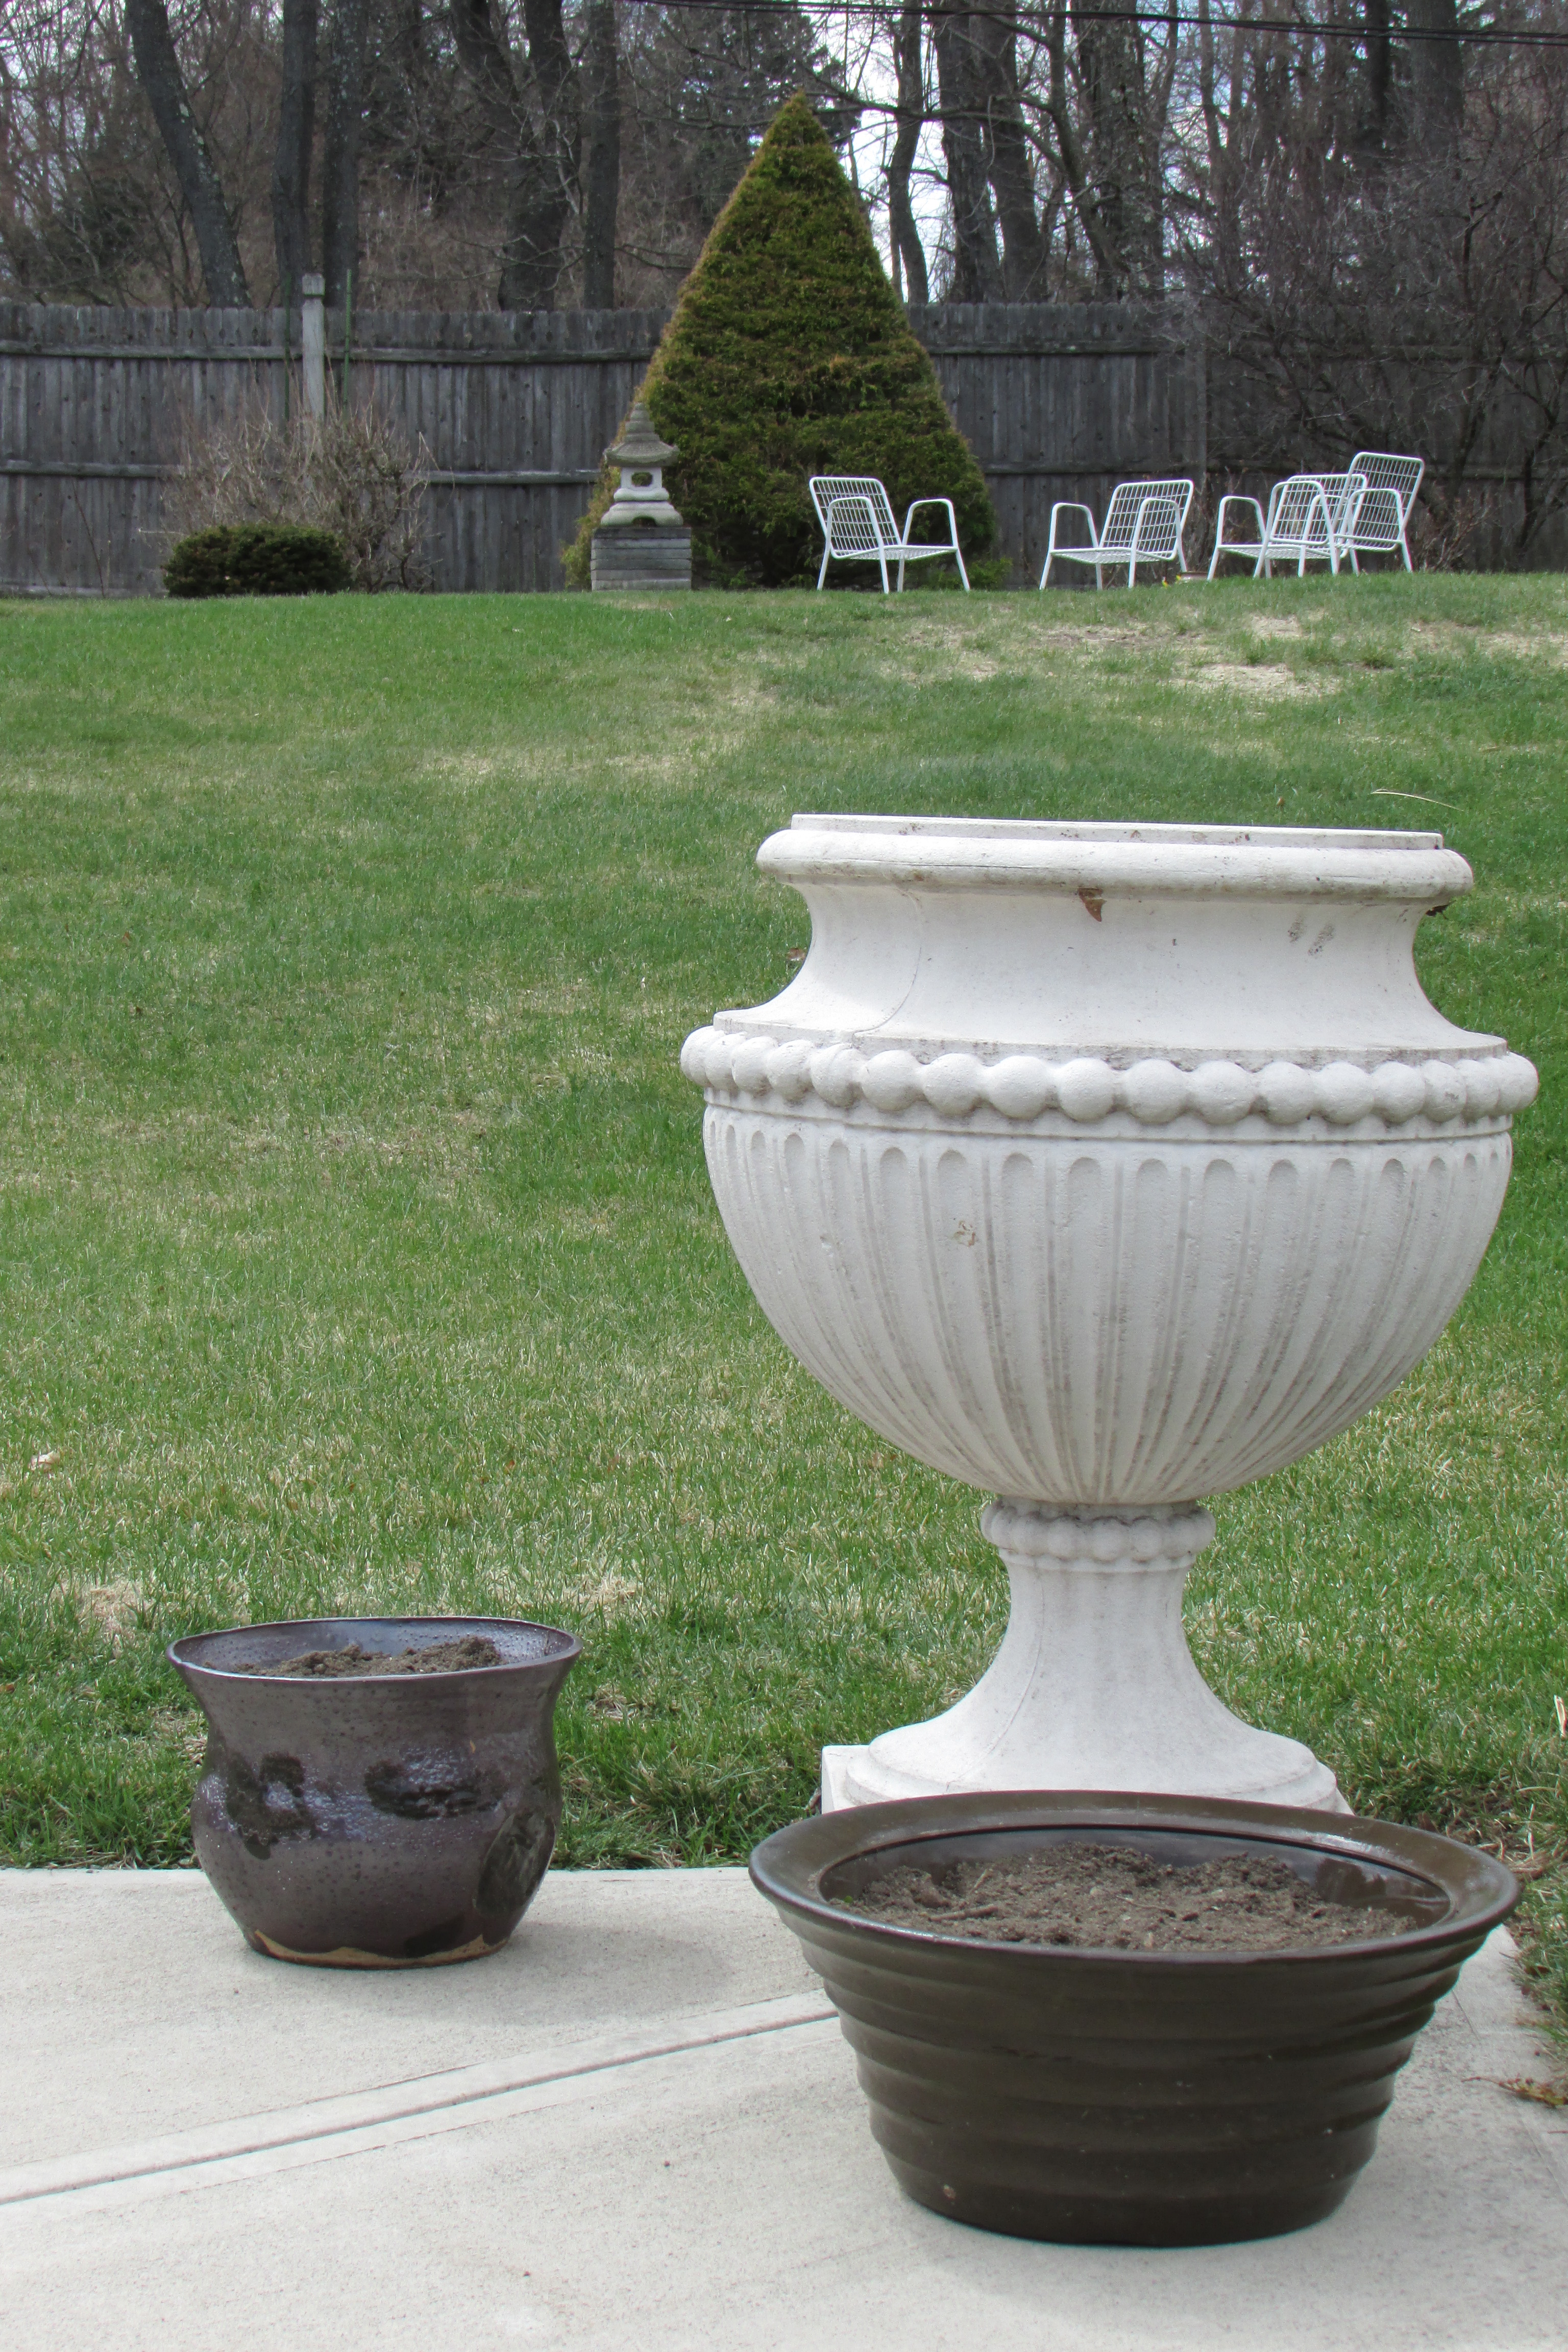 I love my pair of white urns; they are 32 inches tall. Some people think they are painted iron, I think they look like honed marble. But truthfully they were made in Italy and are plastic. I picked them up, one Fall, at a two for one sale. The small planters at their bases I made in college, and the large wide-mouth planters are plastic and I bought them at Lowe’s at the end of a season. If I like something, have the place to put it/them and the price is right, I will buy two. Having two of anything gives me more options for displaying than one does.
 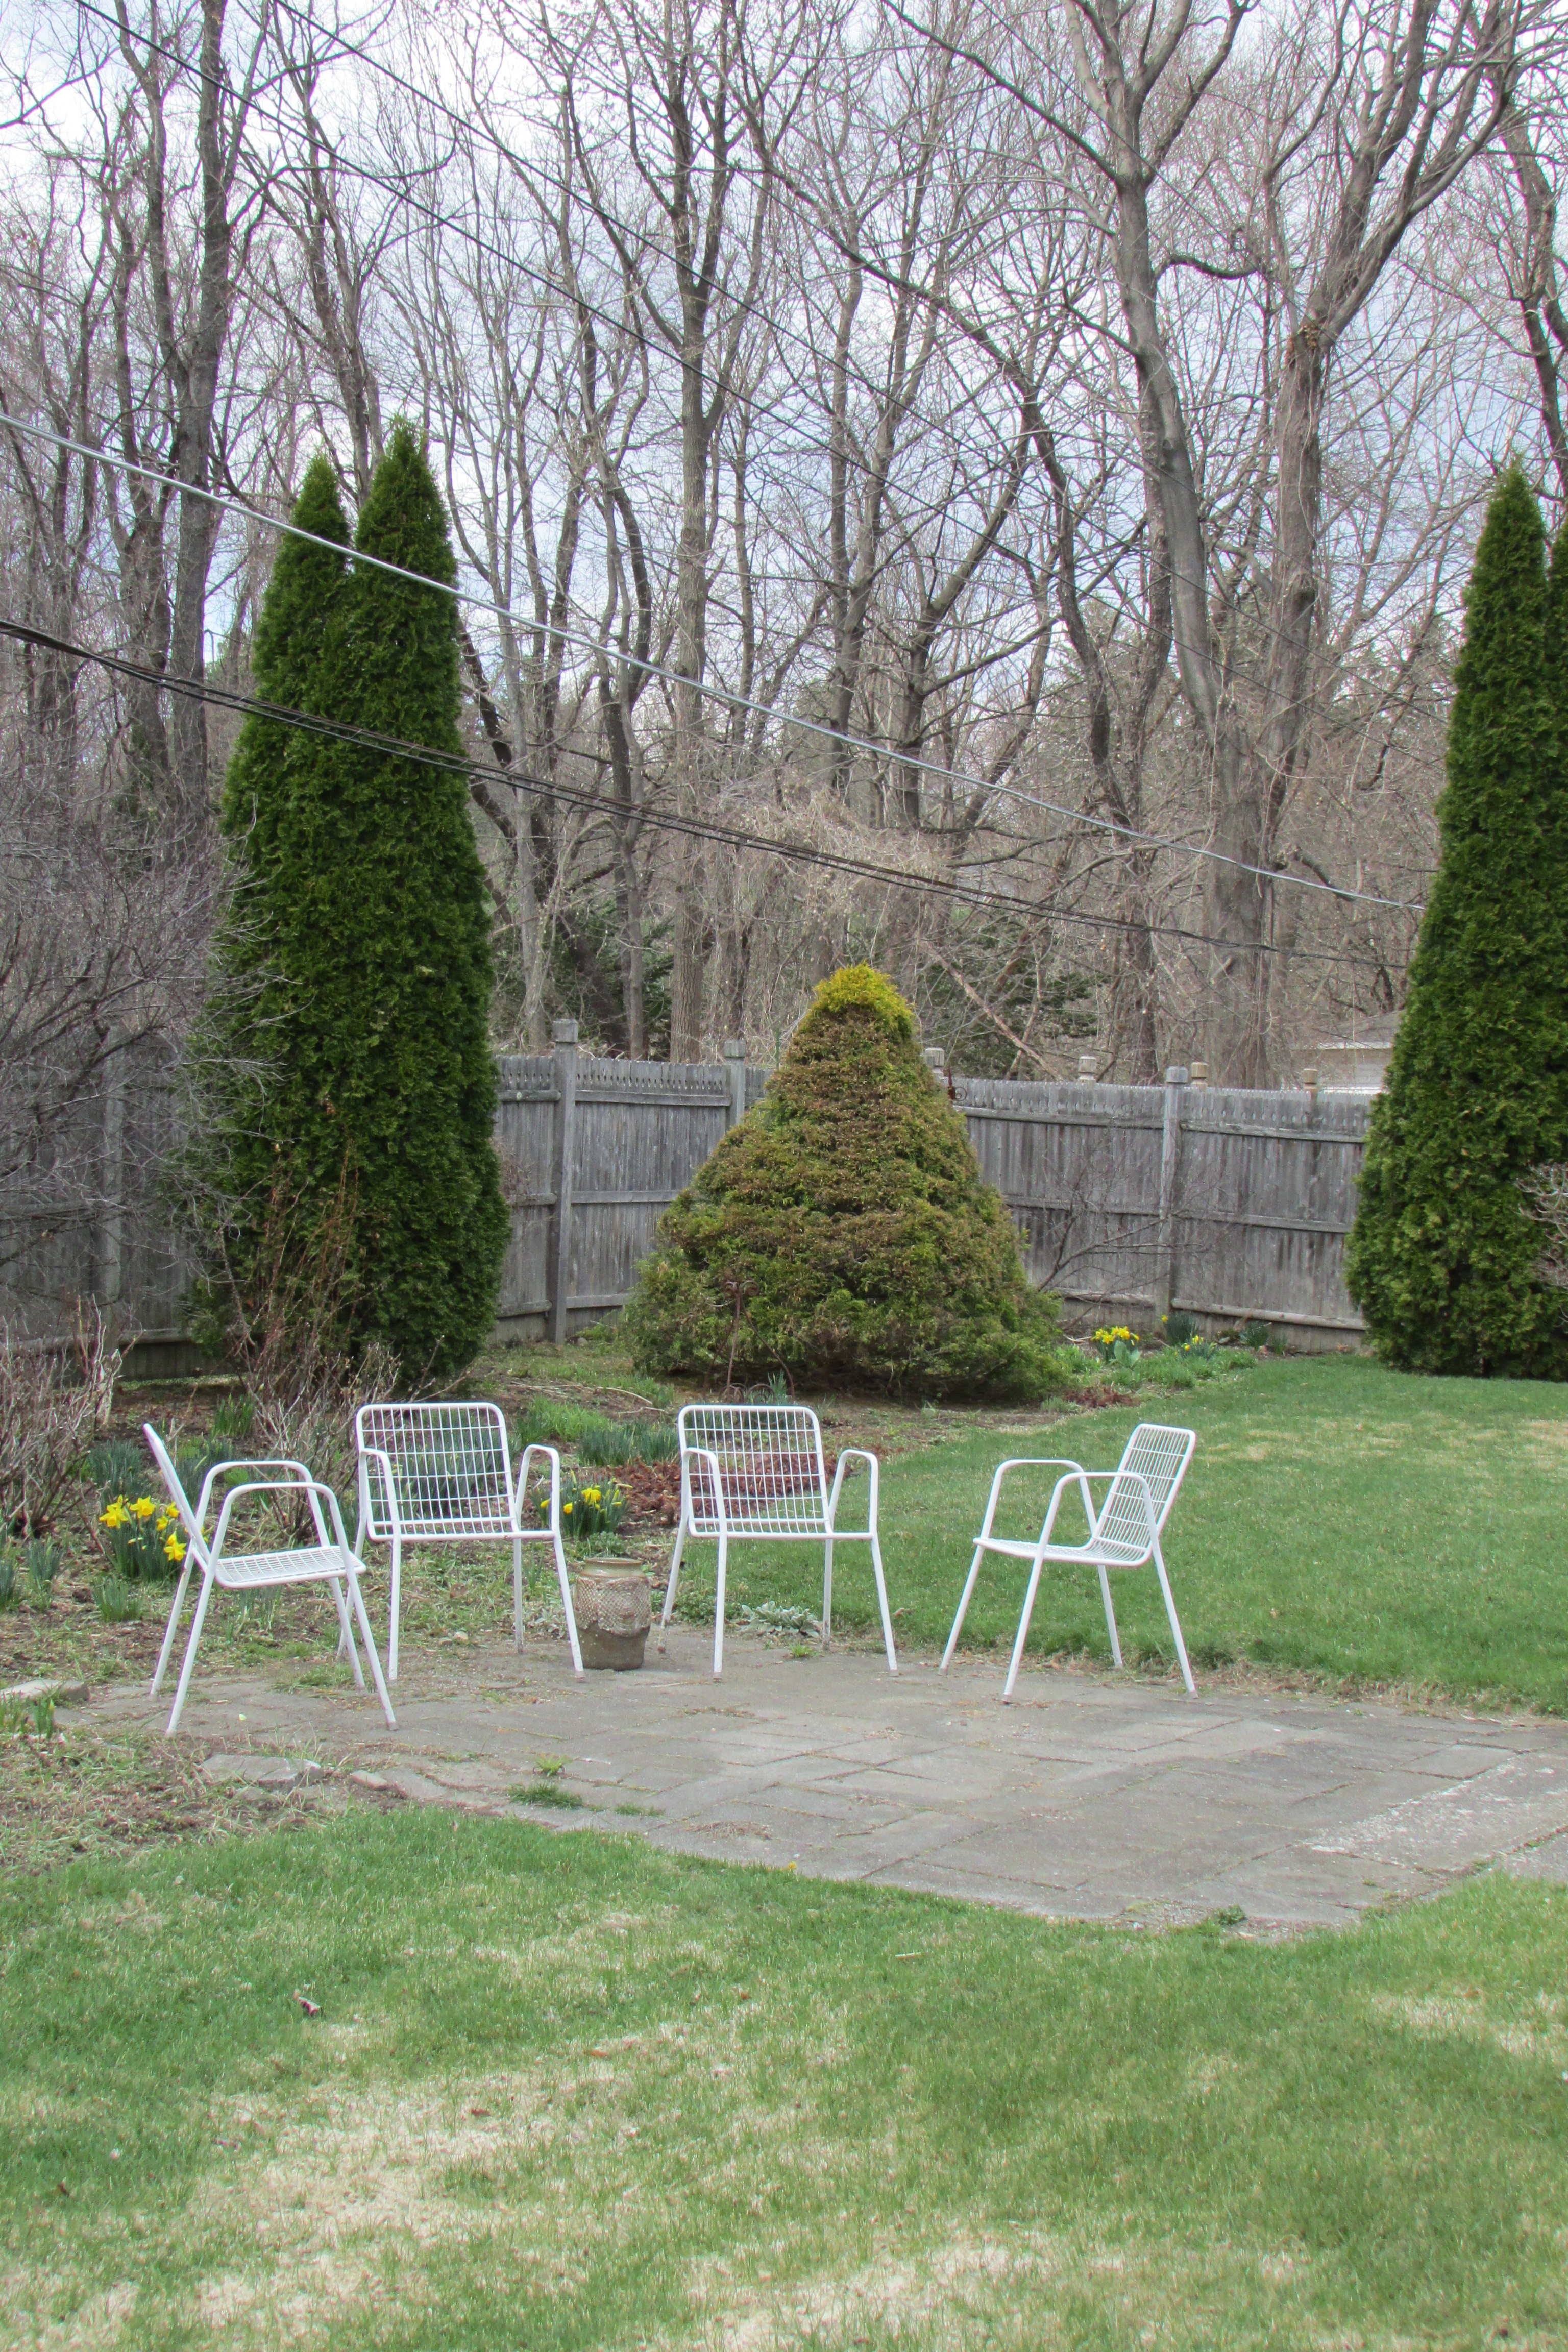 These four chairs are enamel coated metal; my parents gave me them 31 years ago. If you look again at the two previous photos of my white urns you can see them in the distance. What I want you to see here is how I’ve moved / worked the color white, from my back deck (shown in next group of photos) to the urns, and up to those chairs by the back garden. I did the same thing on the long walk when I worked the color yellow across that part of my property.
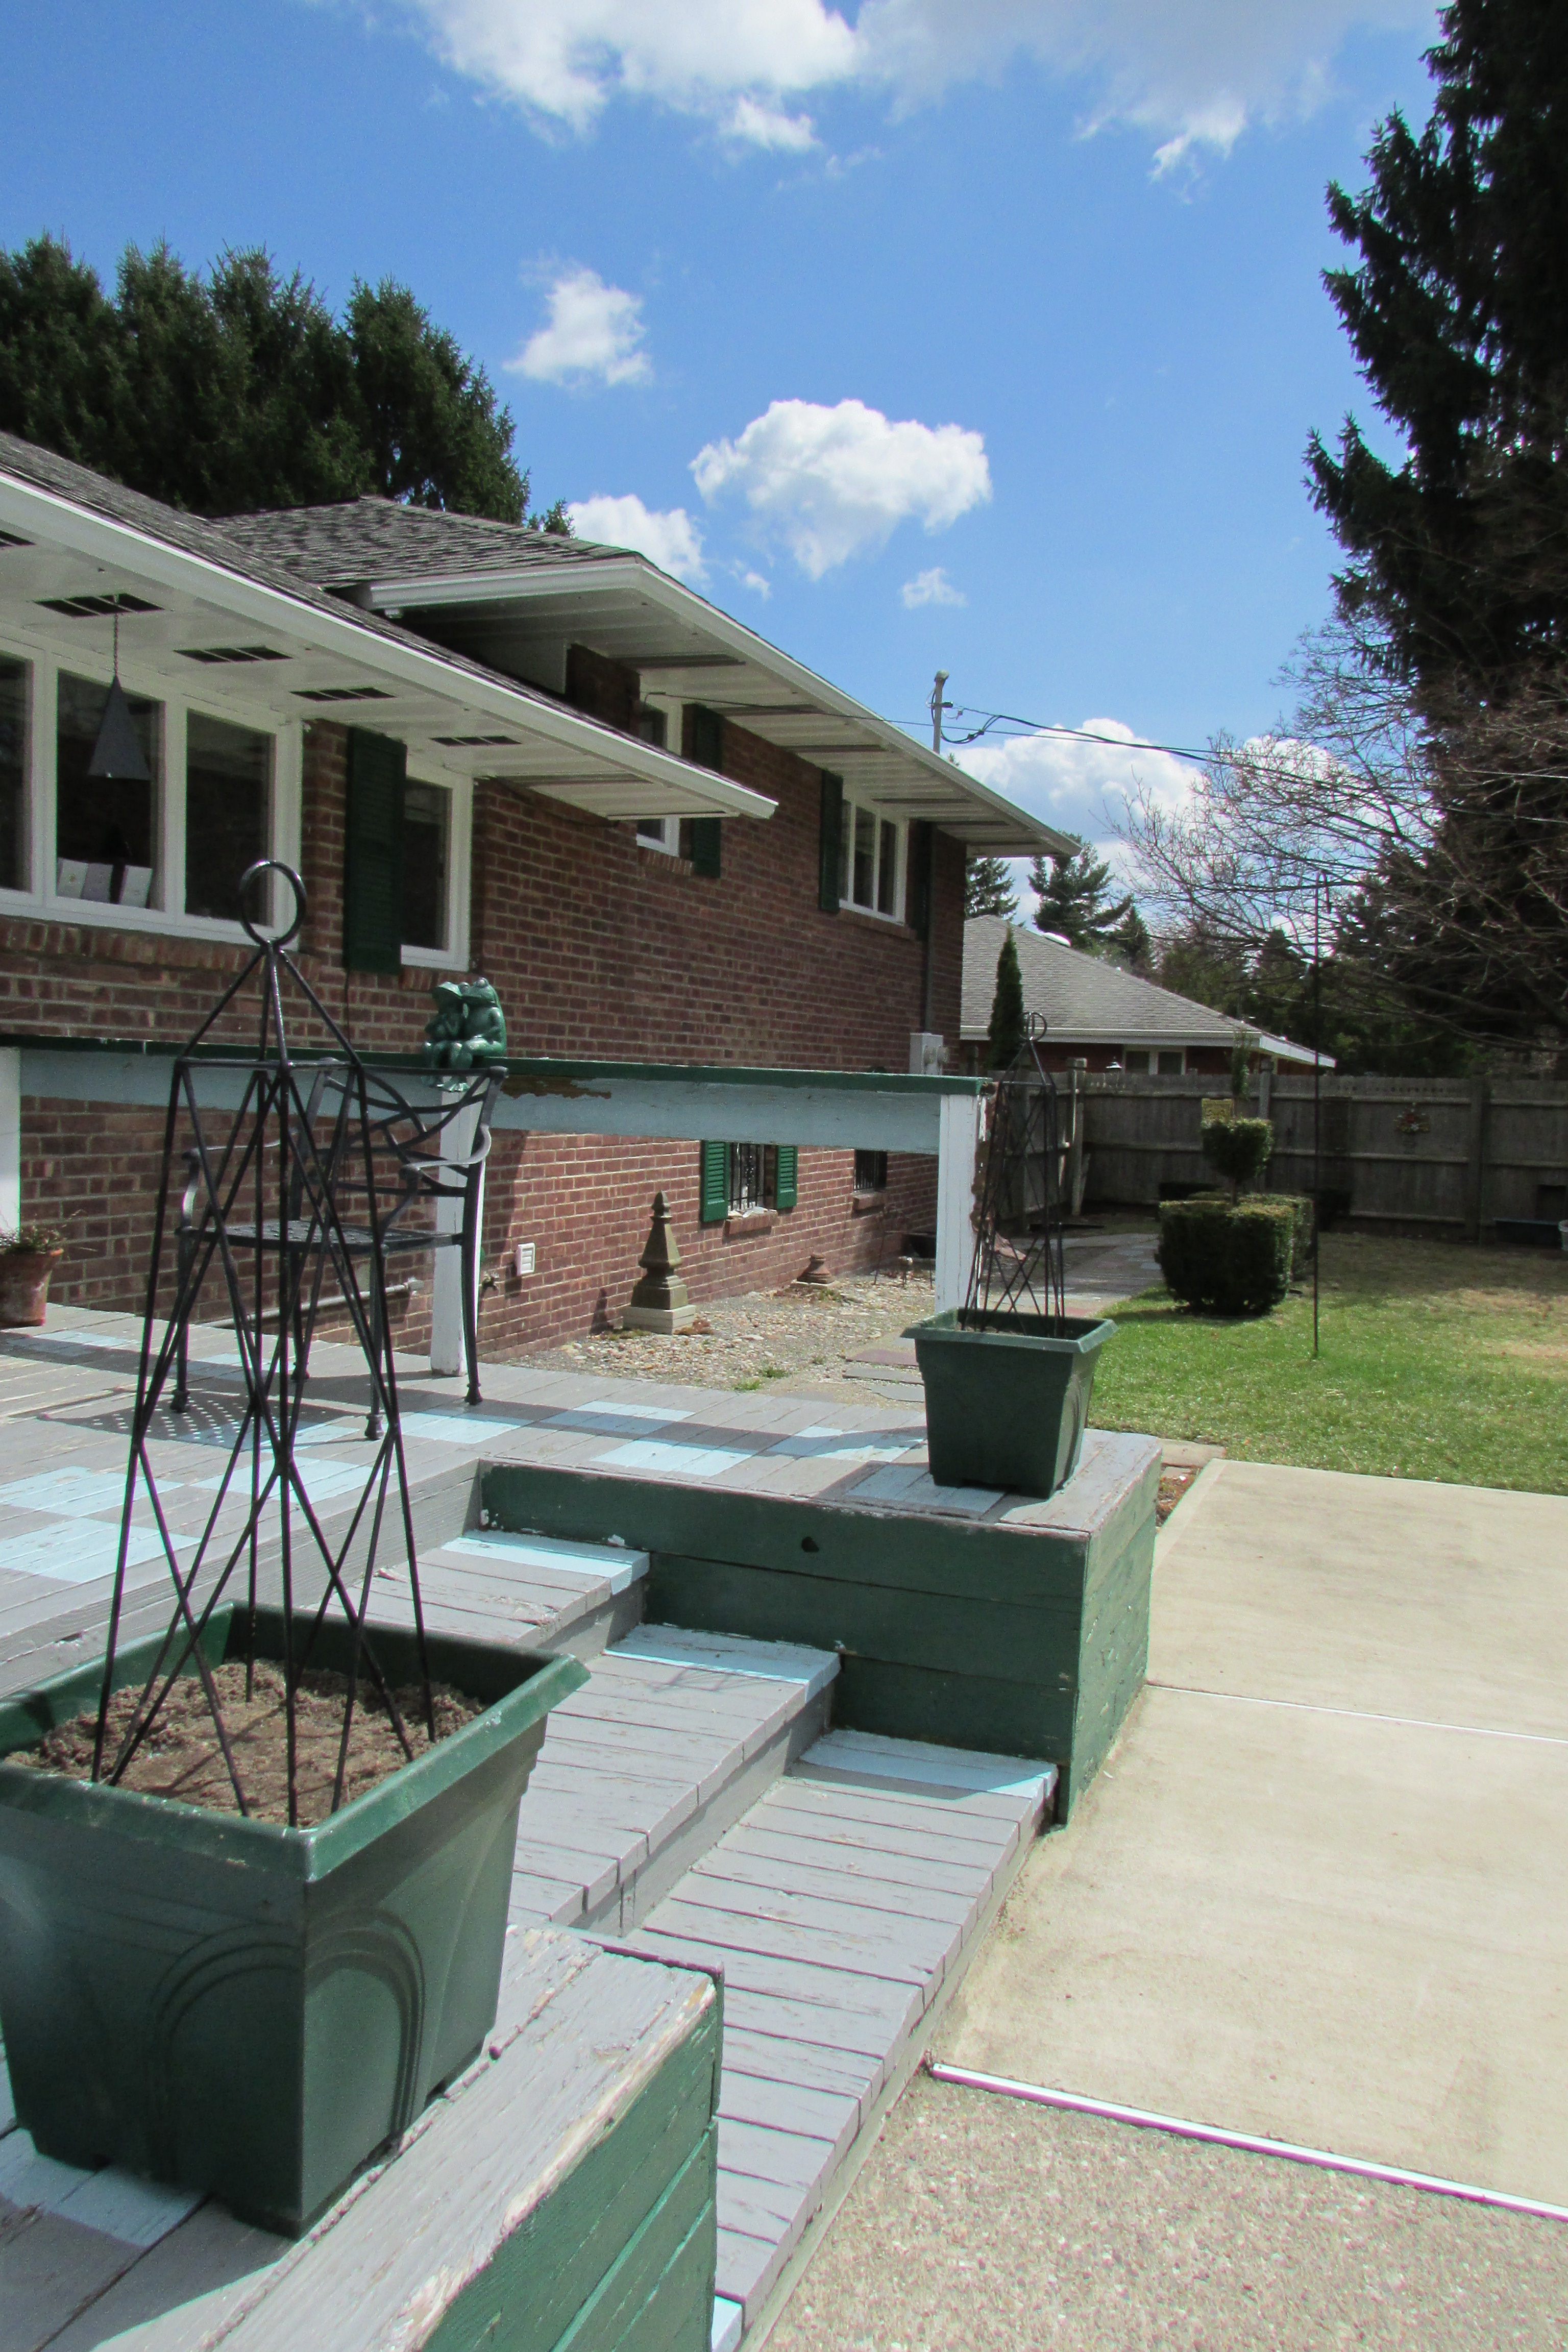
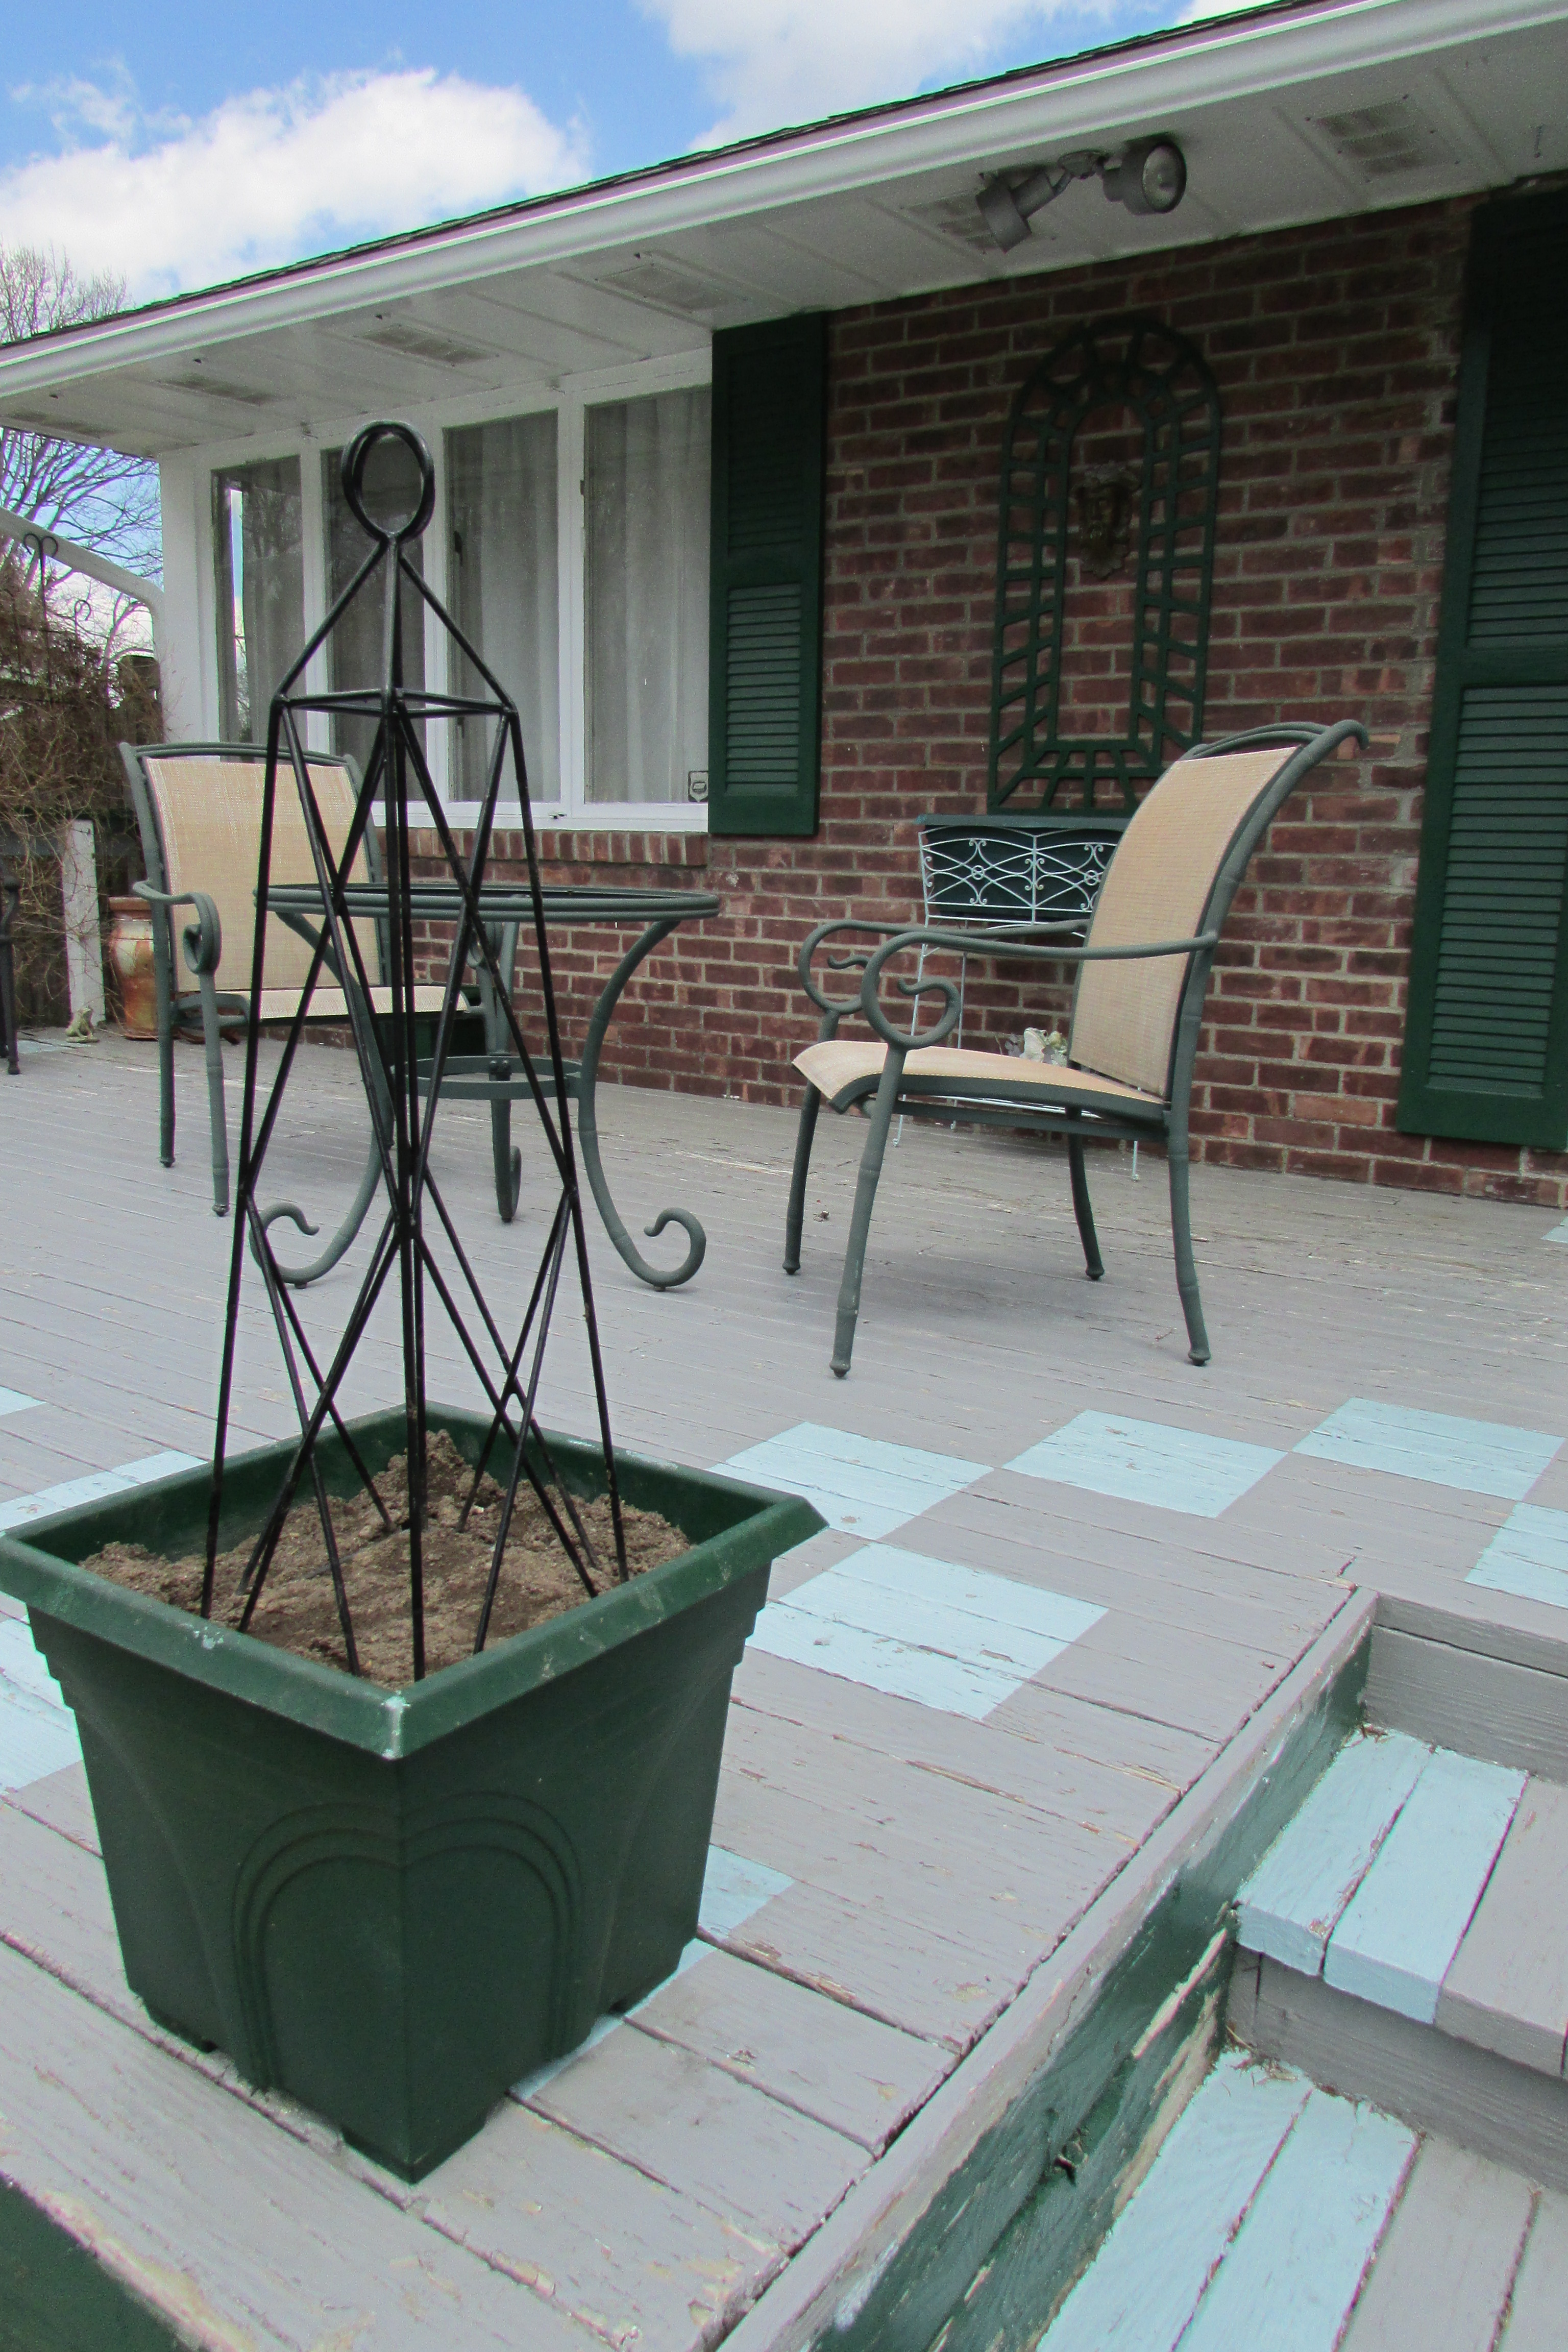 This is my deck, first notice the white trim. Now look at my square-shaped planters with wire obelisks, and how they are the same shape as the three square based topiary in the distance (this is a repeat of like shapes). Next look at the floor of my deck. Notice how, for extra visual interest, I painted blue boxes in a checkerboard pattern across the edge and down its steps.
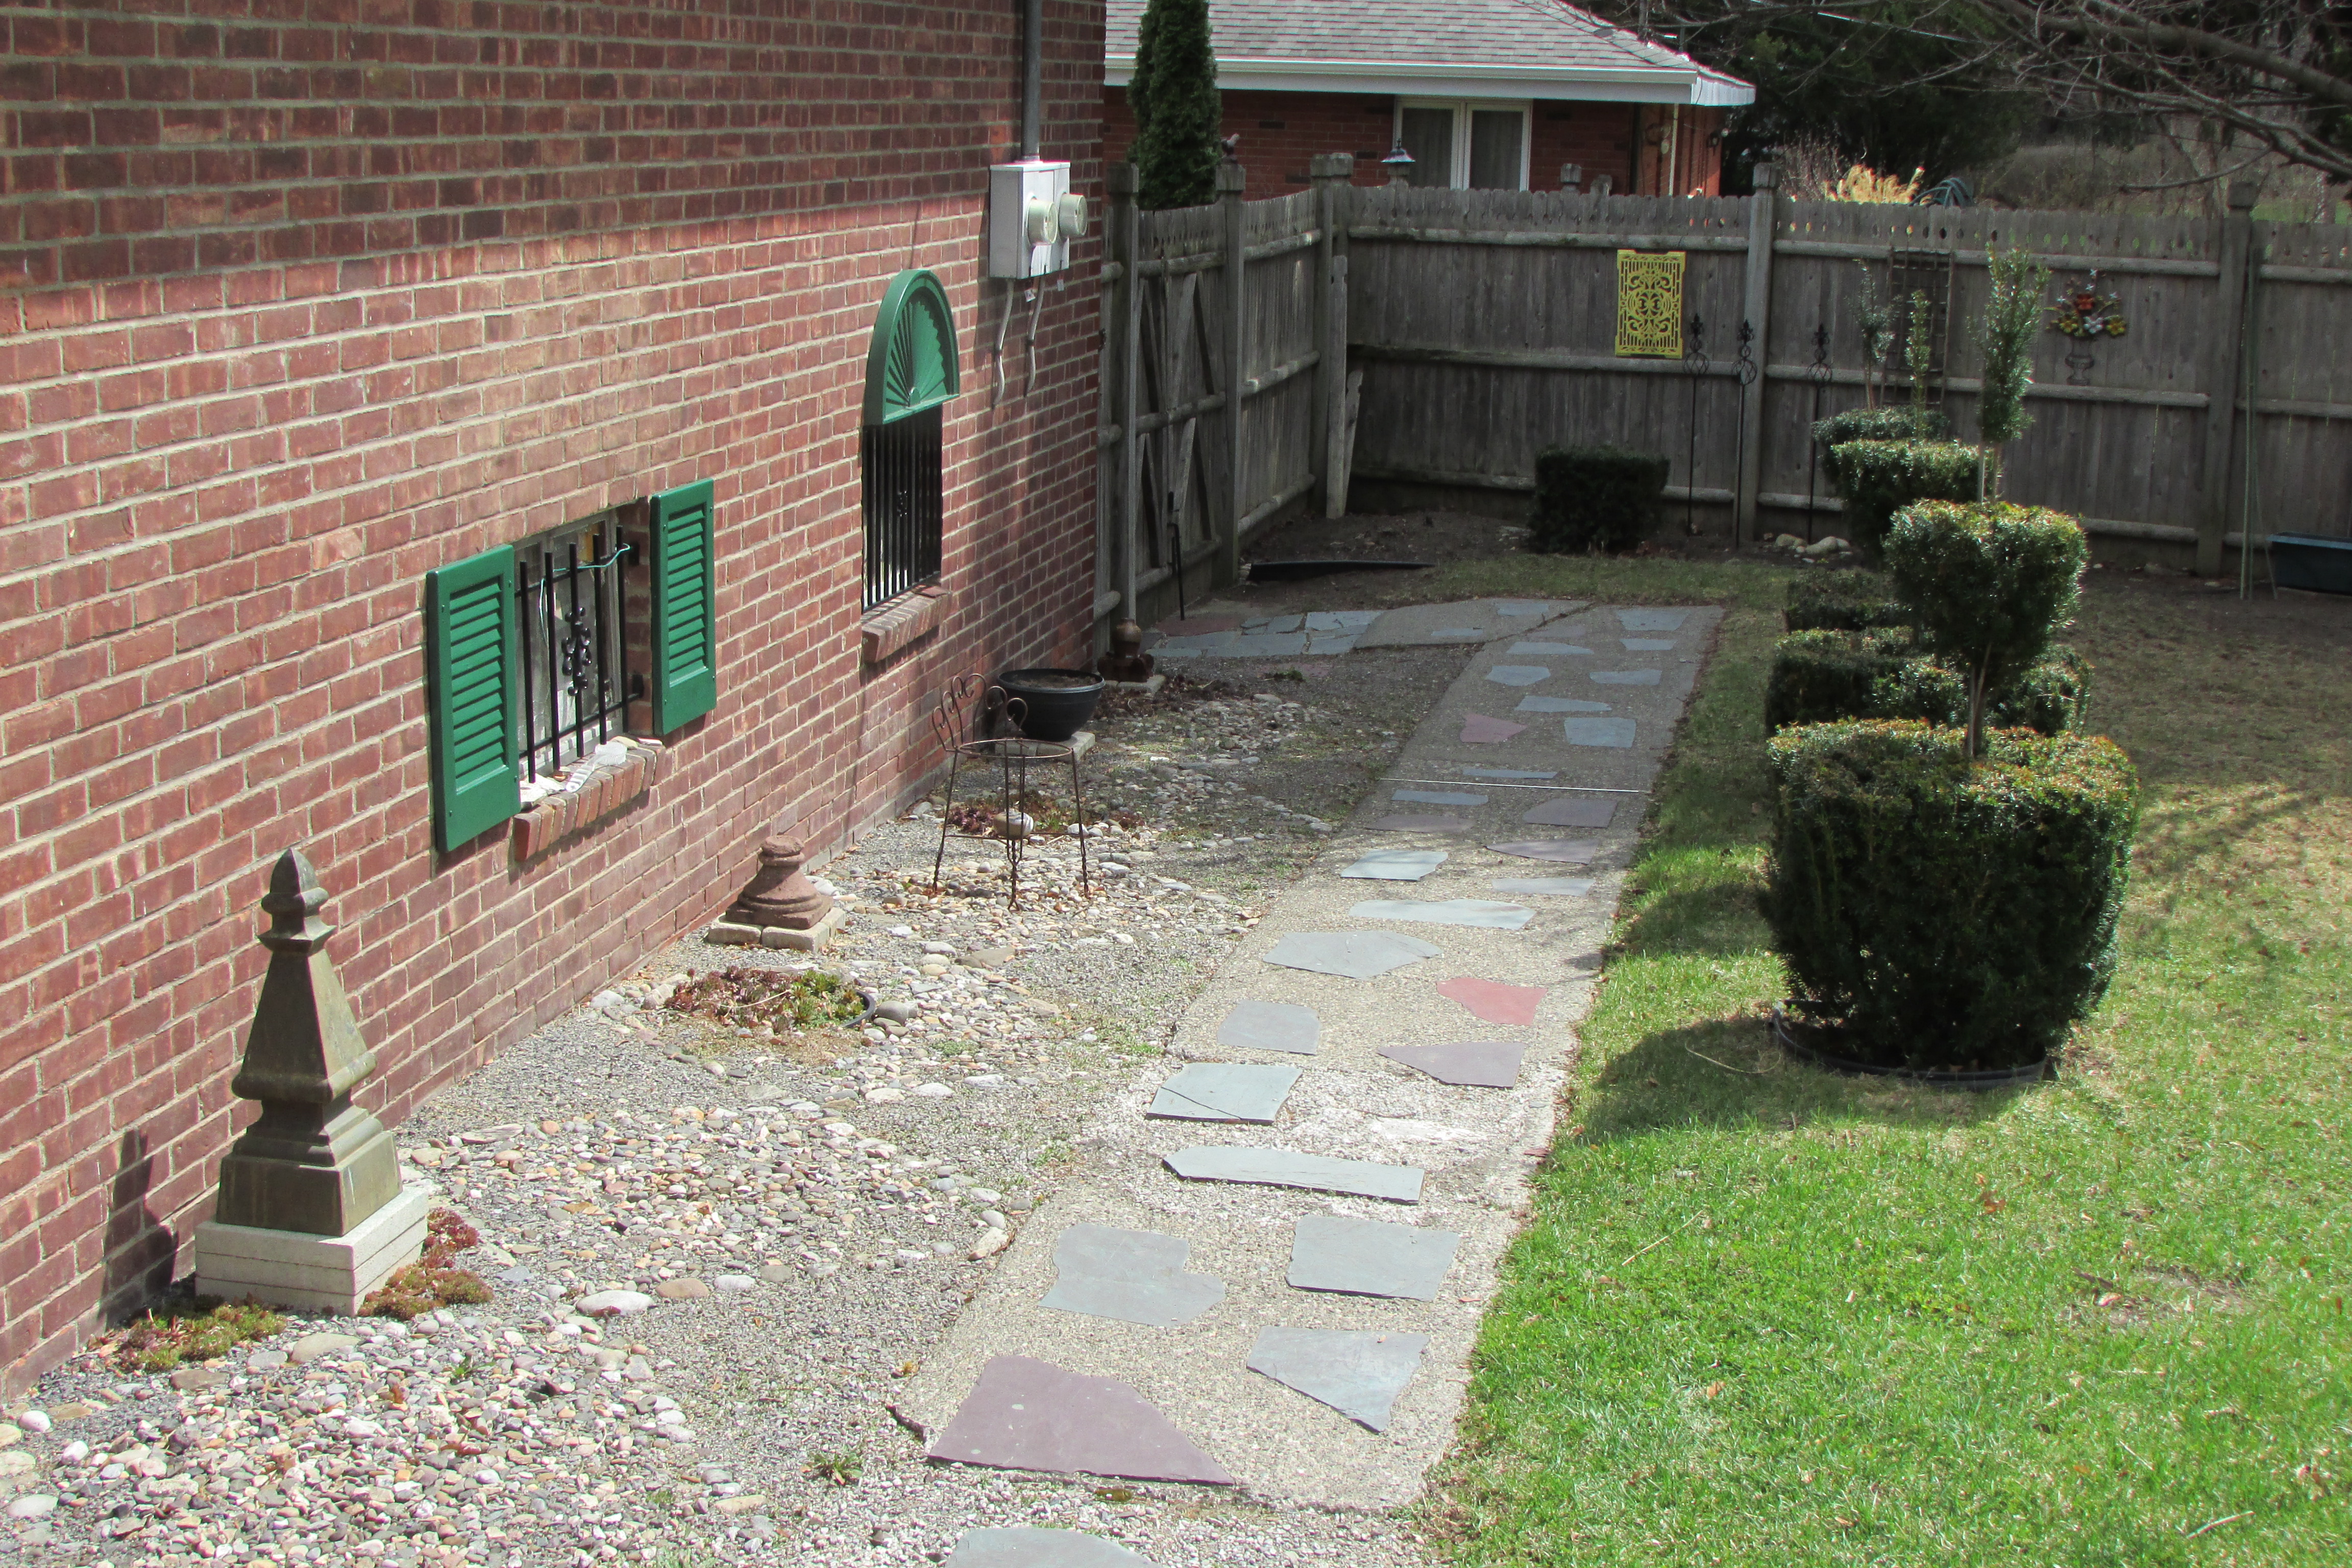
 The final stop on the tour is a look at some architectural inspired objects that I’ve places across the back of my house. Look carefully and notice how I’ve made a diamond pattern in the crushed stones. This area needs some TLC, as over the Winter stones have a way of migrating from where I initially placed them.
I hope that after looking at what I’ve done, you got some ideas for placing things on your property.
Companion Posts…
Al Fresco (Outdoor) Dining..Two Cafe/ Bistro Patio Tables equal one Picnic Table 5-22-2012,
Turn Your Deck Planter into a Drink Station for Your Next Outdoor Event 5-29-2012,
Designing a Rock Garden with Different sizes of Stones 6-28-2012,
Some Ideas about using Garden Ornaments, they add that Finishing touch to a Garden 6-29-2013,
Thirteen Ideas for Decorating Your Country Garden 7-20-2013,
Grow a Topiary from an Upright Yew 6-15-2011,


I should have known we shared a love of pottery., both making and admiring it. You’re inspiring me to get out and clean up my space and make it the showplace it can be in this difficult time. thank you.
Hi there Teresa, Inspiring people to do things is what FGGH is all about. After a long and cold Winter here in upstate New York, doing things outside on a sunny day is such a lovely and also rewarding thing to do. Once a person gets started, and things start looking better, there is a bit of self encouragement that sets in, especially if a person is a worker bee. Now get off of the computer and go out and enjoy the fresh air ;-}
Hi Fred! I have been following your blog for quite some time and have learned so much from you. Thank you for that! I came across this article and thought you would get a kick out of it. http://www.thisiscolossal.com/2014/05/man-spends-a-decade-transforming-a-hedge-into-a-massive-dragon/
Hi there T.Hunter, that is what I’m going to look like when I’m an old man. Years ago we went to Nantucket and there was a house that had a whale hedge, not as detailed as that one, but big like that. I love when people put that extra time into doing things, it makes for something fun for a lot of people to enjoy. Thanks for linking the photo to my site, others will like looking at it. Have a wonderful Summer!
T.H could you link it on this post Growing a Topiary from an Upright Yew? the readers of that post would find it really interesting. Thanks ;-}