
Evergreens provide Year-Round interest in the Garden, Plant them First
It is still much too early to plant annuals, and perennials are just starting to show signs of coming back to life, but when the ground has warmed up and dried out a bit more, evergreens and deciduous bushes and trees can be planted in the garden.
When a person is thinking about gardening, especially here in the north-east, they should not just put attention onto annuals or perennials that are seen for 5 or 6 months a year, but think about evergreens in the garden and around their property that provide something to look at 365 days a year.
Here at Whimsey Hill House, I’ve put a lot of thought into placing all different shapes, sizes, colors and heights of evergreens and deciduous bushes and trees on my property so I have something to look at, out through every window in my house, or while outdoors, during the coldest and darkest days of Winter when nothing is growing. This post is a garden tour of my property, right after the beginning of the Spring cleanup, which shows how I’ve placed evergreens on my land. The evergreens are the stars of my garden from November until almost May, but as perennials start to emerge and annuals are added to the garden beds, they have a way of stepping back and going from star to supporting cast.
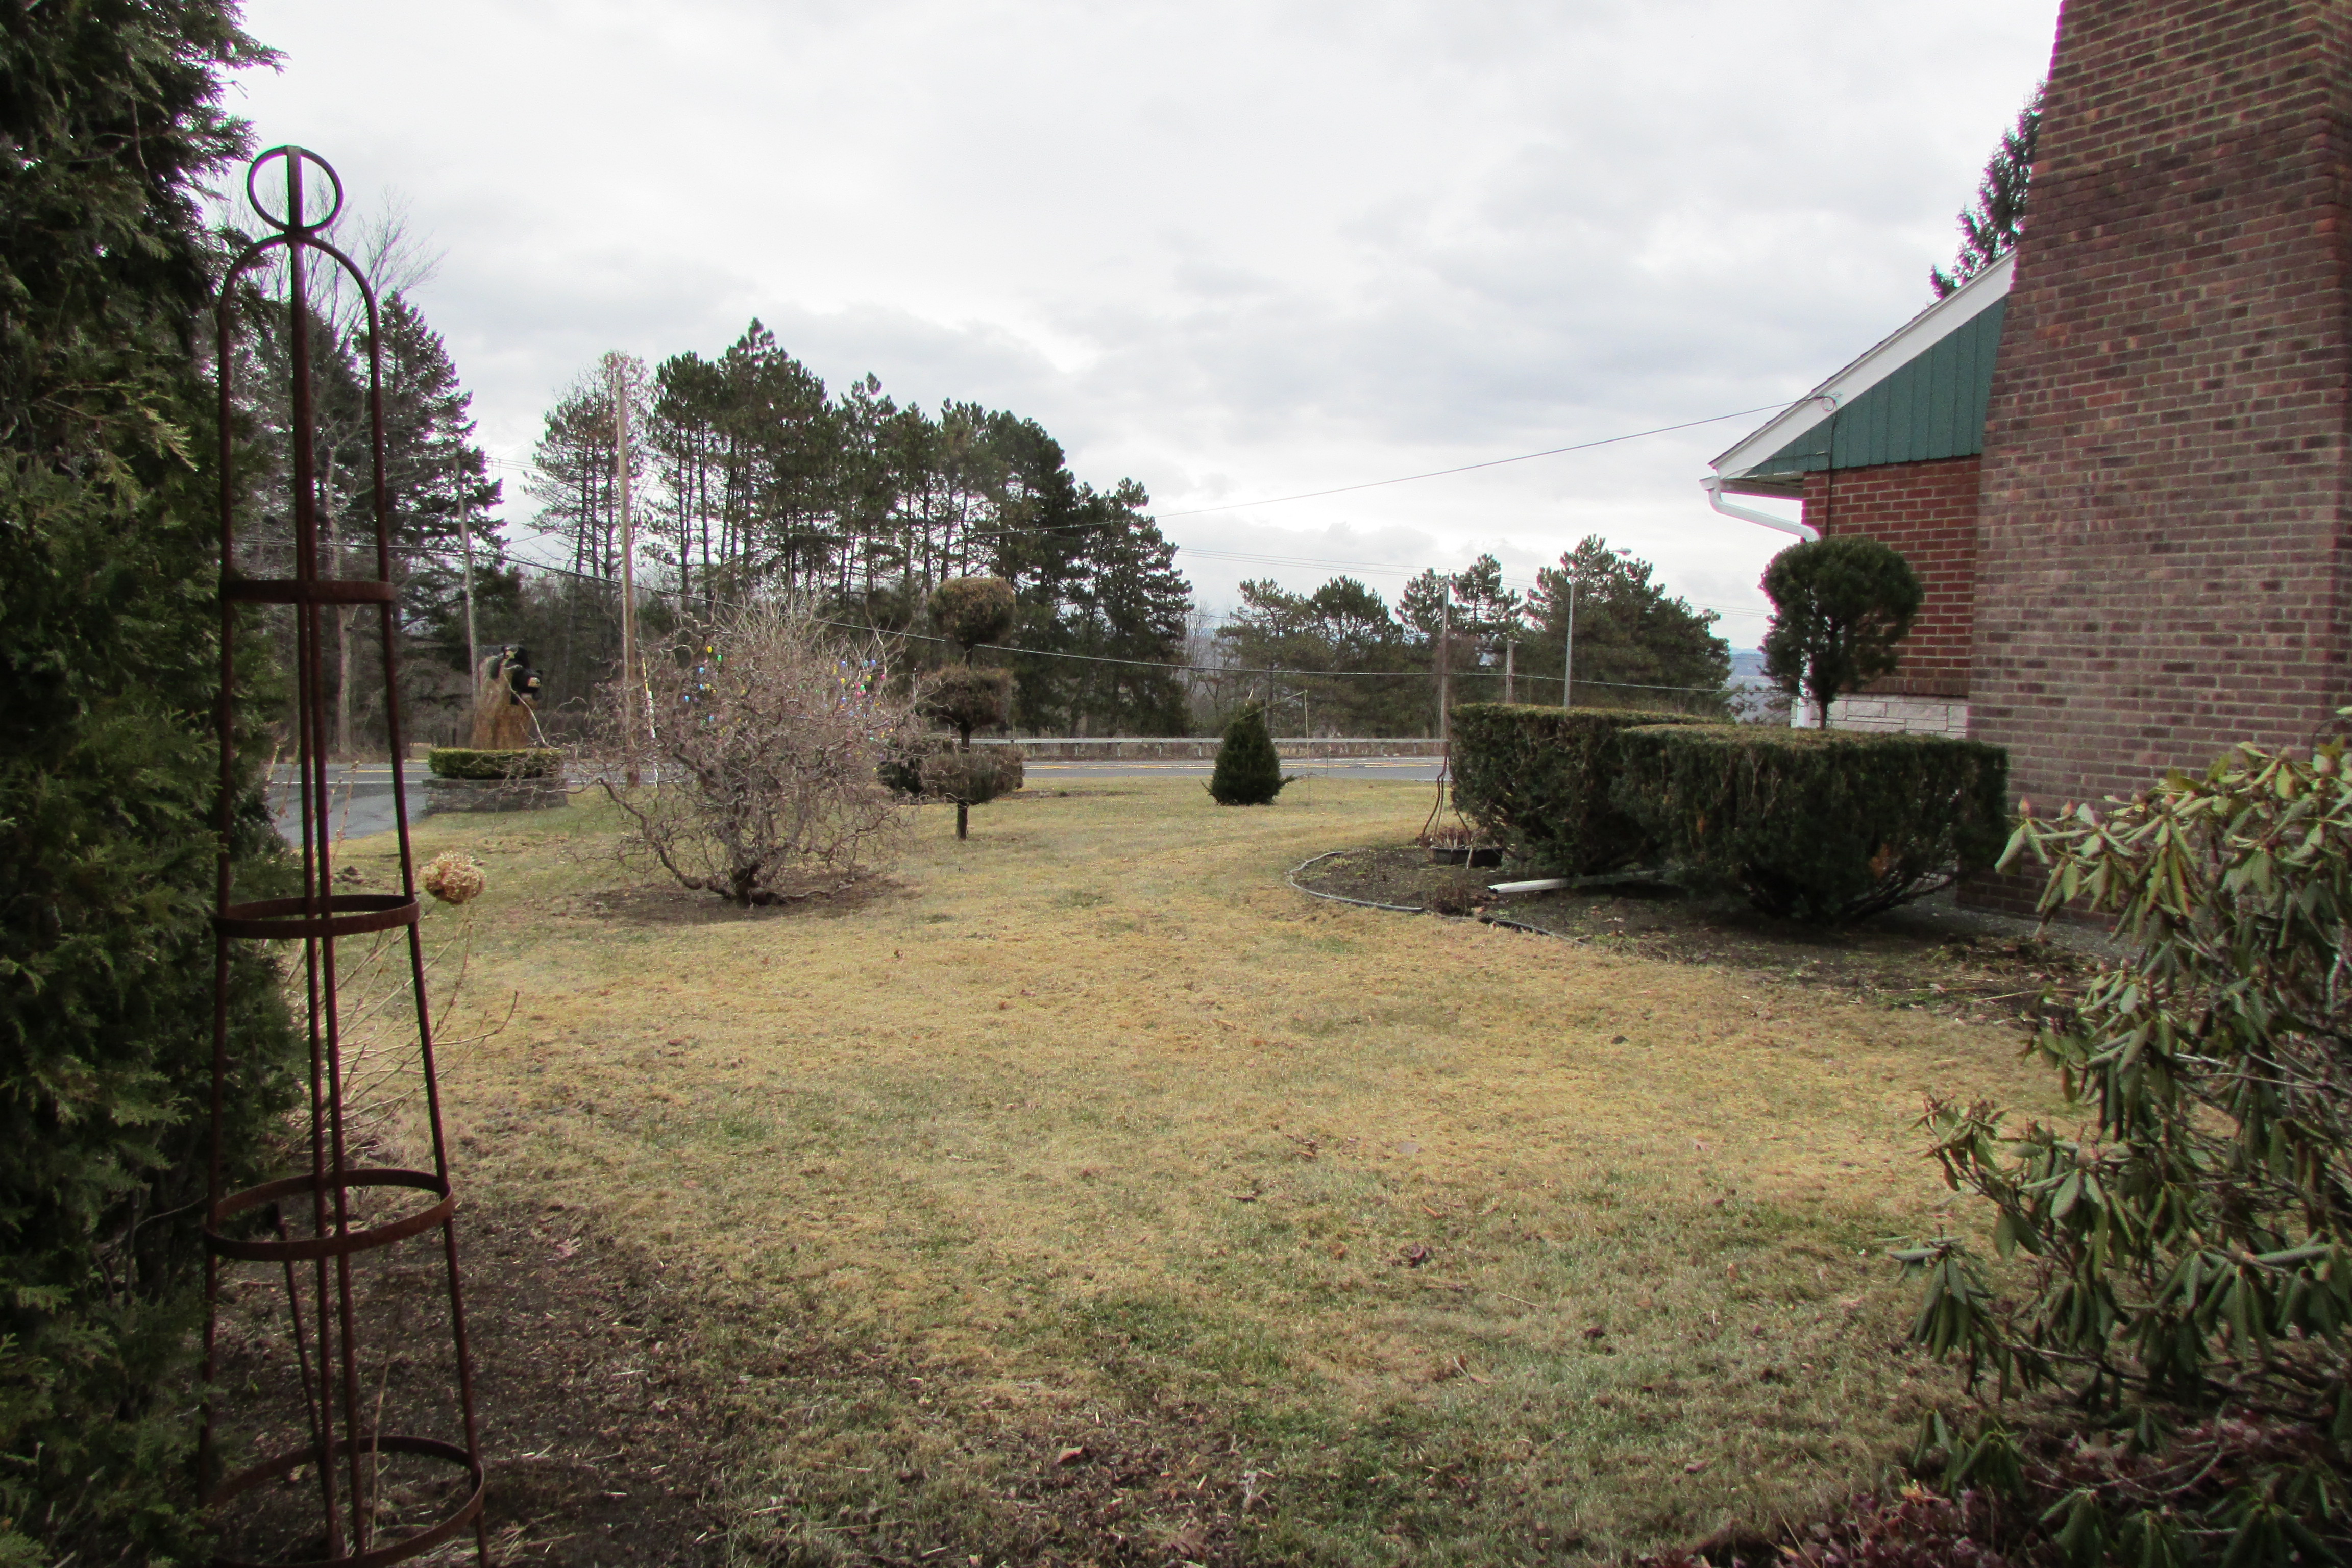
Now let’s look at the first photo, which is the cover photo for this post. The view is of the front side lawn on the north side of my house, looking east toward the road. Notice how I’ve used different textures of evergreens. I’ve planted arborvitae that has fern-like foliage, you can see rhododendron with its large leathery leaves, and there are also upright yews with short needles. Looking carefully you can see one of a pair of upright yew that I grown into topiary. Also notice the 3 tiered juniper and the twisting branches of the contorted filbert (Harry Lauder’s Walking Stick) which are like living sculpture that is floating out on my lawn. 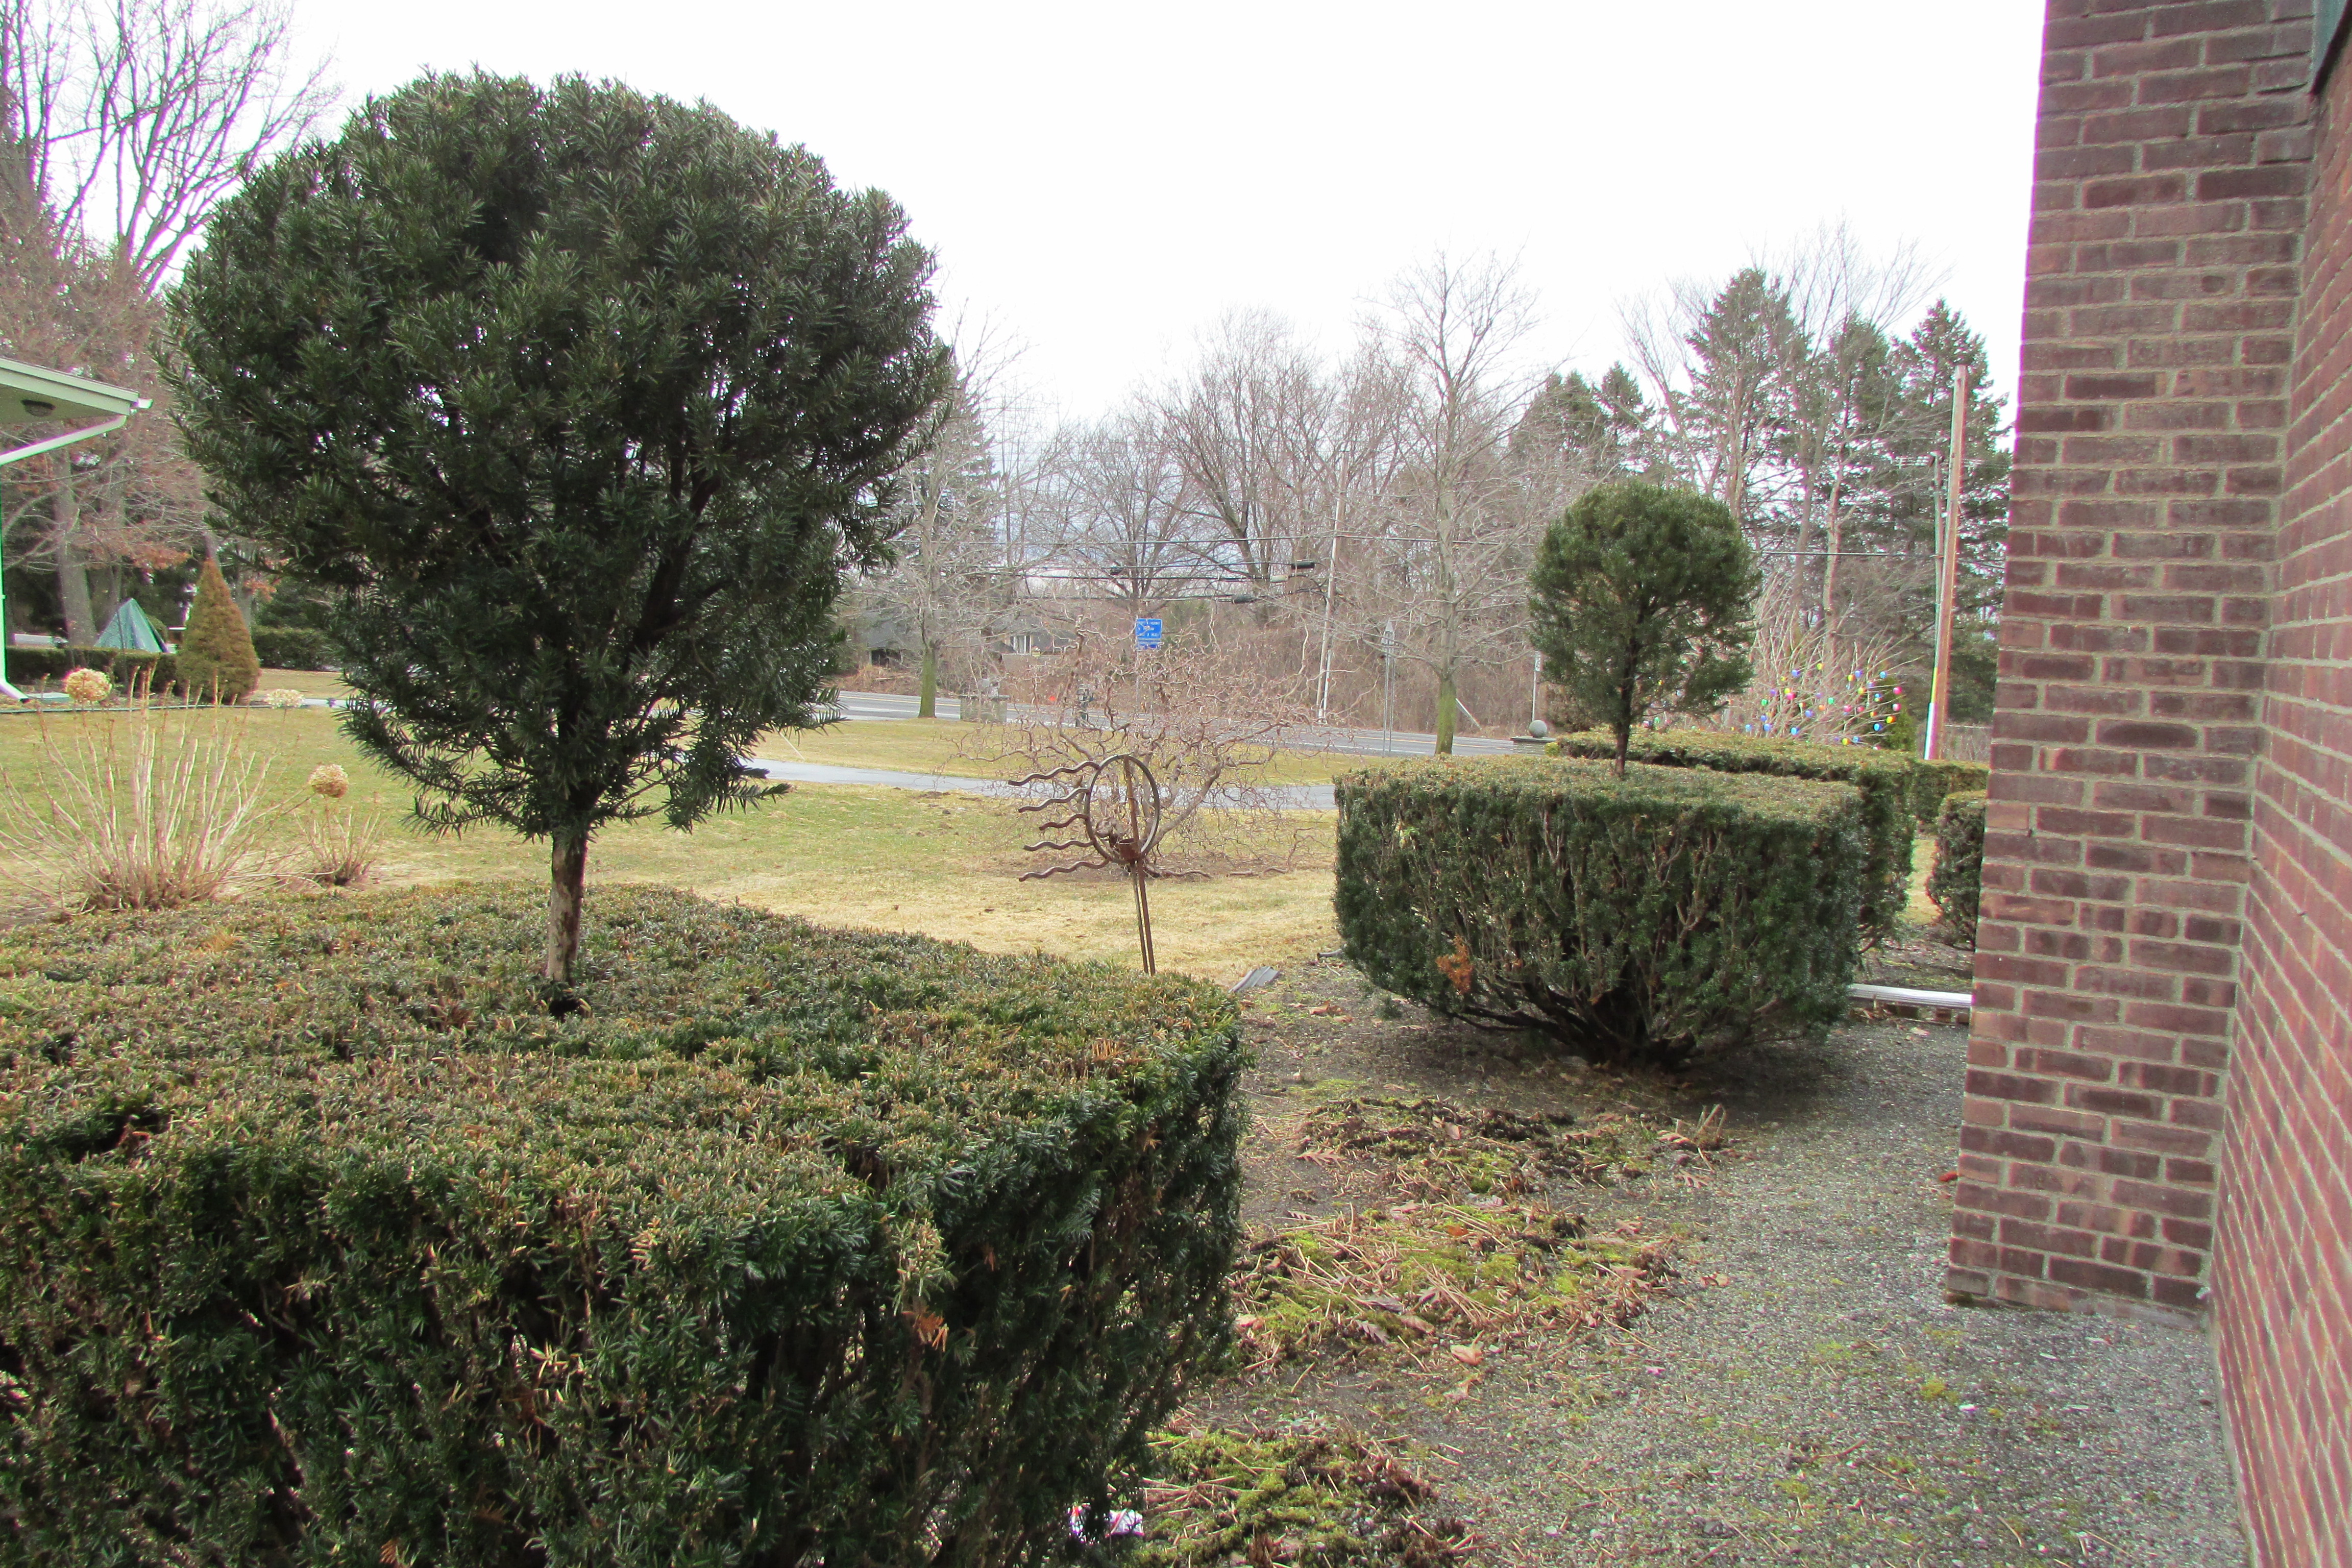 Here is a closeup of the two topiarized yews that grow alongside of my house. The two yews are old specimens and probably grew close to 50 years, before I started growing the lollypops that now float over them. Being older plants to start with, and growing on the north side of the house, it took a bit longer than usual to get them to this point, but they are growing just fine.
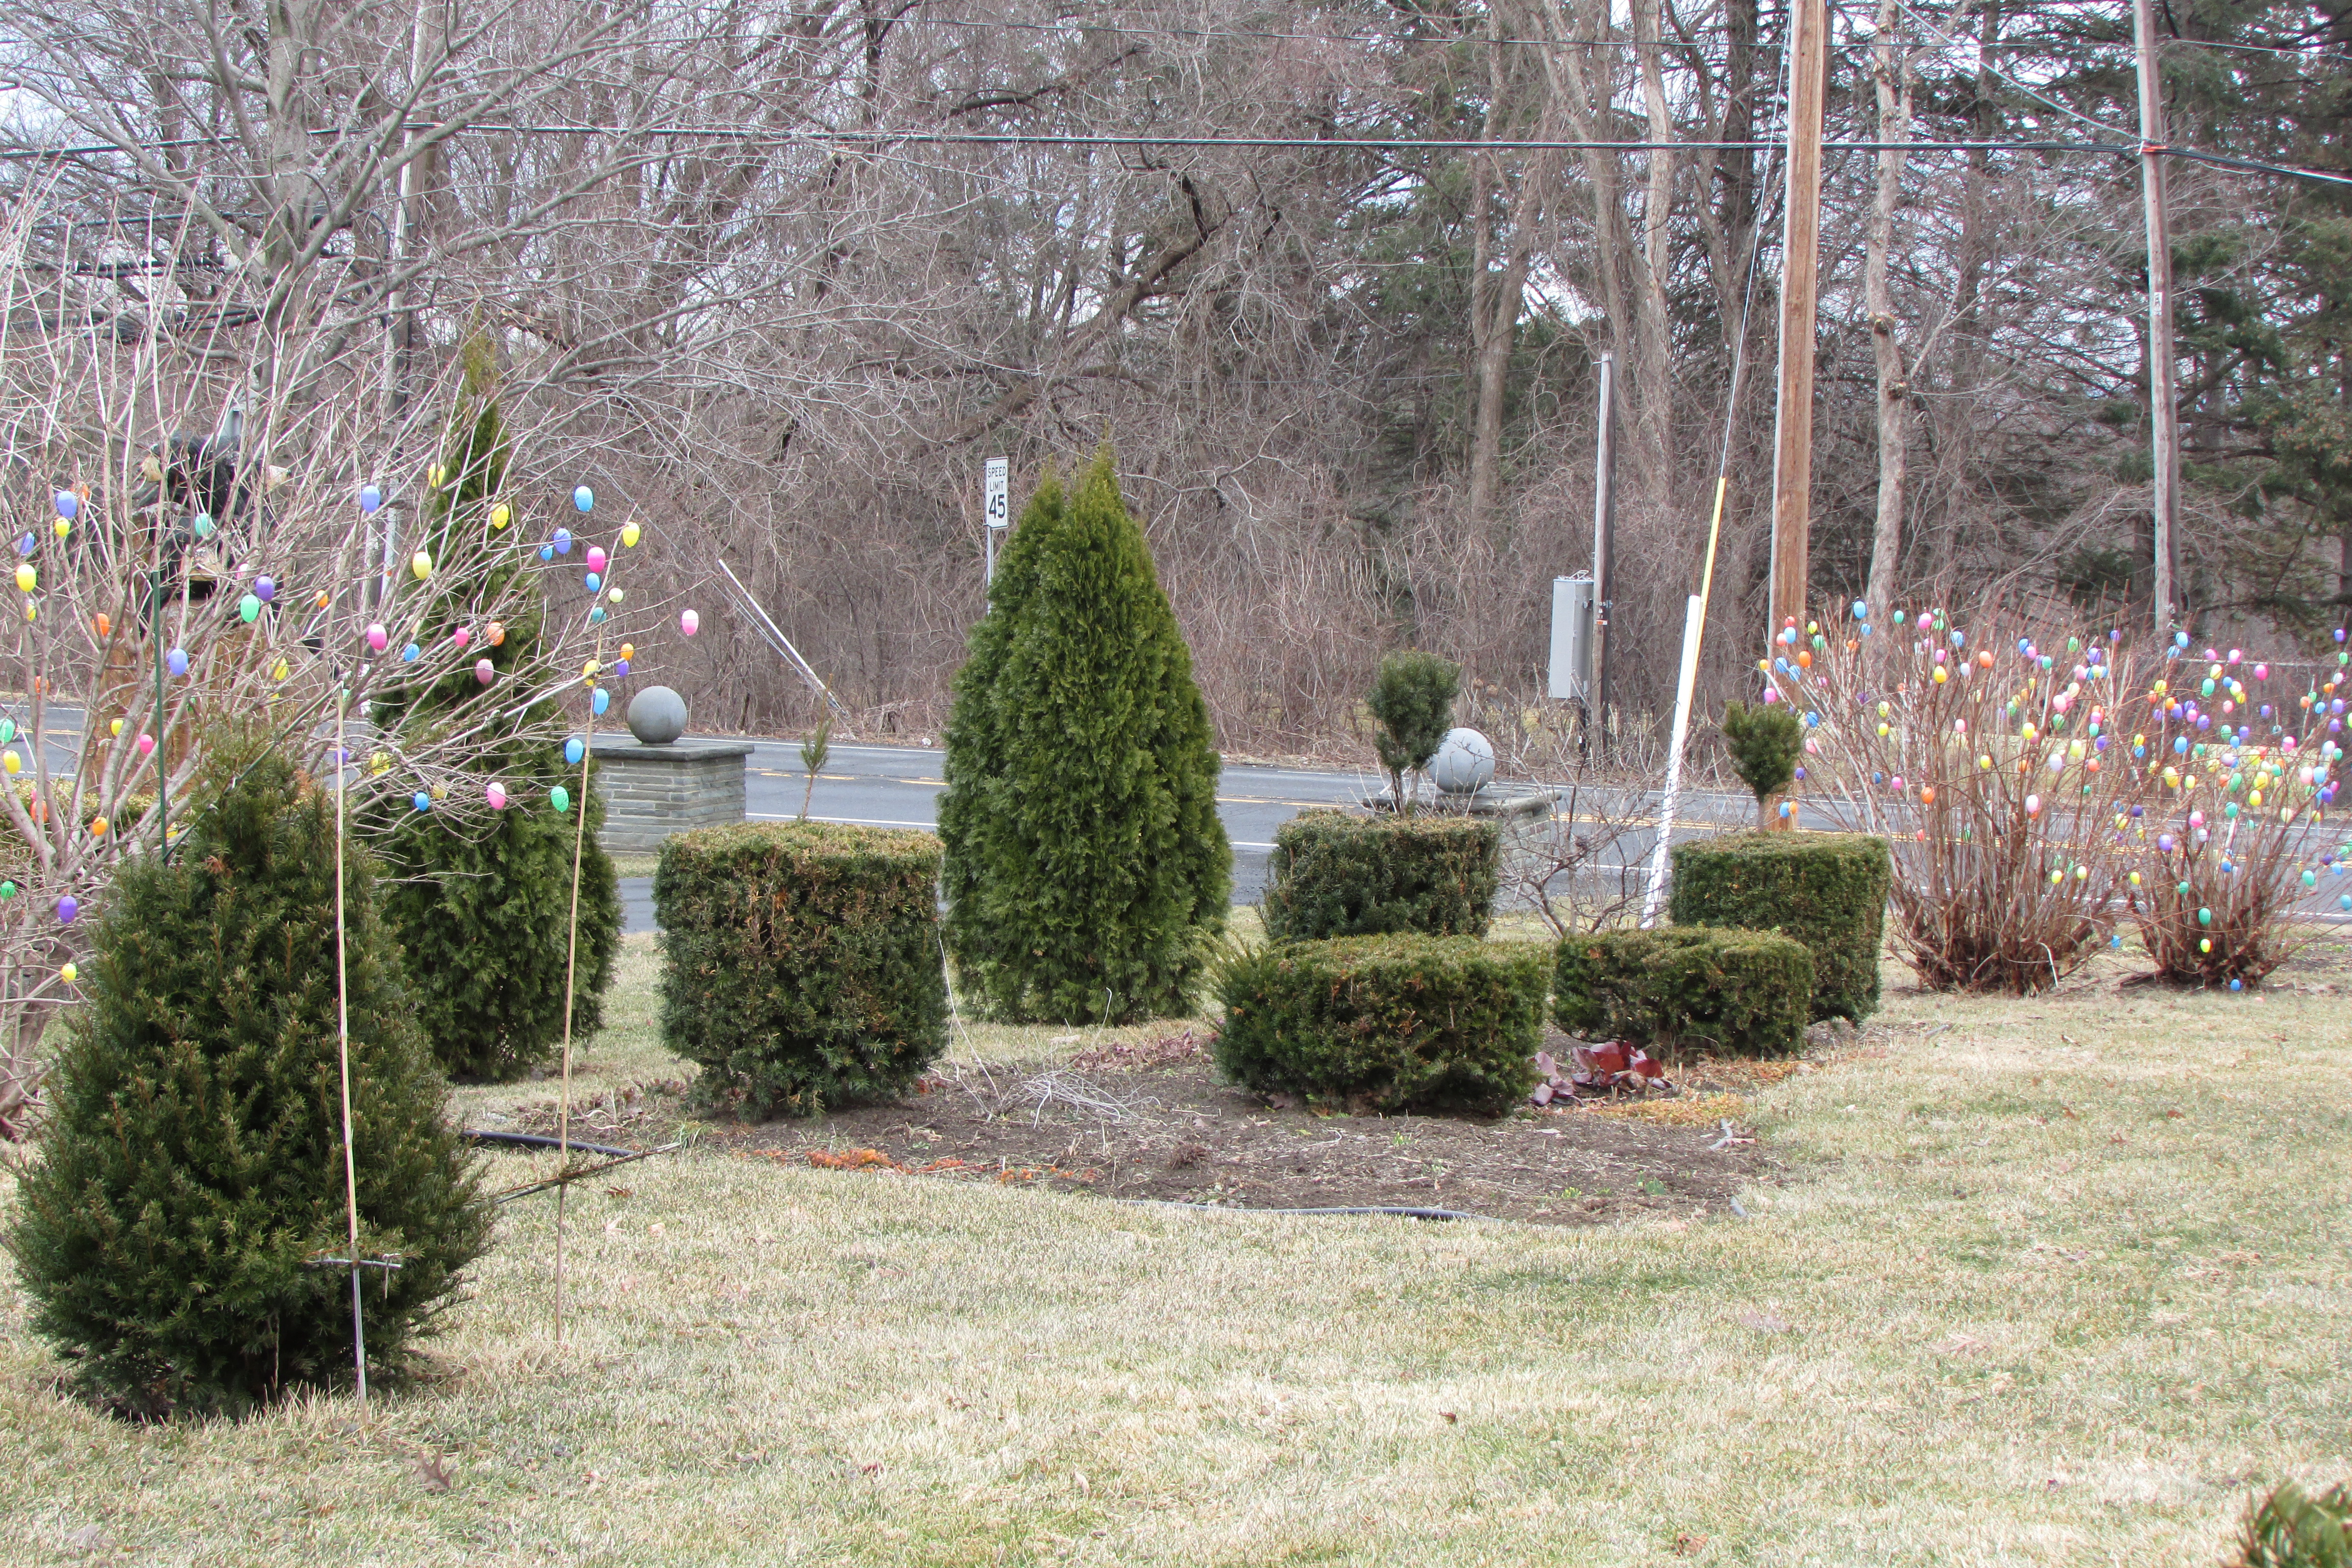
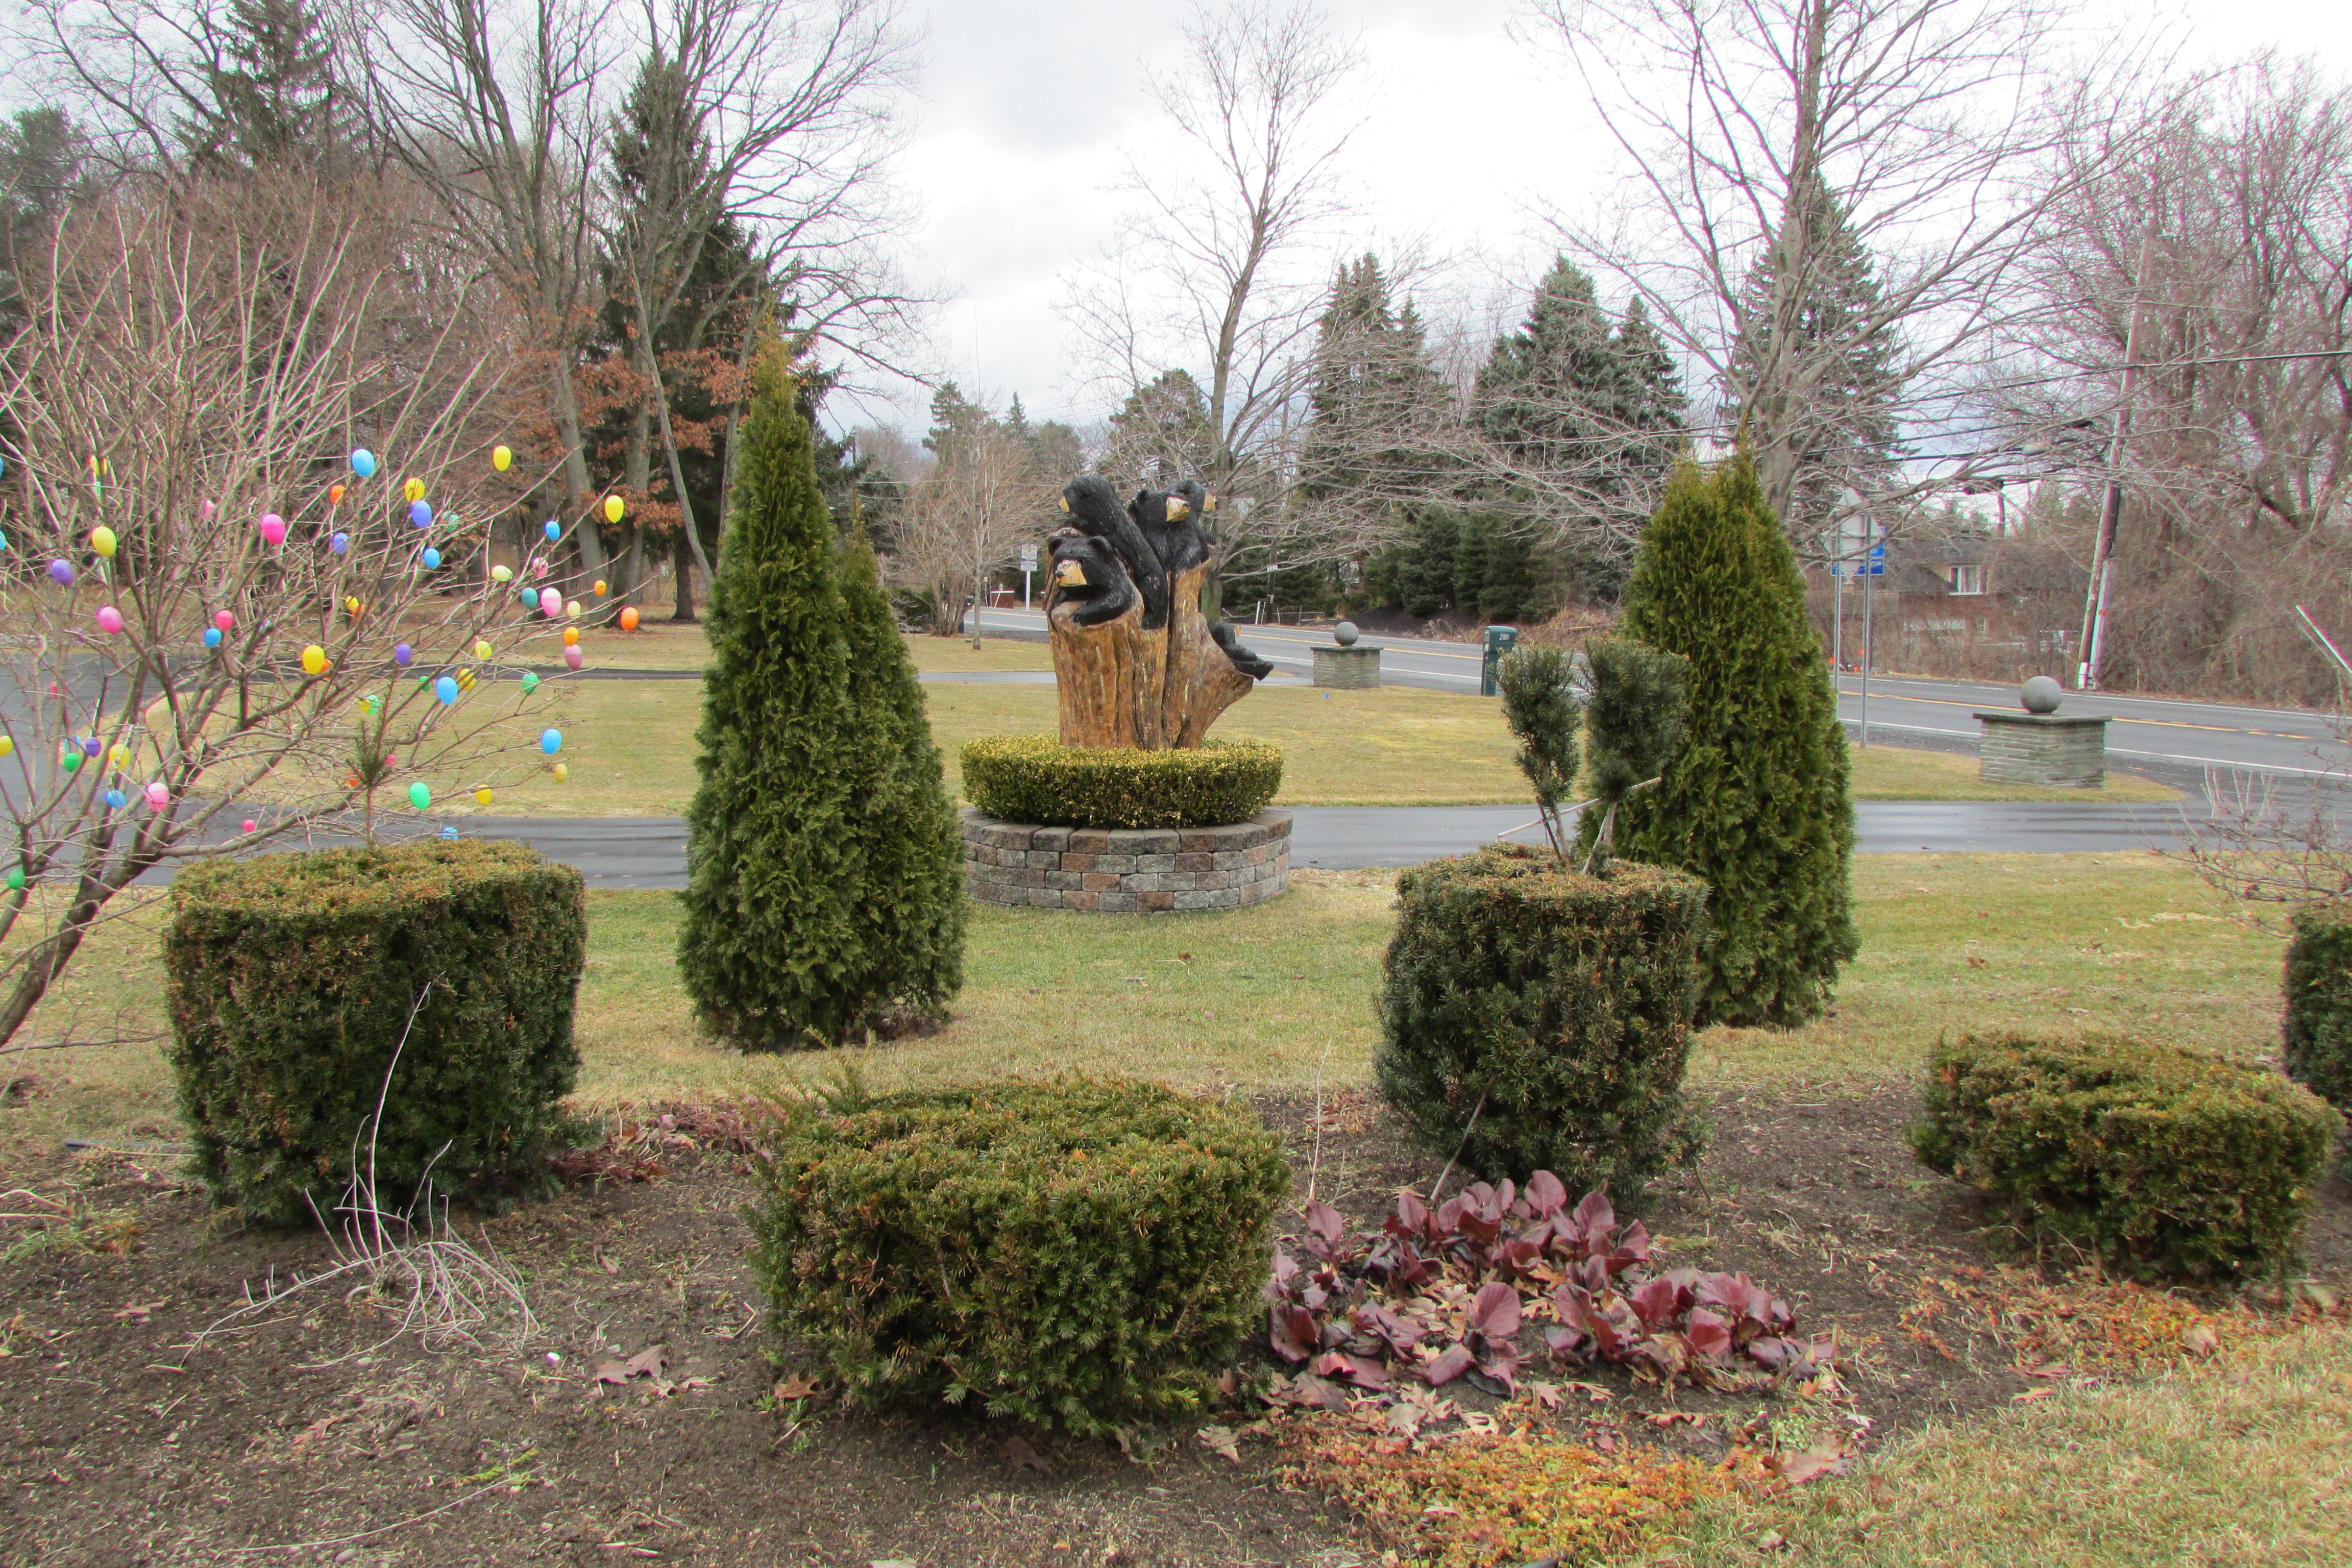 Working down closer to the road, still on the north side of my property, I’ve formed a divider of sorts, between my neighbor’s land and mine with this collection of different shapes of evergreens and some deciduous bushes. The first photo shows it on an angle, the second is a bit more head on, with a view of the whimsical carved bears in the center. Glad to say the bears belong to my neighbors, as they paid for them, but I have a wonderful view of them on that side of my land.
 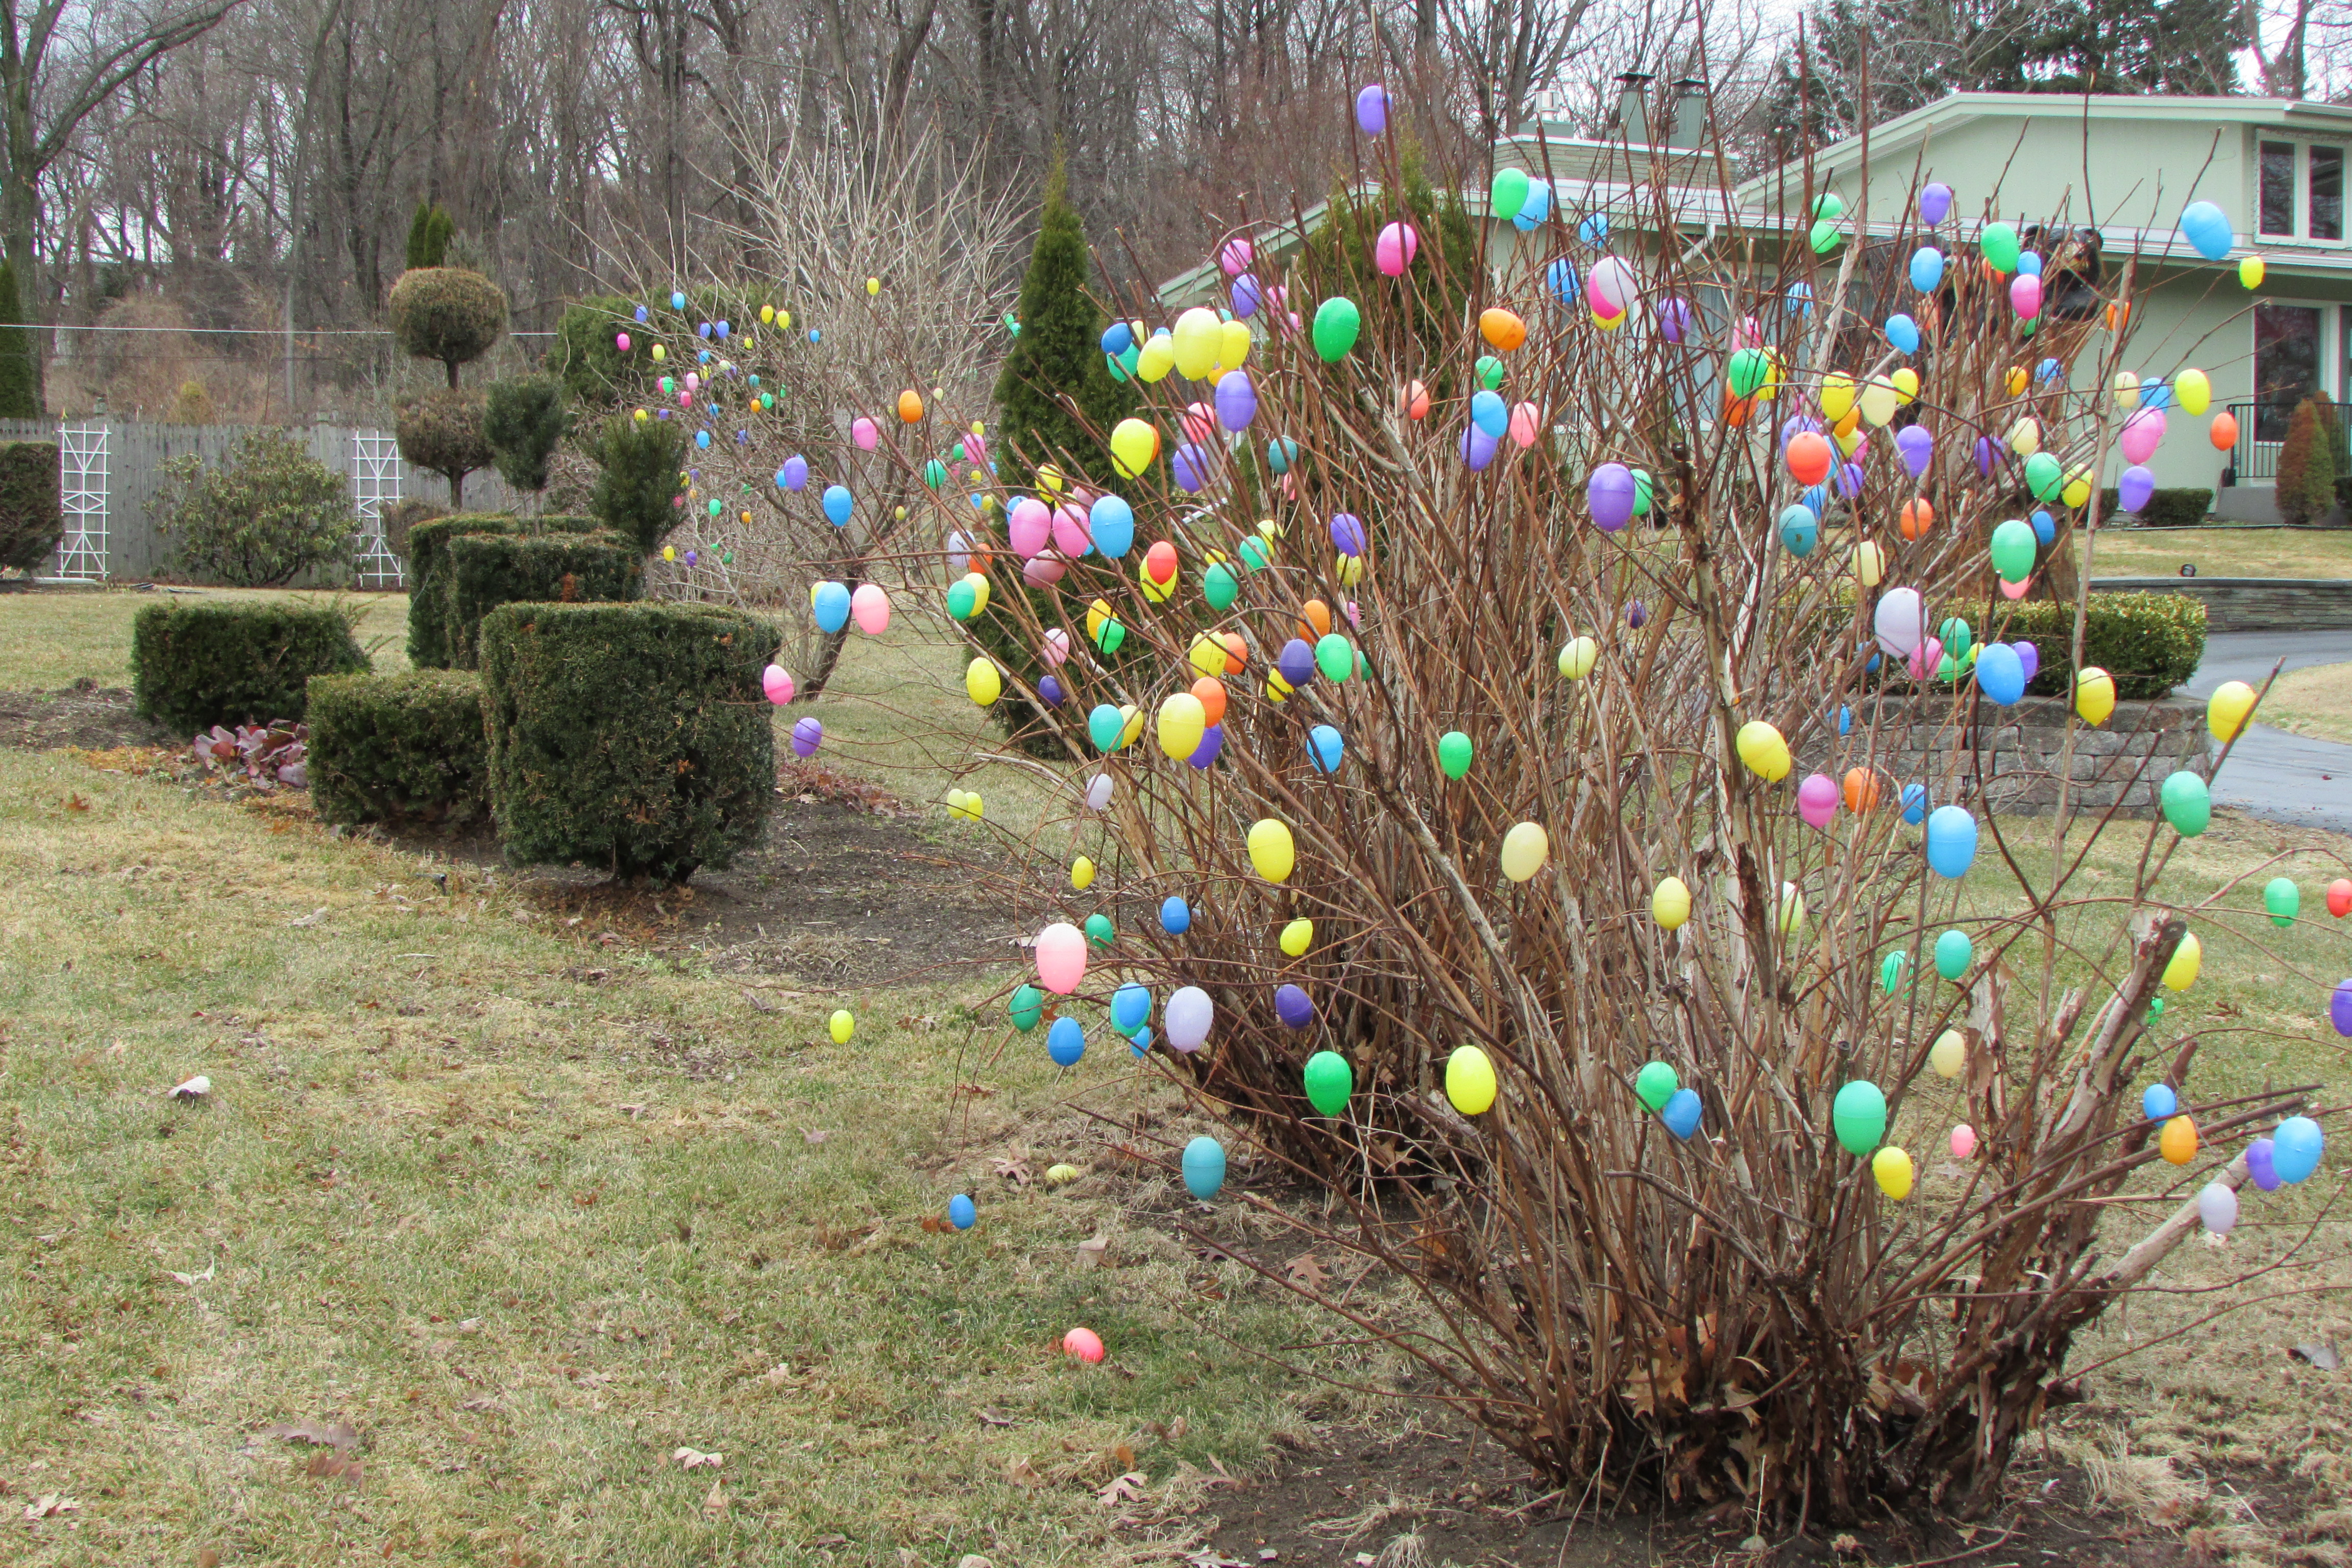 Here is the view of the border looking west from the road, with Easter Eggs adorning two of the three large bushed planted in that area.
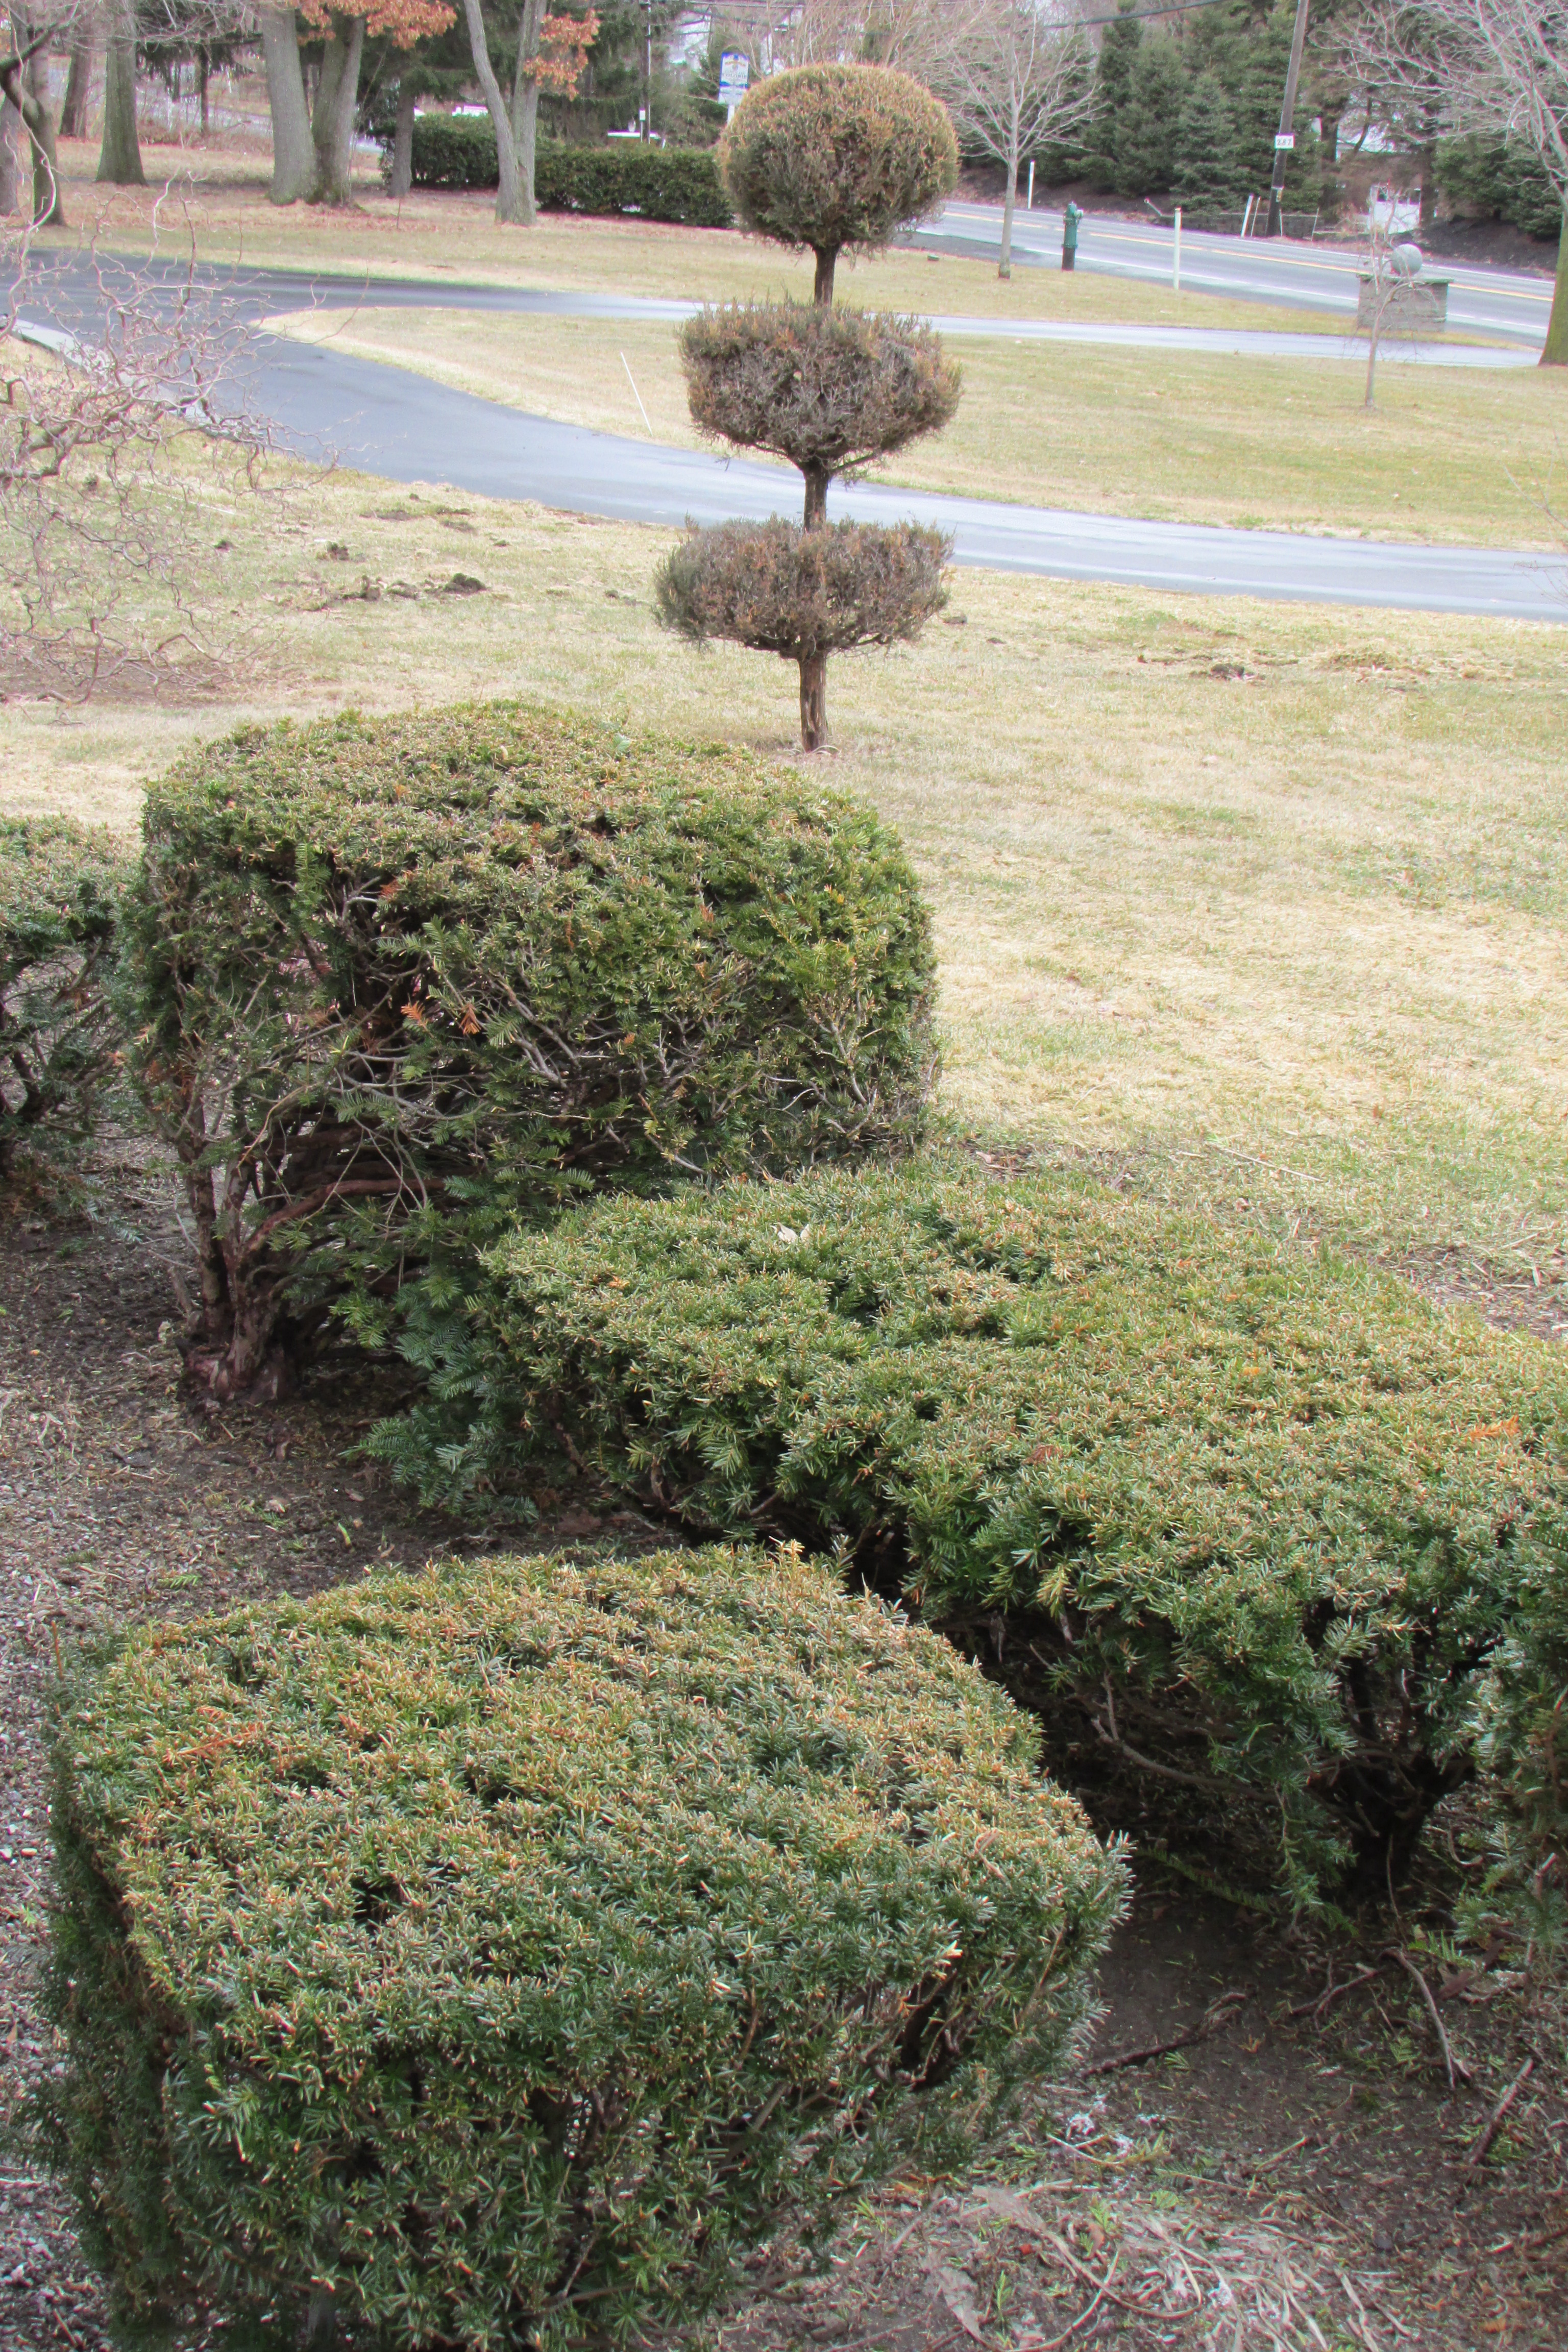
 Next is a view from the front porch looking at some of the foundation plantings and over to the 3 tiered juniper topiary. The topiary is old and when I initially bought it, it had just two spheres. The blue toned juniper was something that they tried introducing in my area (zone 5-4) over ten years ago, but the plants had a lot of problems with winter burn, so it is not seen too often any more. I still let it grow, even if it does not look all that great.
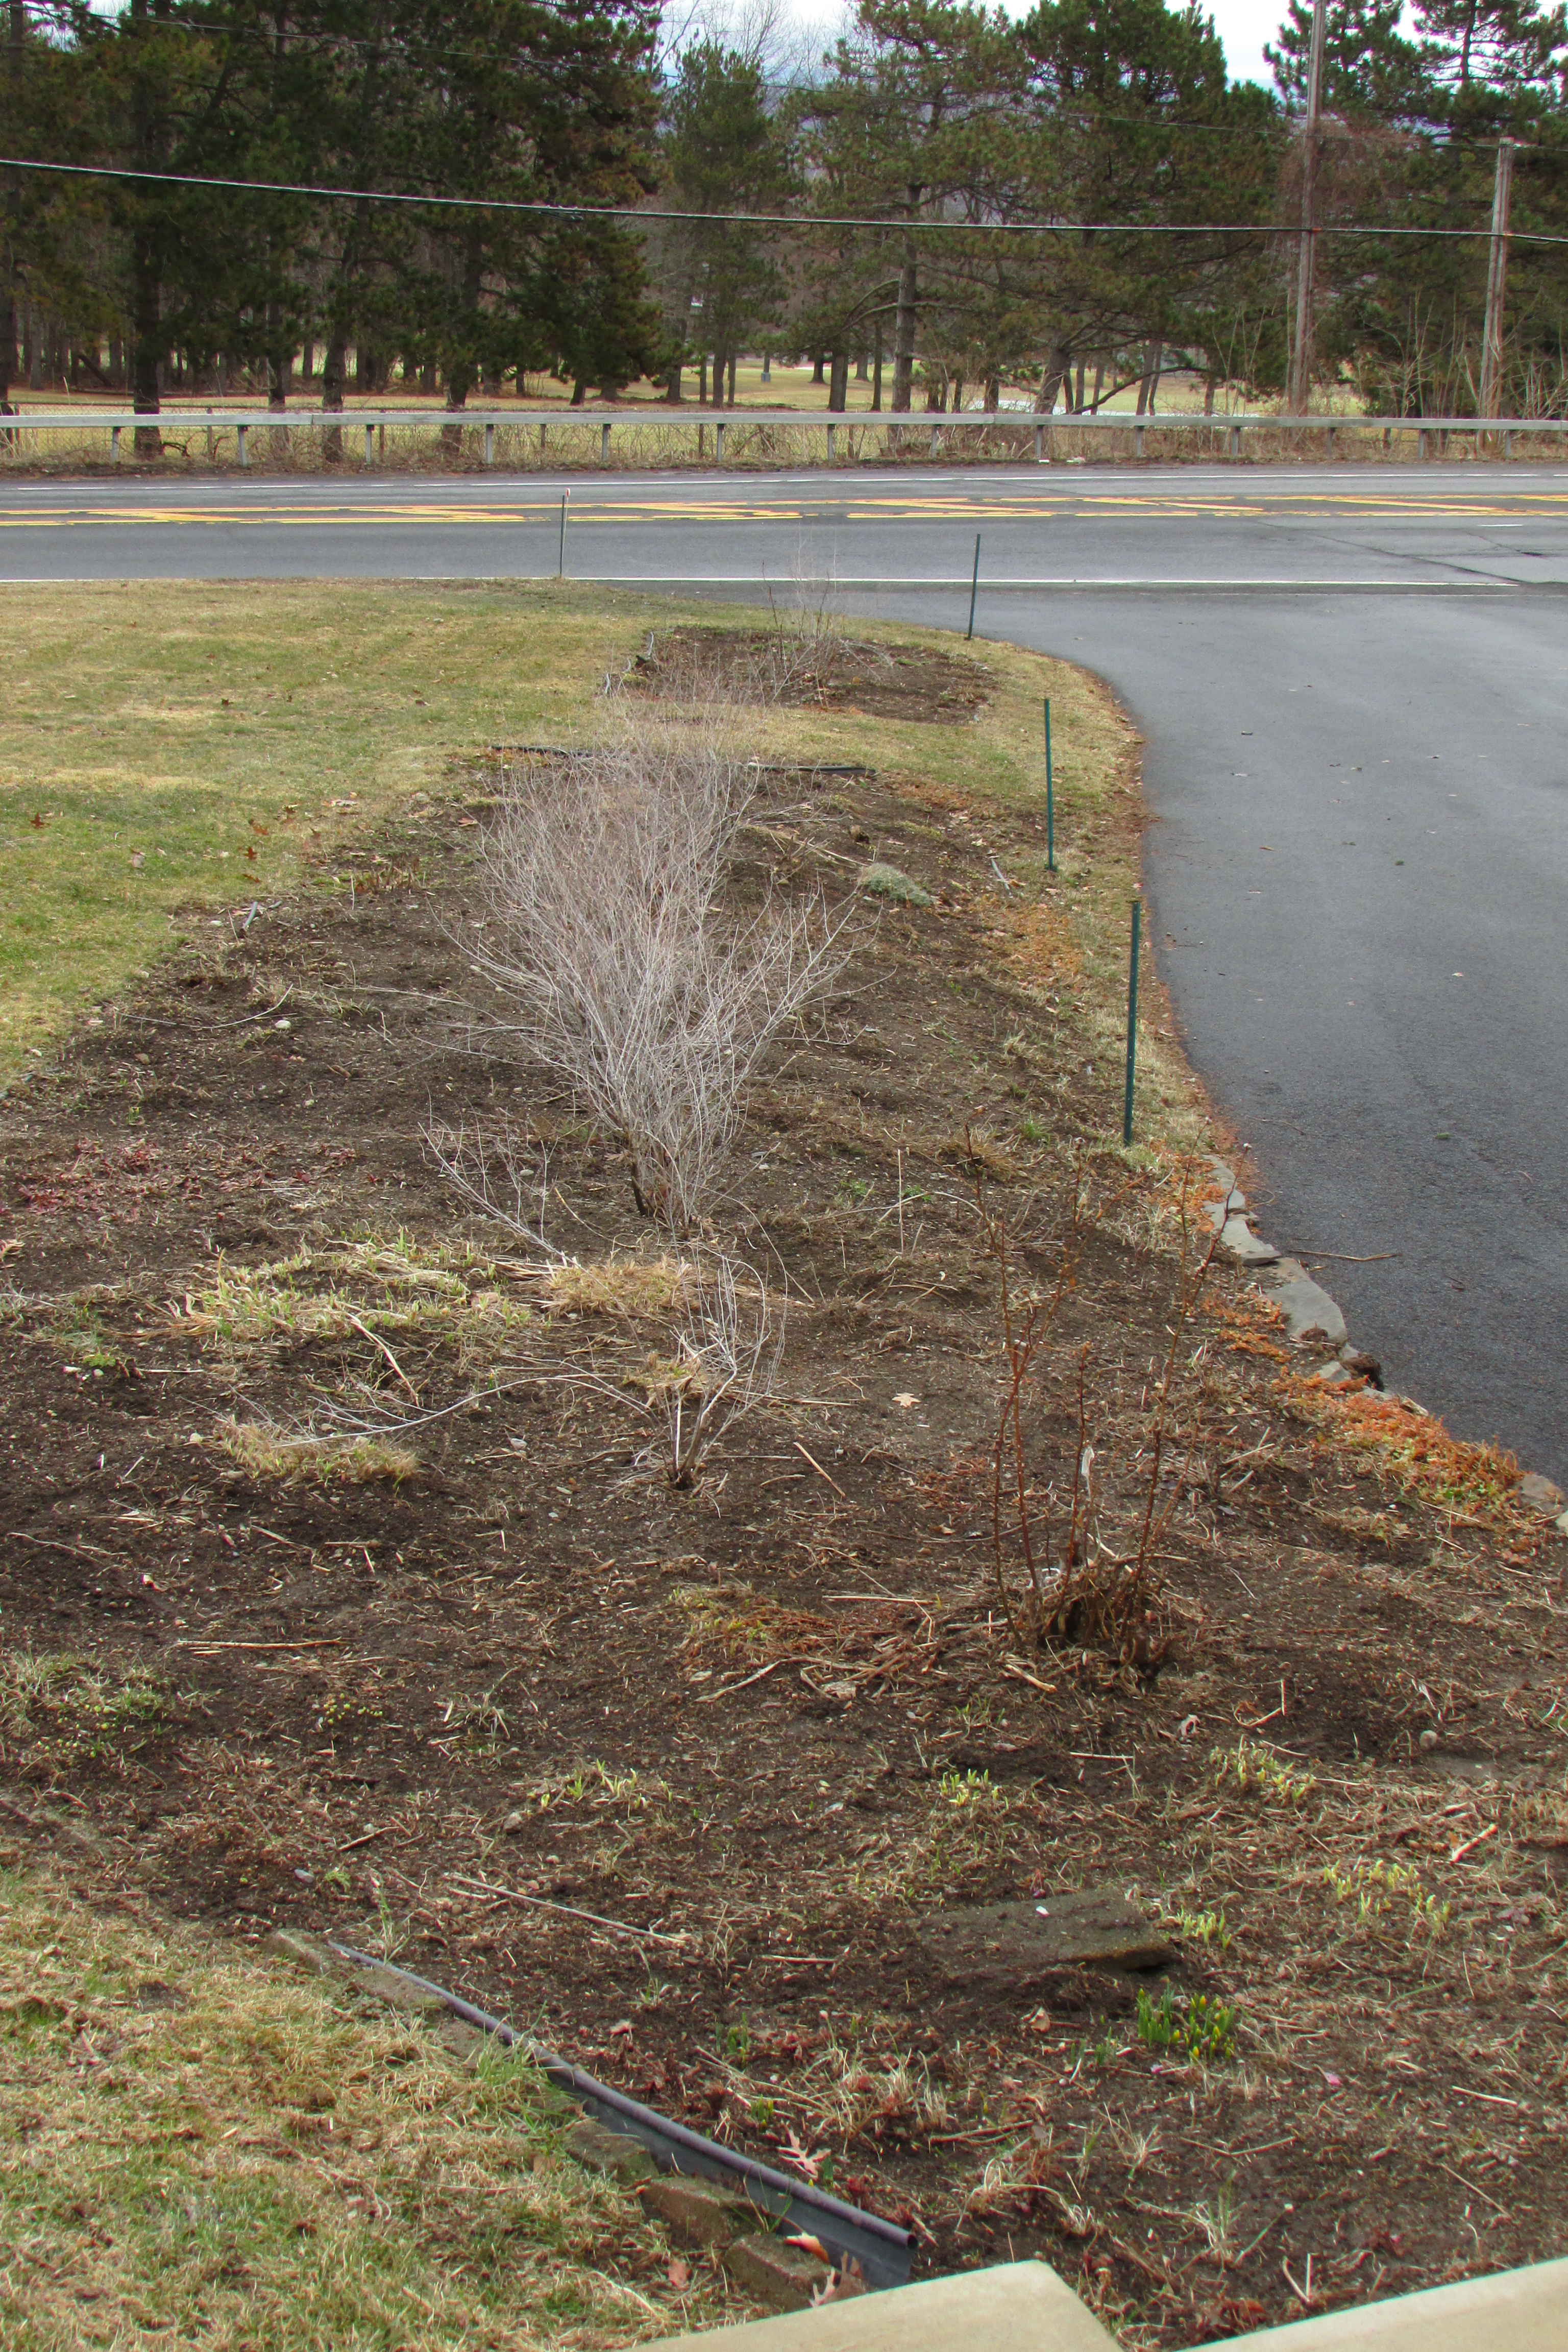
After that is the view, from the front steps, looking down toward the road at the big flower border, soon to come alive again. 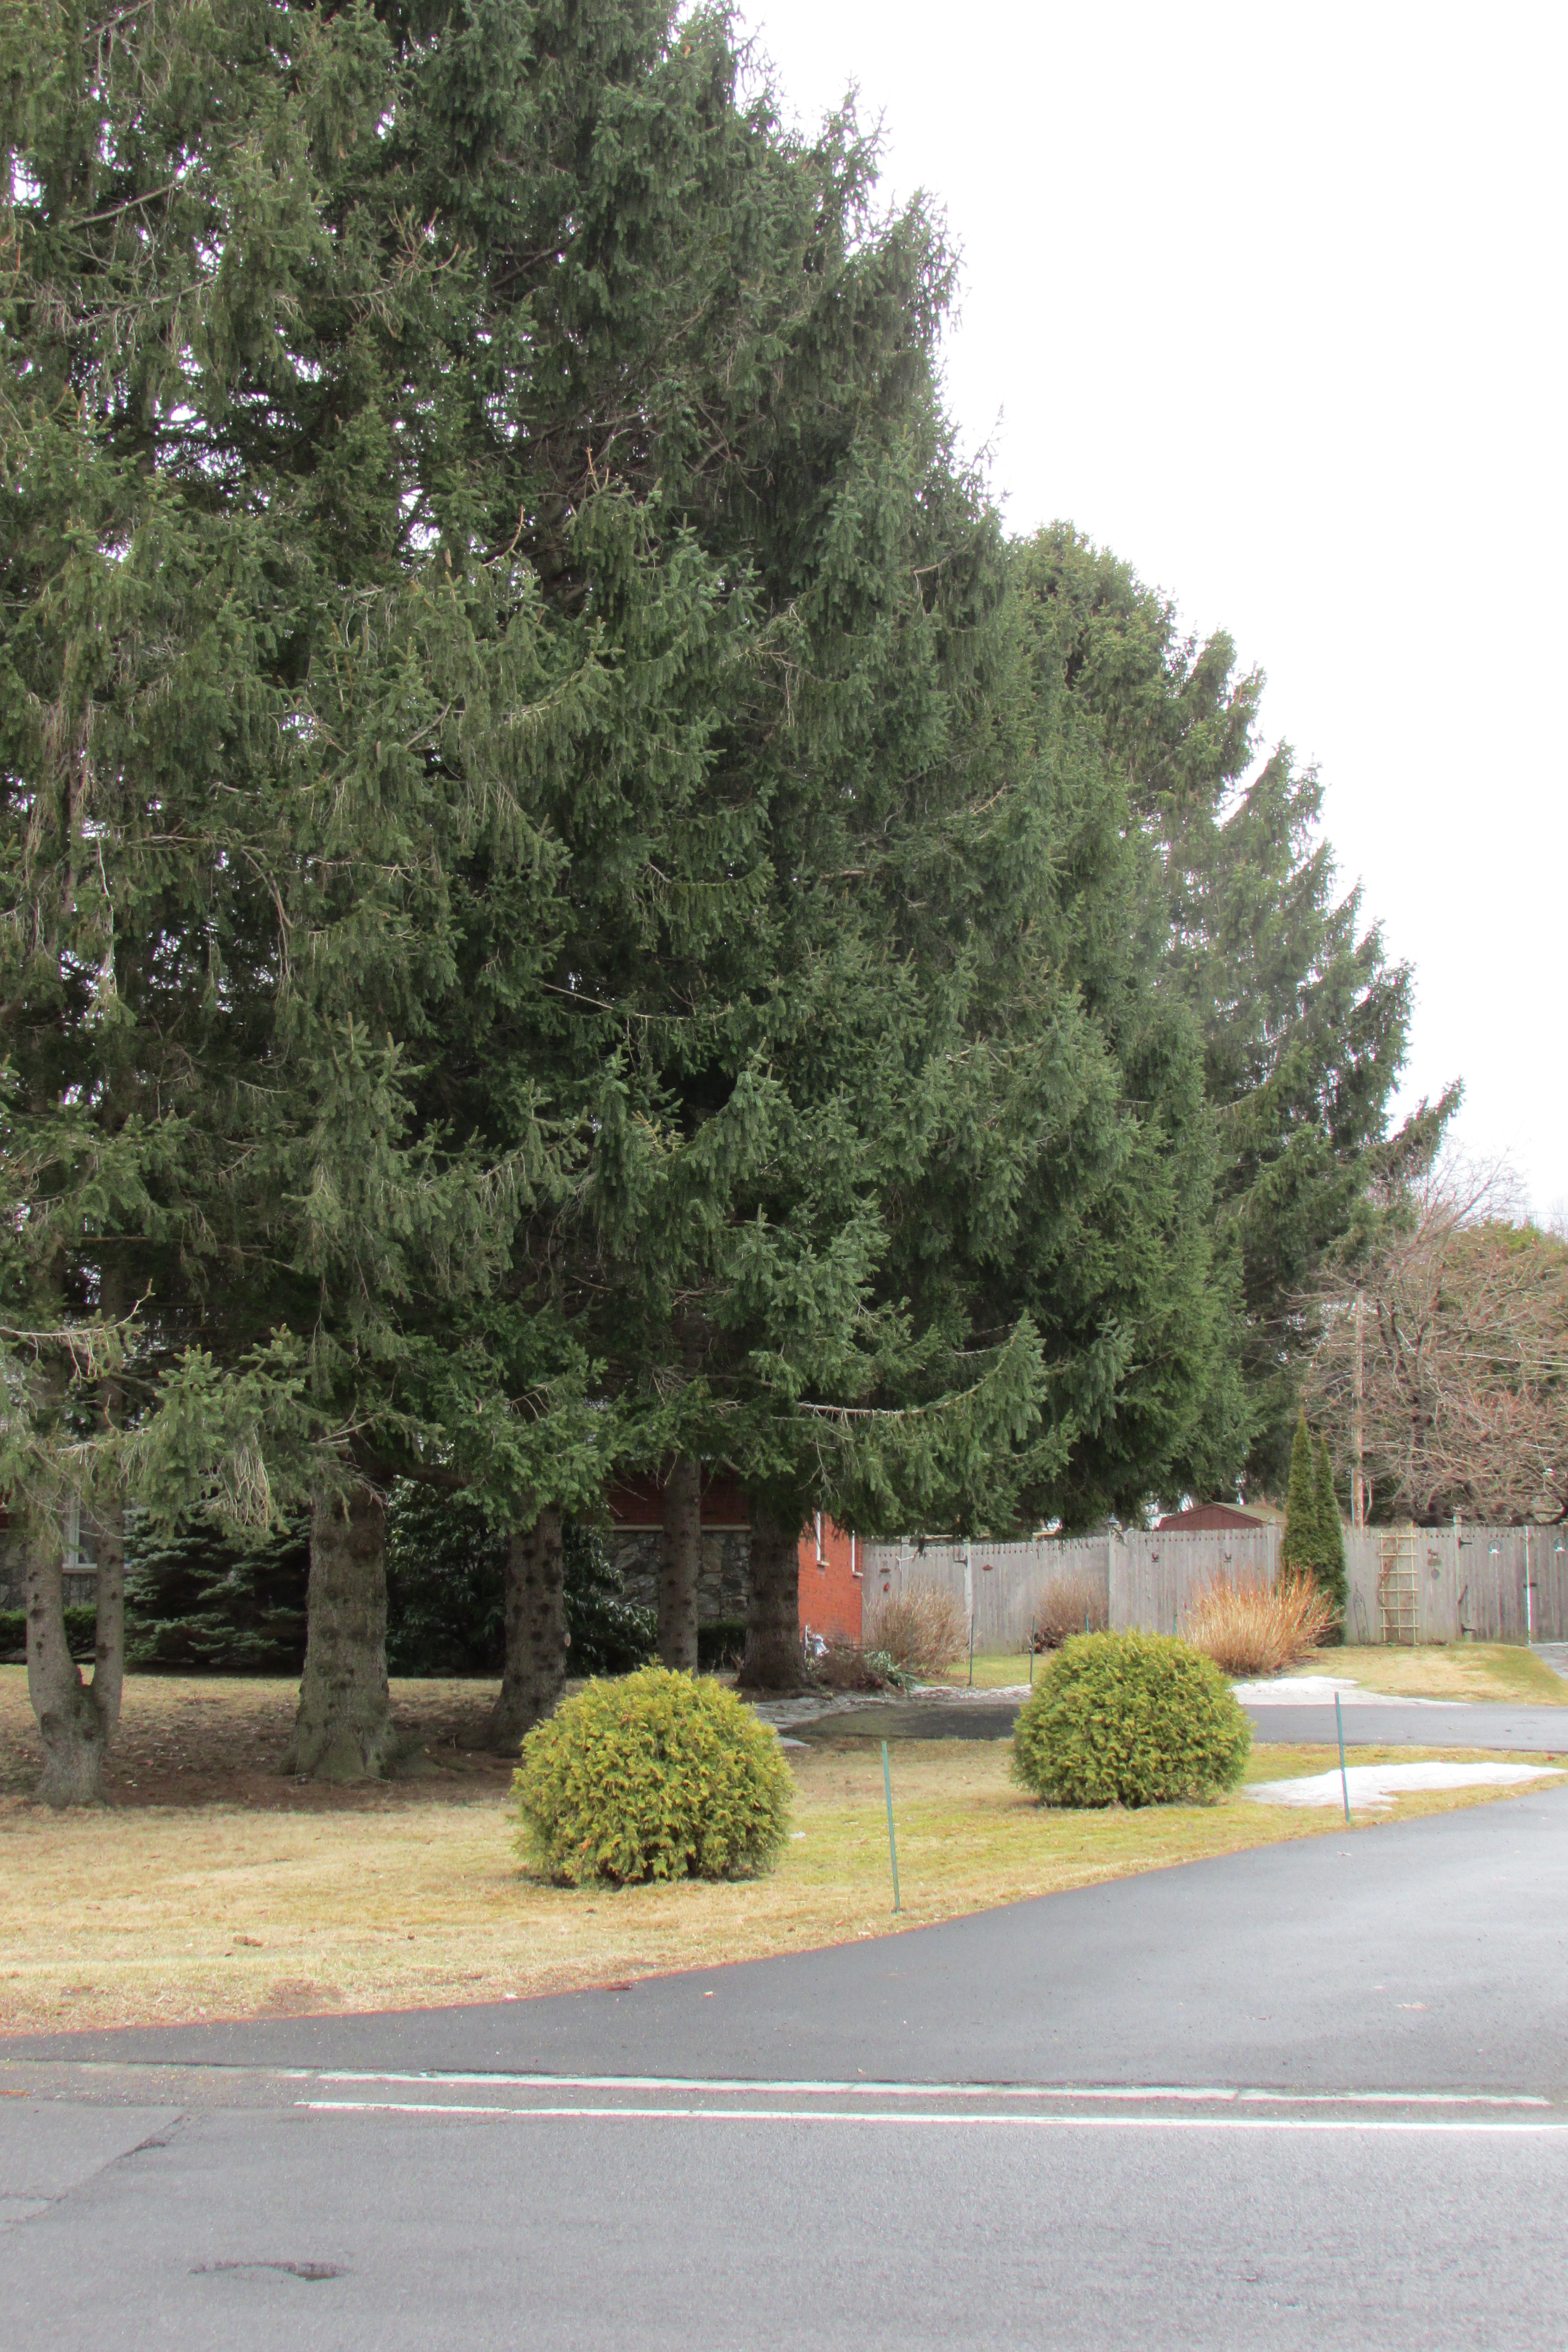 On the south side of my property is a row of 50 to 60 foot tall evergreen trees owned by my neighbor. To bring the eye down to ground level, I planted two chartreuse arborvitae spheres that act like living sculpture at their bases. Those two round shaped arborvitae on the south side of the front lawn, mimic the round shapes of the topiary on the north side of my house. The grouping of the towering trees and spheres on the south side of my property are counterbalanced by the grouping of evergreens on the north side. In a way the two plantings frame the views of the front side of my house; looking from the road to the house and from the house back toward the road.
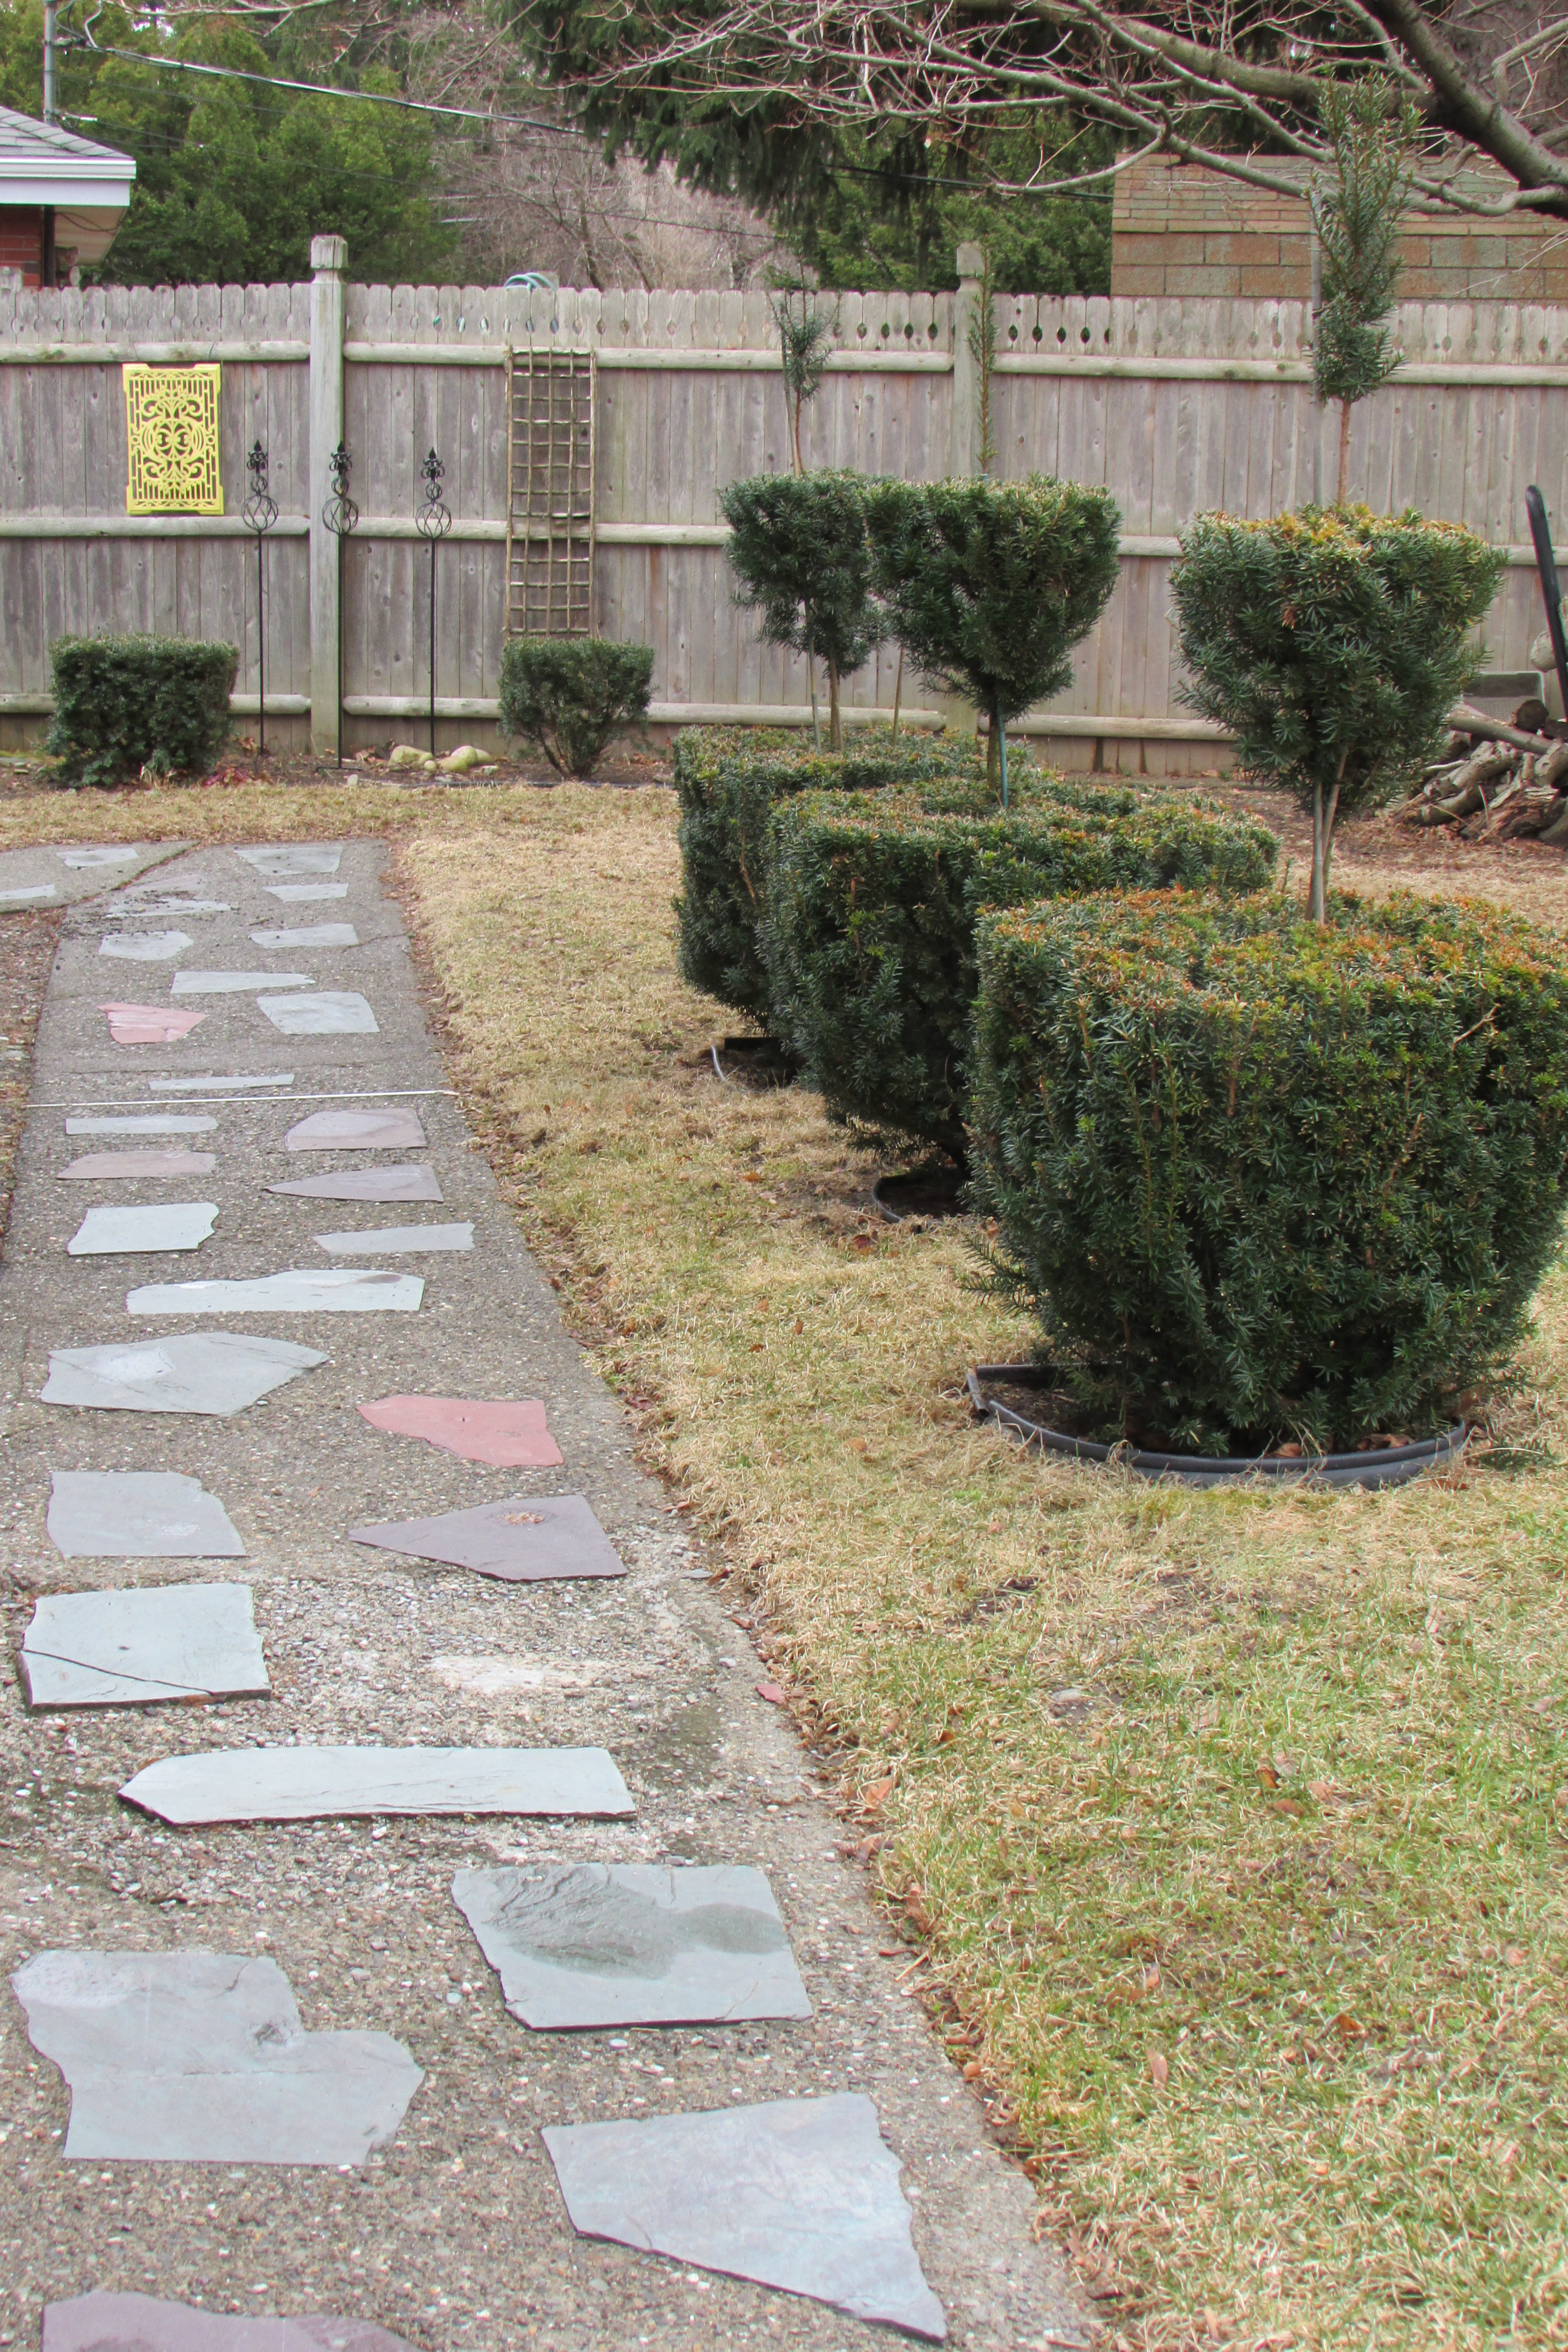
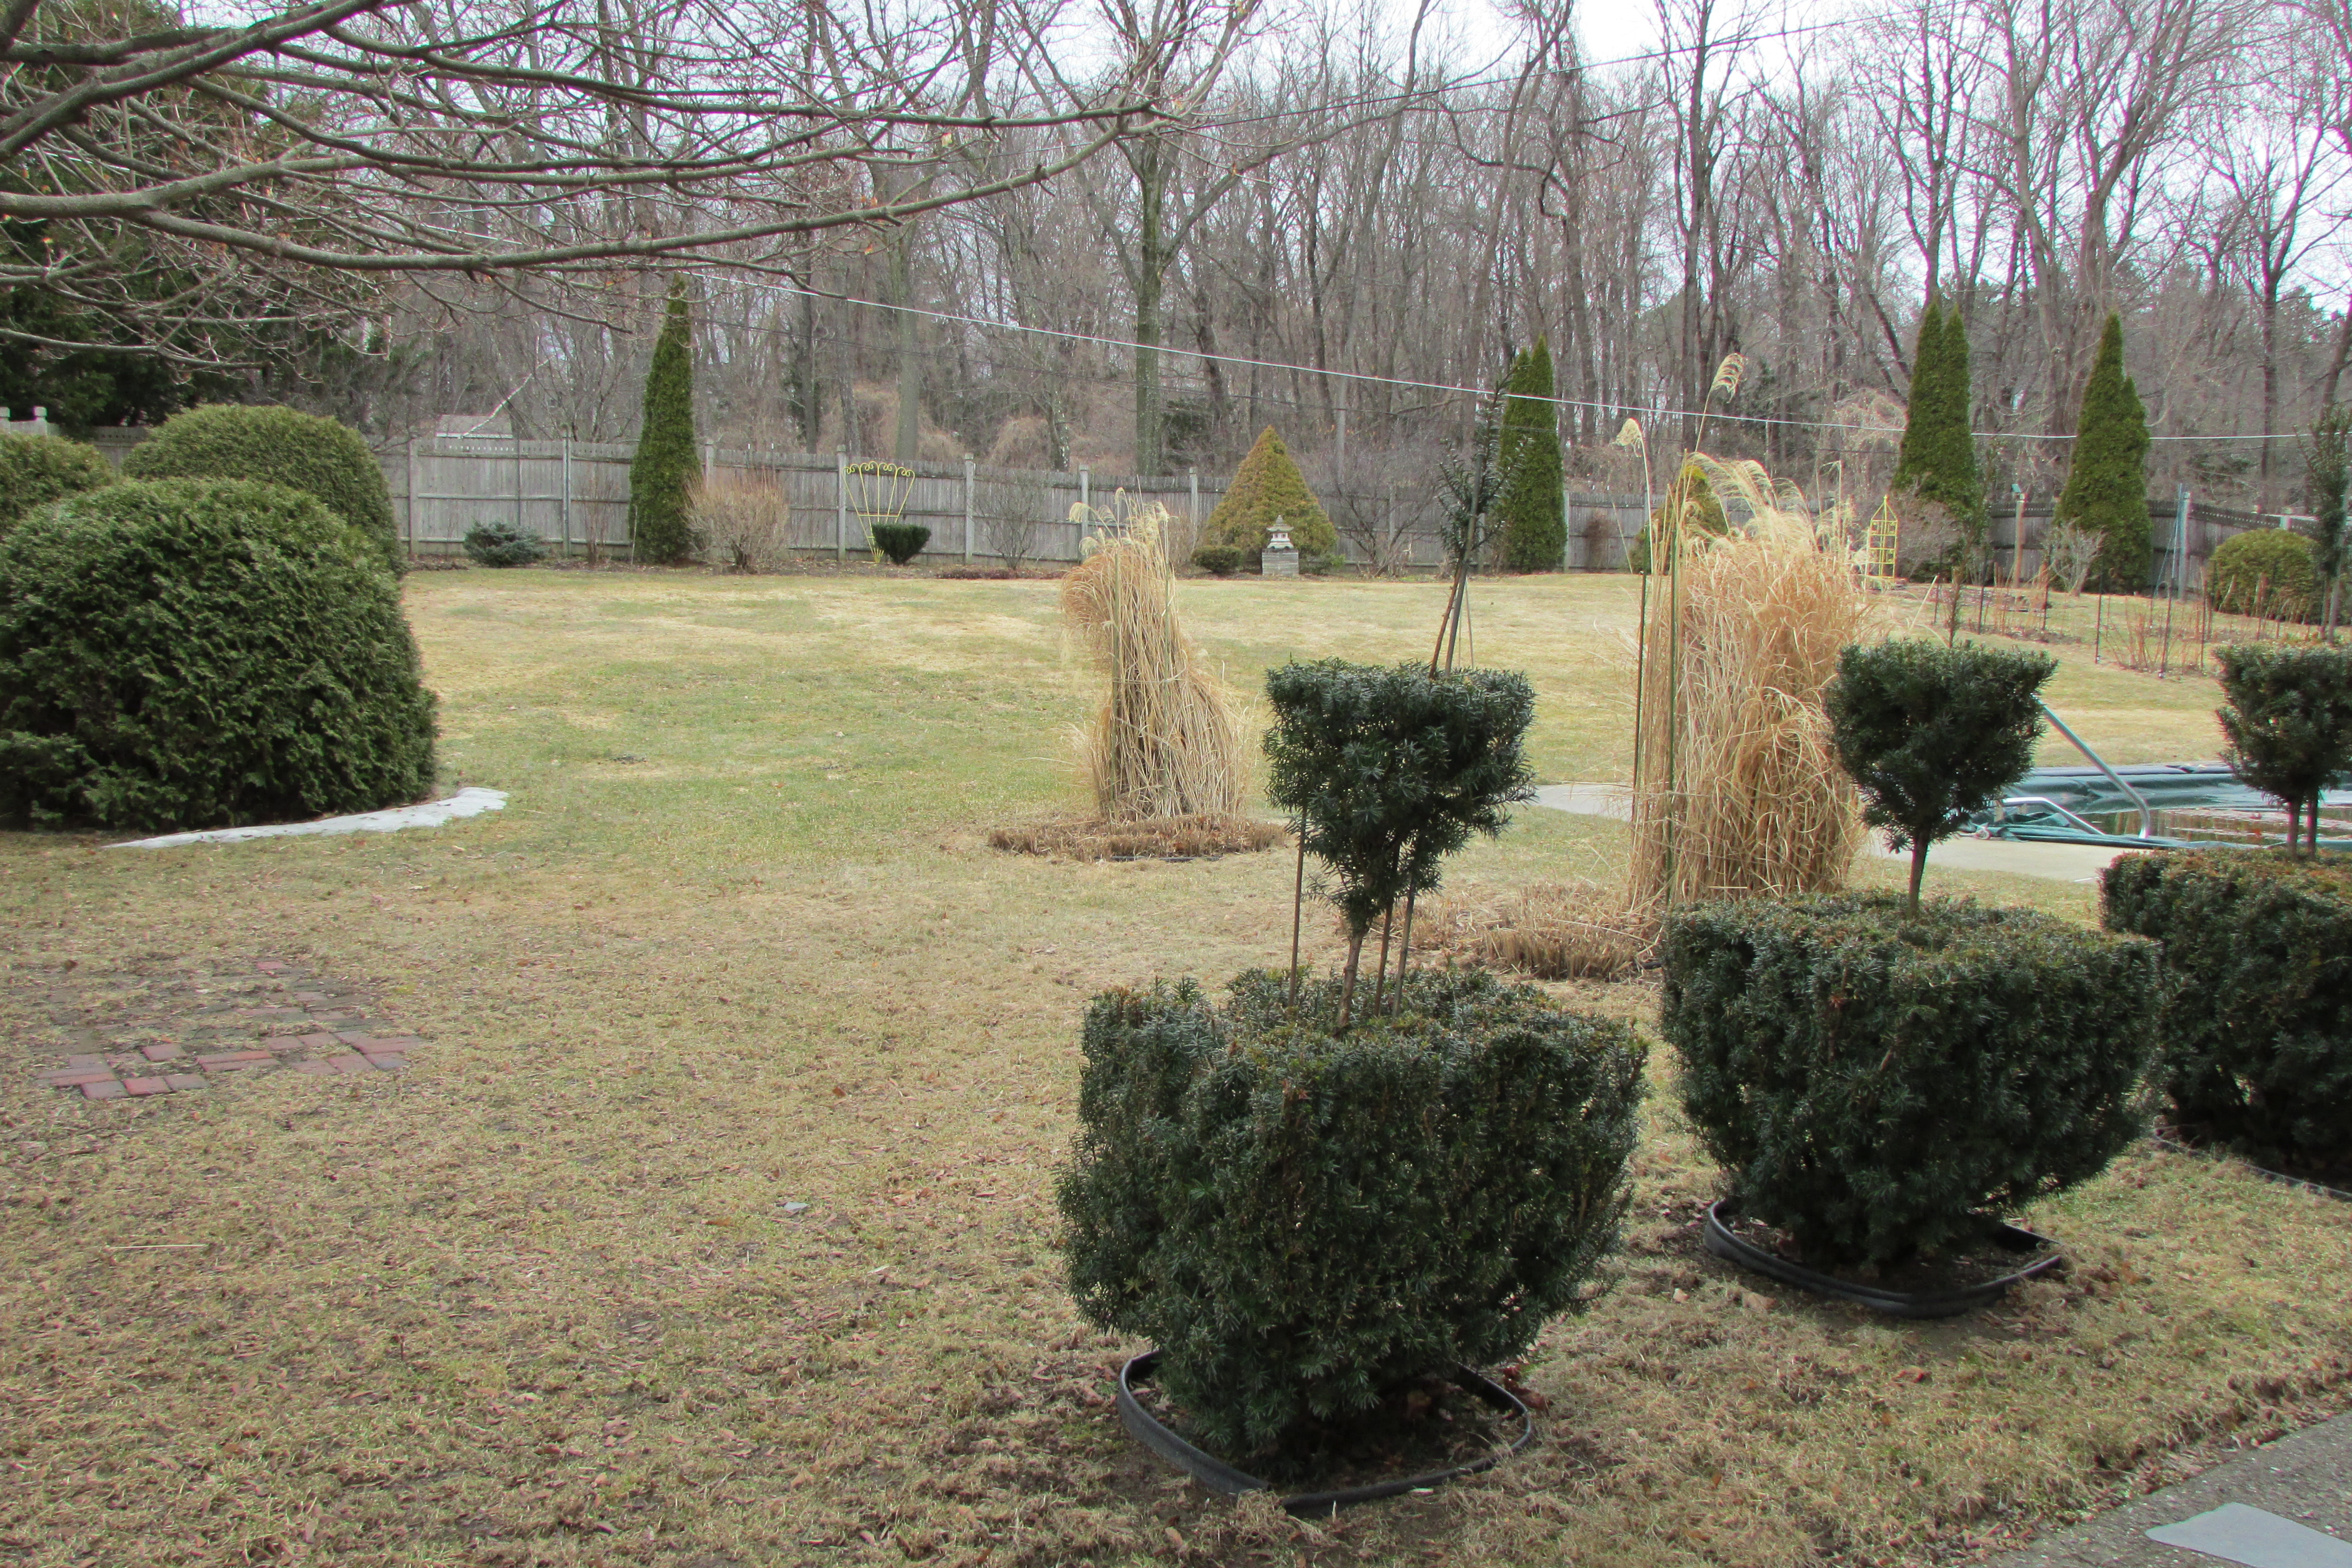 Now we are in my back yard. The upper photo shows three topiary I started from upright yew; they are placed along the back walkway that goes from my deck to the side garden gate. Notice the two square-shaped yew in the distance, by the fence; they were placed there to help to keep the green color and texture of the yew topiary moving along on that part of my property. The small yew on the right lines up exactly with the three yew topiary to keep the eye going in a straight line.
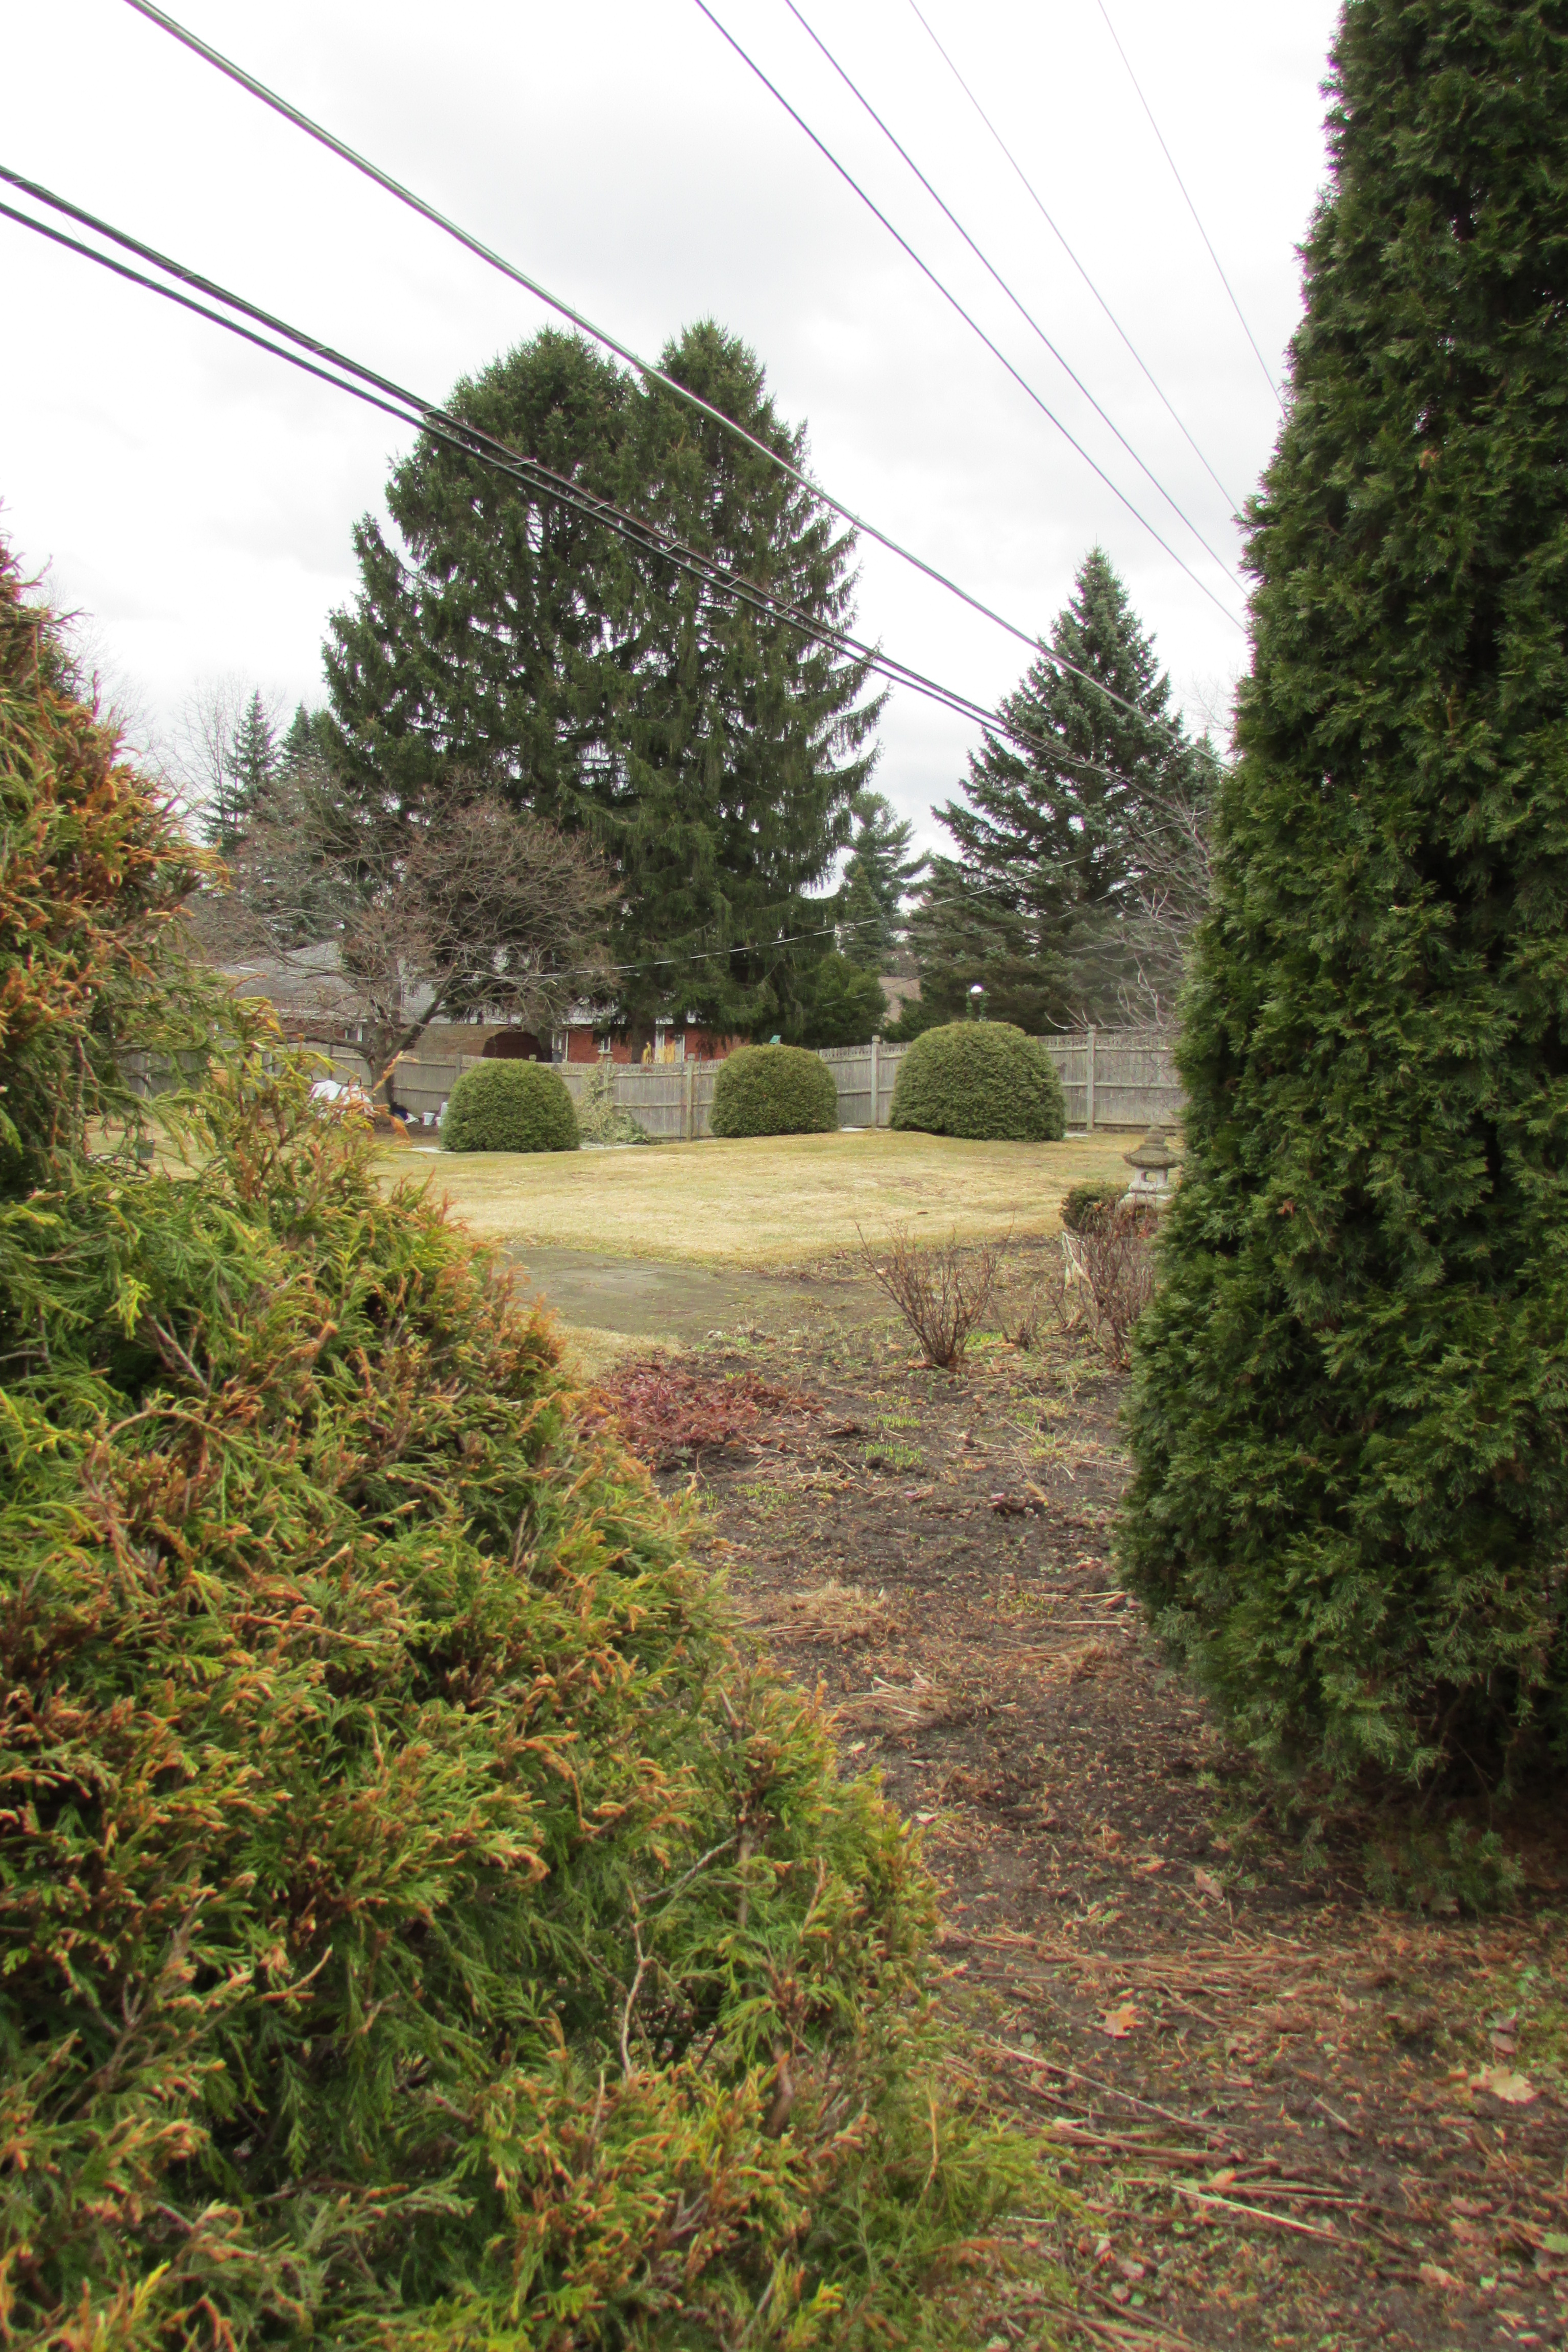
The lower photo shows the view from the garden gate looking past the three topiary, into the back yard. Notice how I placed columnar, pyramidal, mound, nest and sphere shaped evergreens across my property. Without them, the eye would only have the wooden fence to look at in this 125×125 foot square space. The spacing of the different kinds of evergreens is about 8 to 10+ feet apart. You can see that by looking at the fence posts and the number of 8 foot sections that make up the fence. 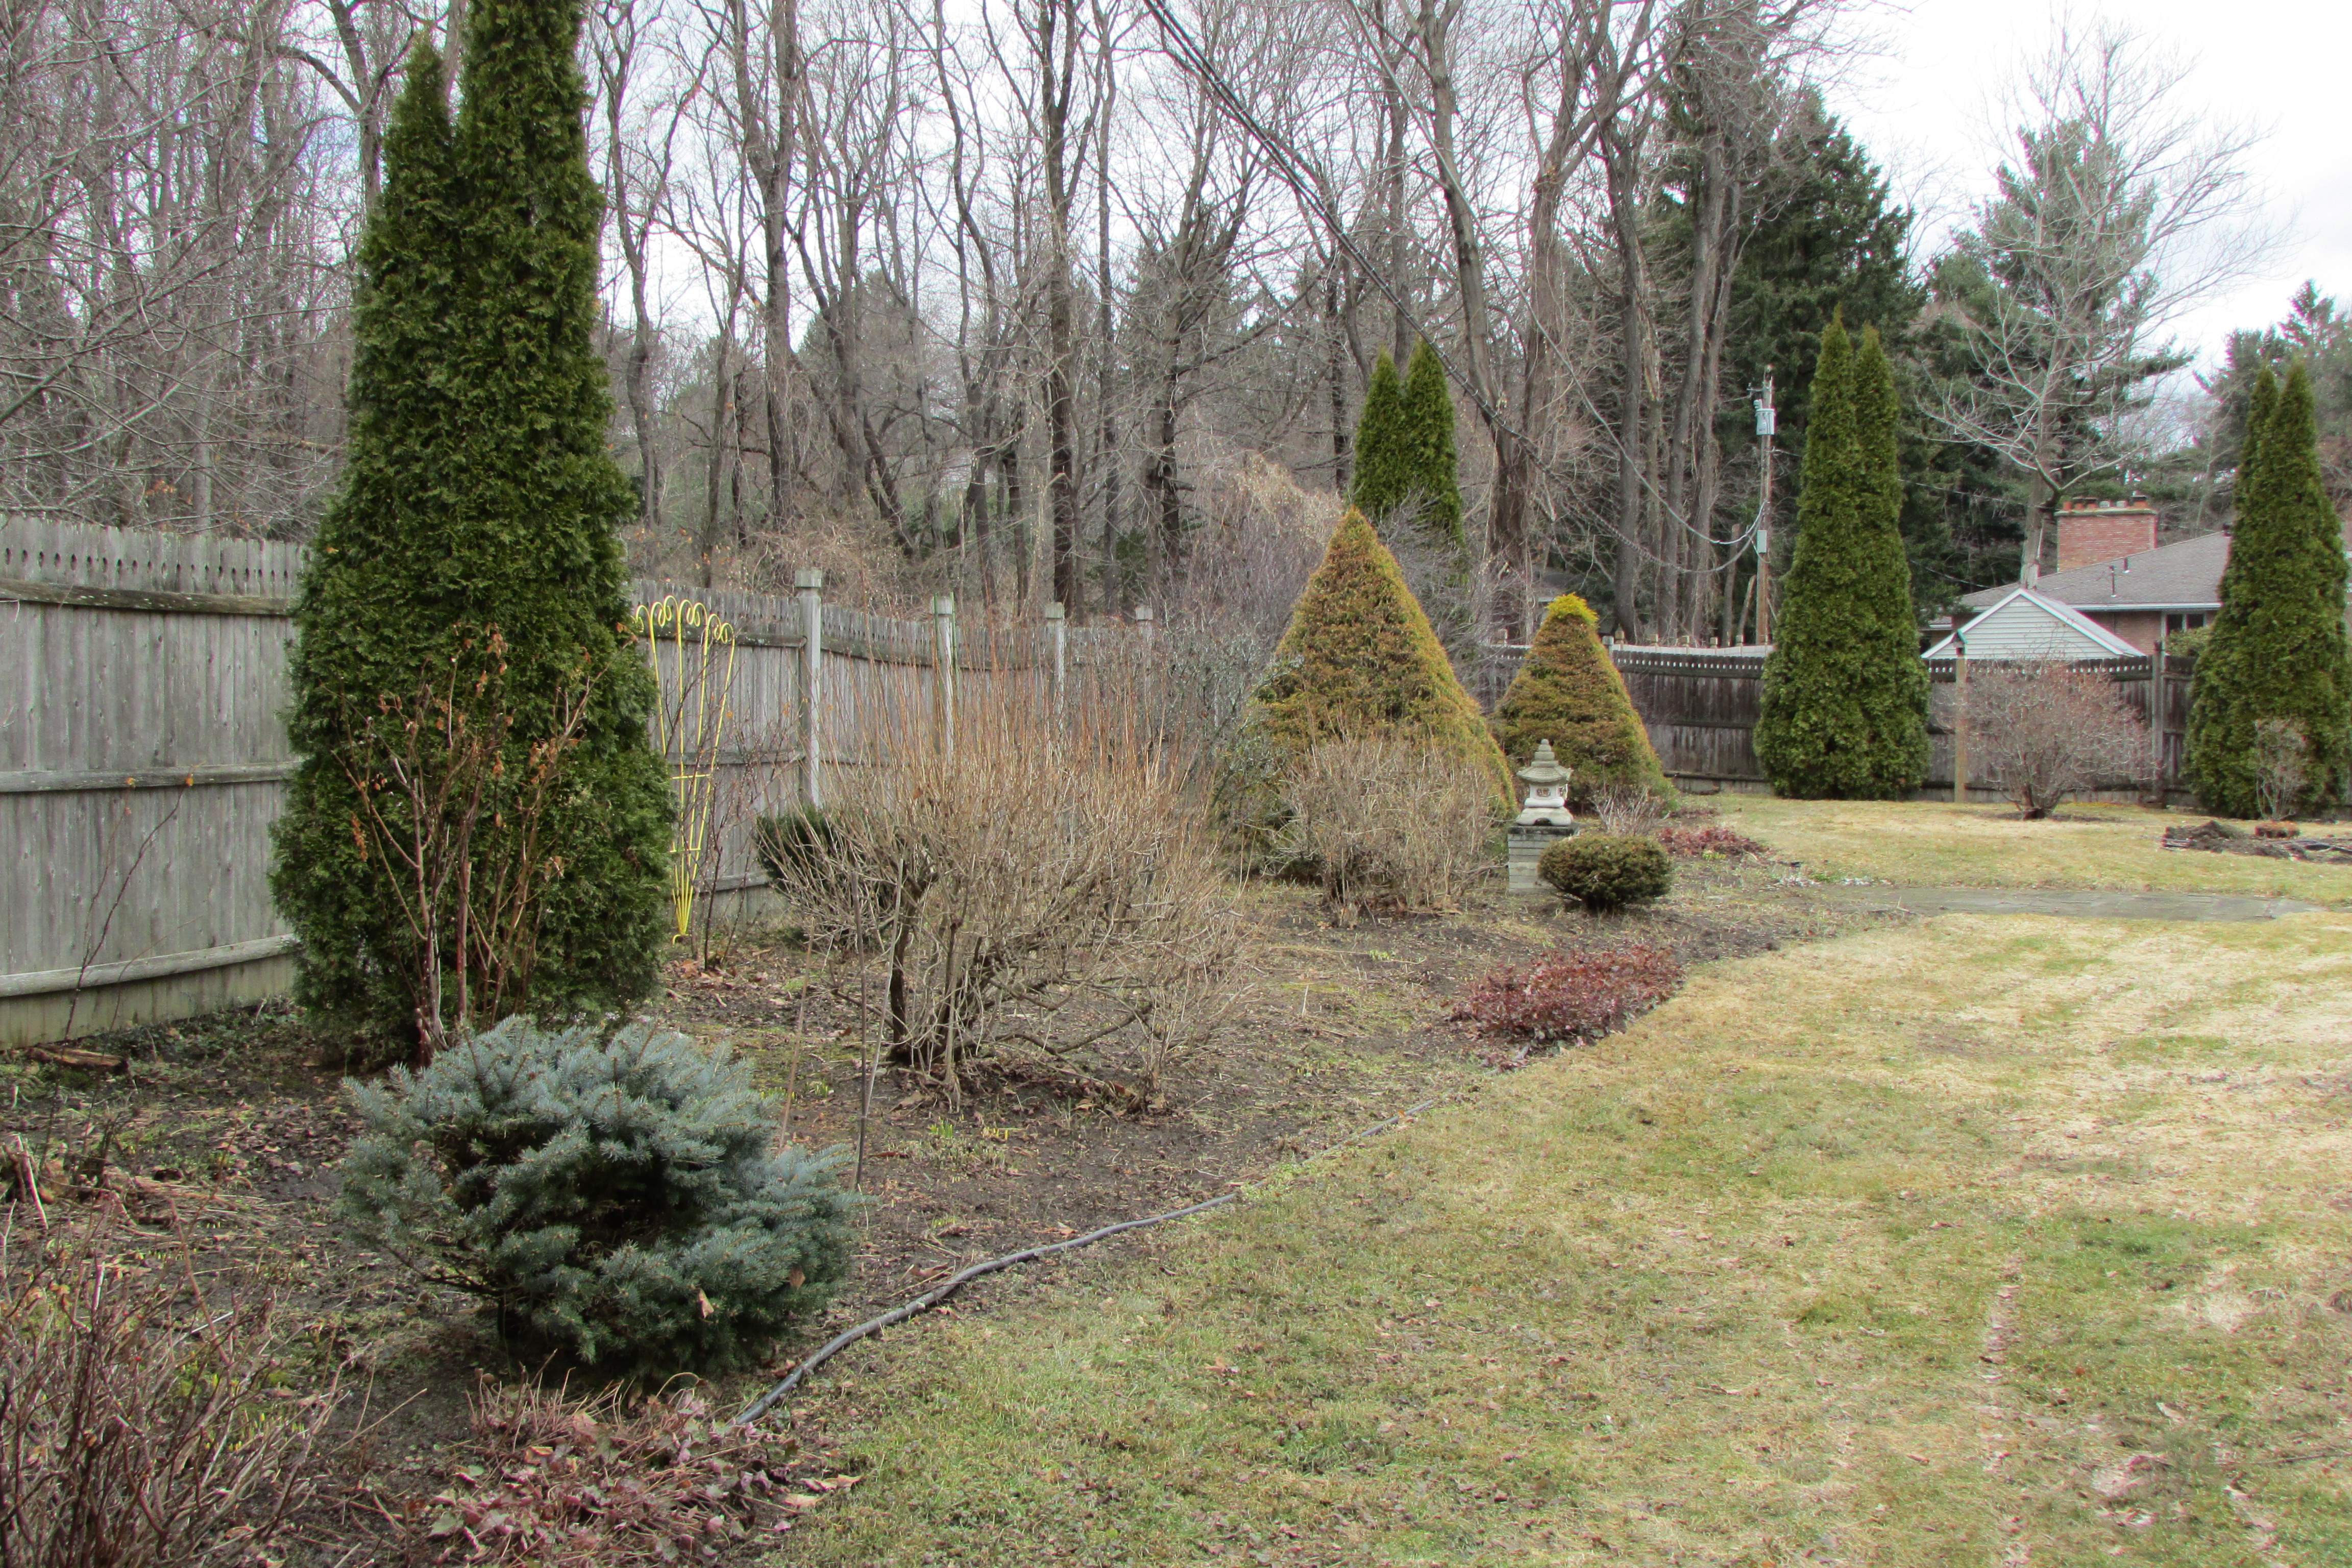
 Now we are by the long back border, it is 125 feet long and 14 to 16 feet deep. The upper photo shows the view of it looking north.
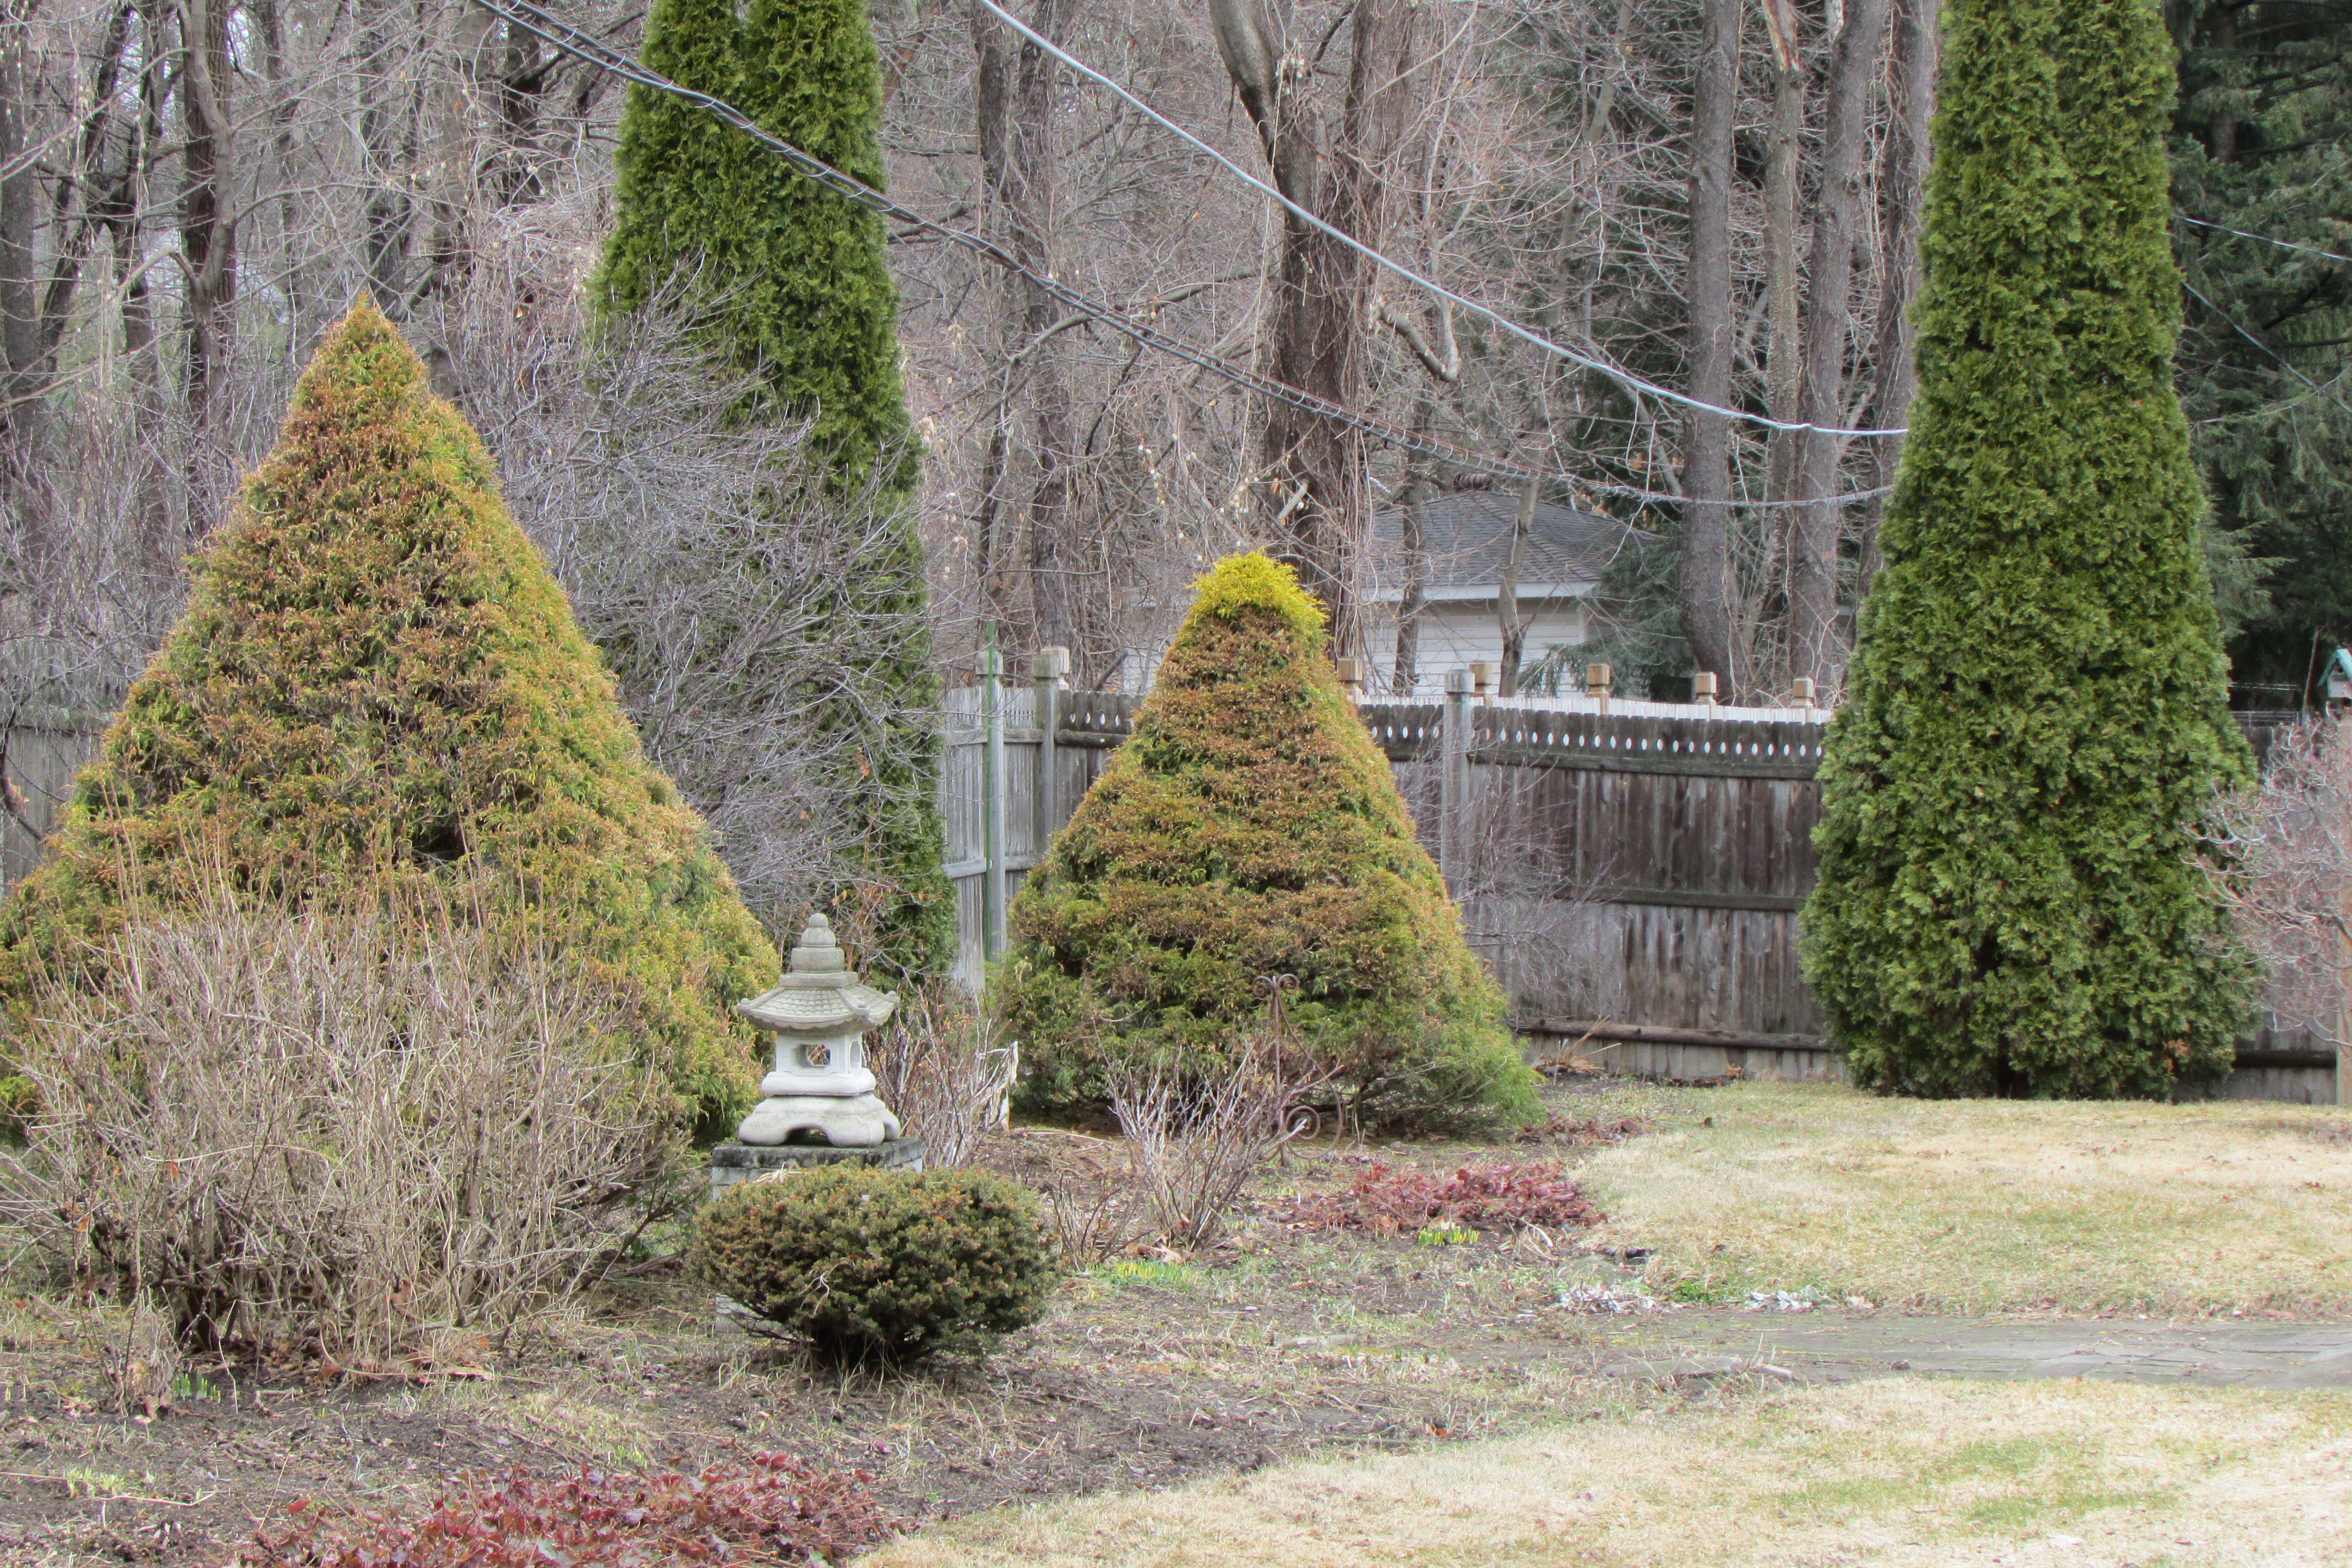
The second photo is a close up of the two golden string / thread Cypress that I’ve sheared into pyramids. Also notice the different heights of bushes from ground hugging to very upright and towering. Also notice that my plantings are shorter than the towering trees on neighboring lands. My plantings stair step downward from the tall trees that my neighbors’ have to the ground level of my own property with its plantings and flower beds.
 This is a photo of my property looking south, while I’m standing in the back border. The three arborvitae spheres, shown in the distance, have been planted along the fence in a zigzag pattern. The spheres, along with the pyramidal Cypress, previously shown, get trimmed once yearly in the Fall, to keep them in shape. When planting any kind of evergreen bush or tree, like the arborvitae, distance the center stem of that tree / bush 5 or more feet from any solid surface like the board fence. The tree / bush needs light and air around it to grow properly. If you plant it too close to a fence, the back branches will not be able to collect light and the foliage / needles will fall off and that part of the plant will have a bare spot.
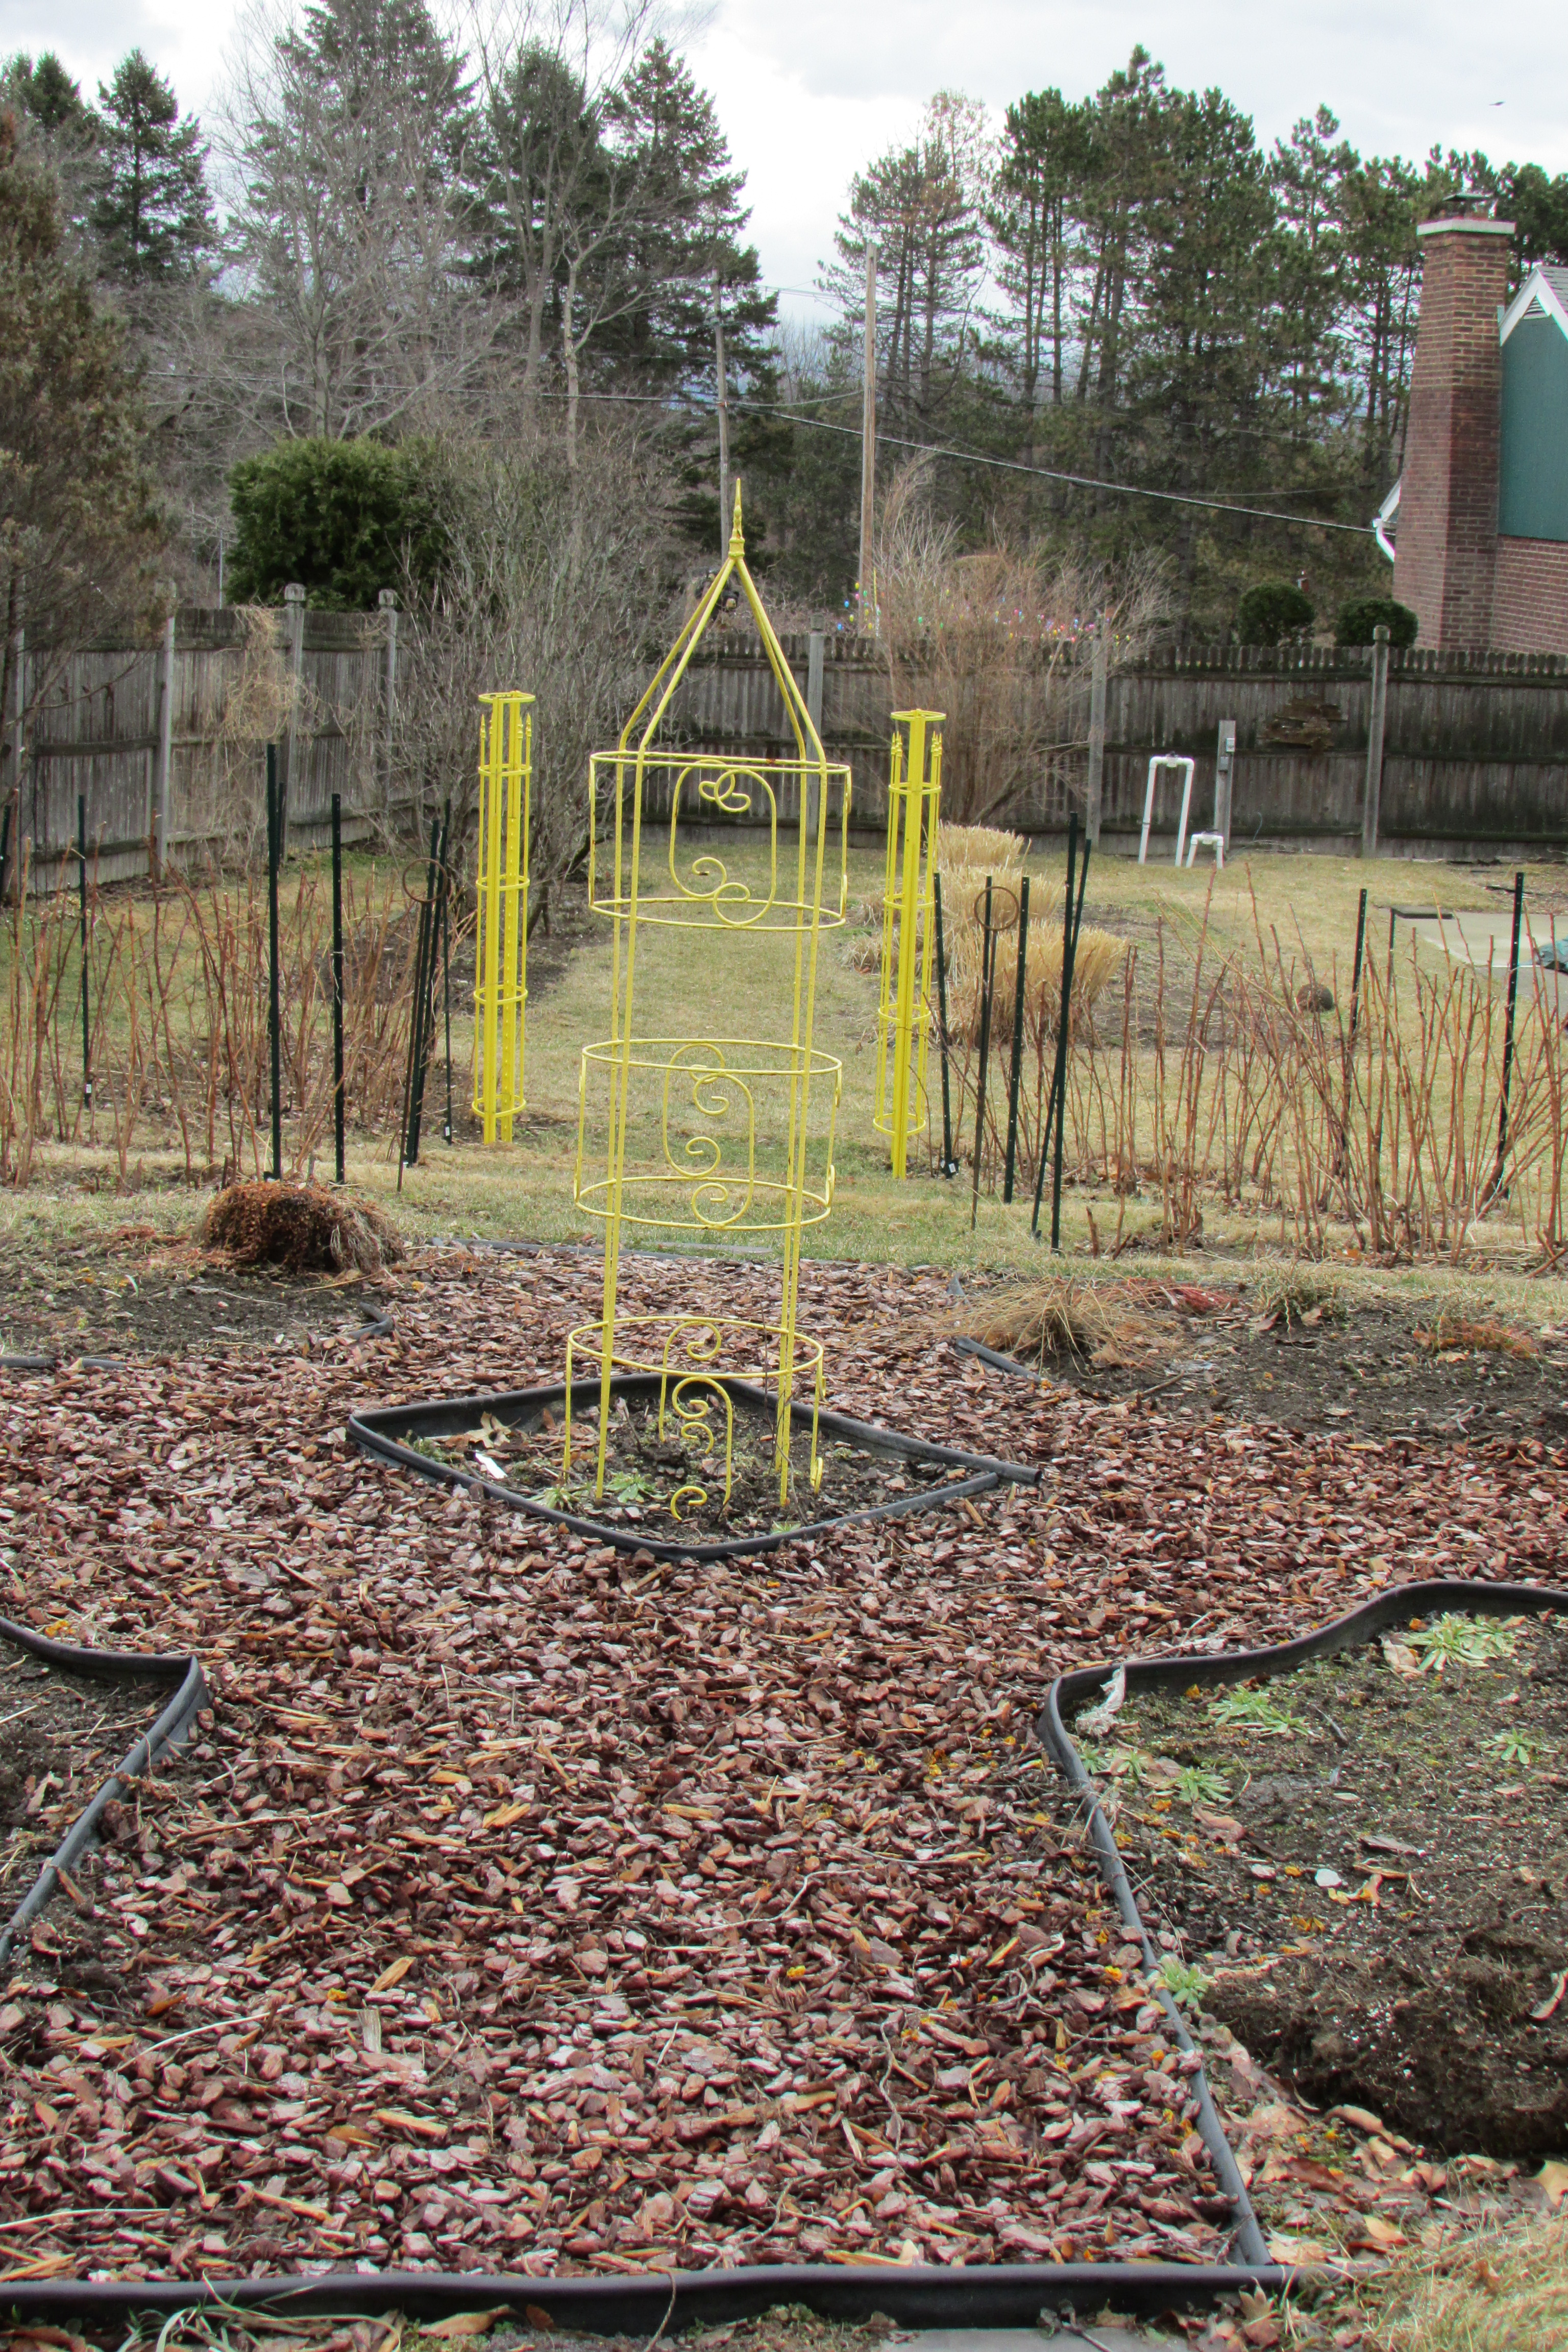
 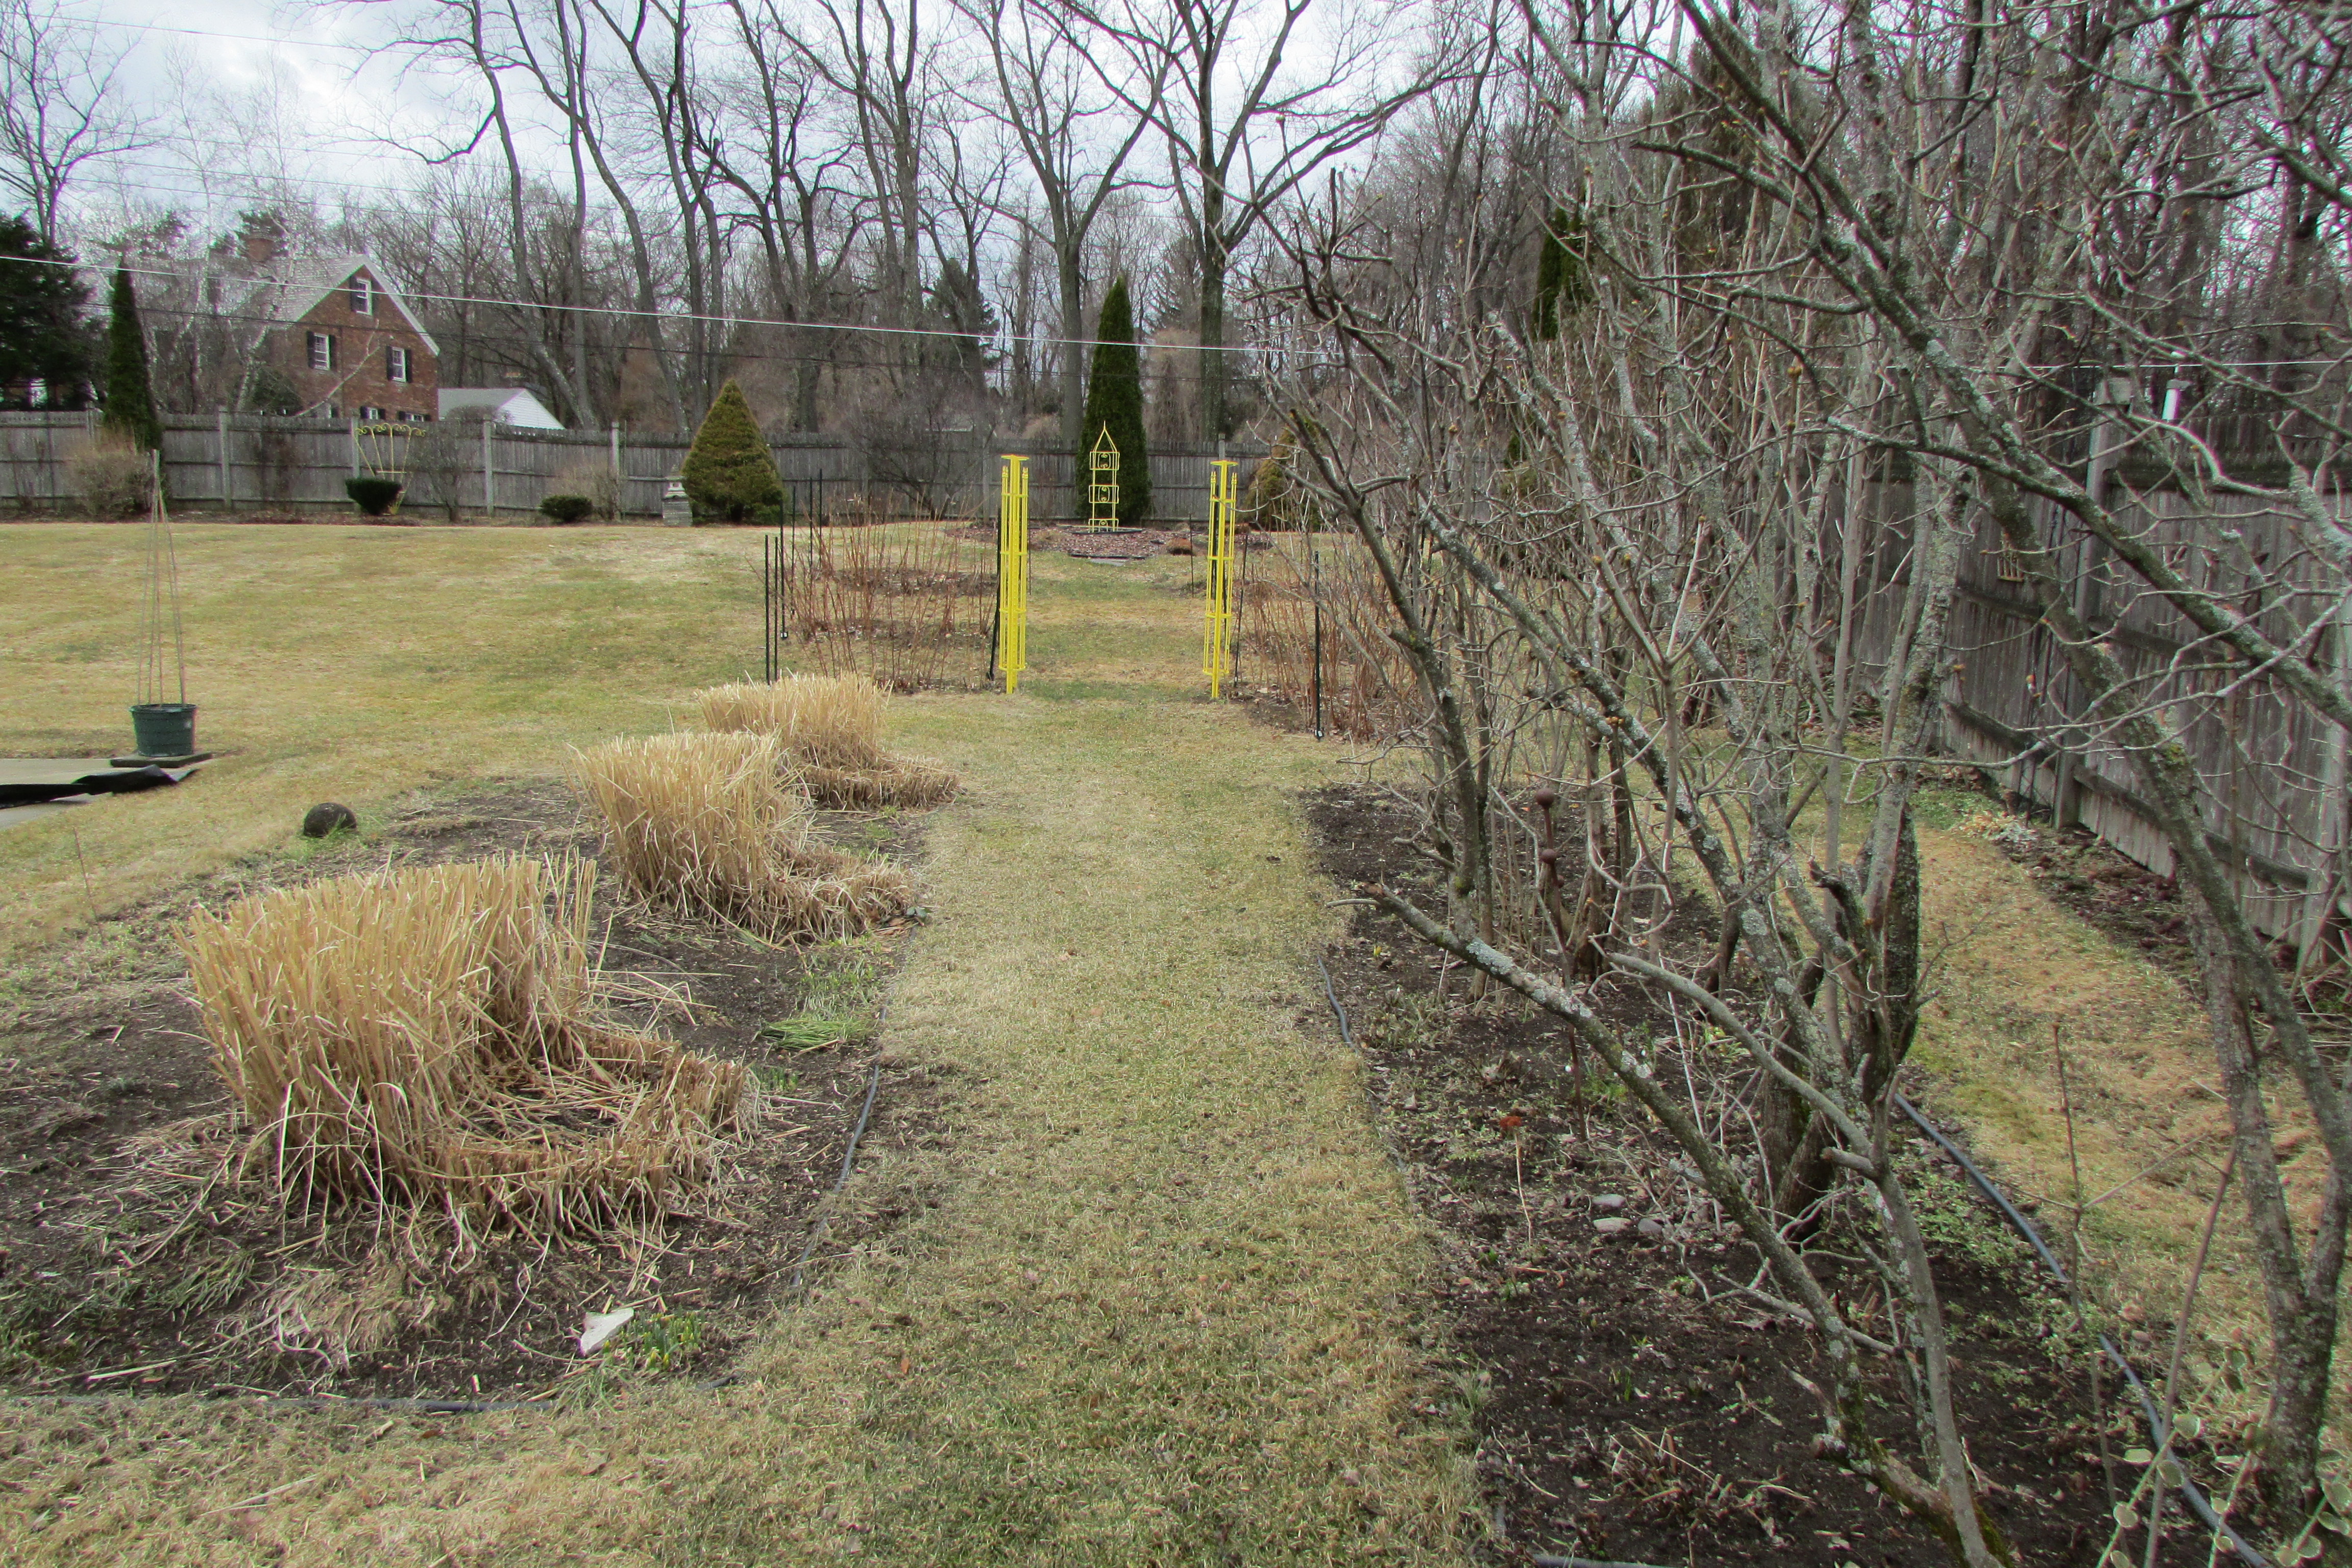 Last year I created a long walk that leads up from the house to the back border on the north side of my property. The two beds in the foreground were already there, but I eliminated the center portion of my raspberry patch (designated by the two yellow columns) to create a grassy path, that leads up to my vegetable garden, which then brings you to the back border.
 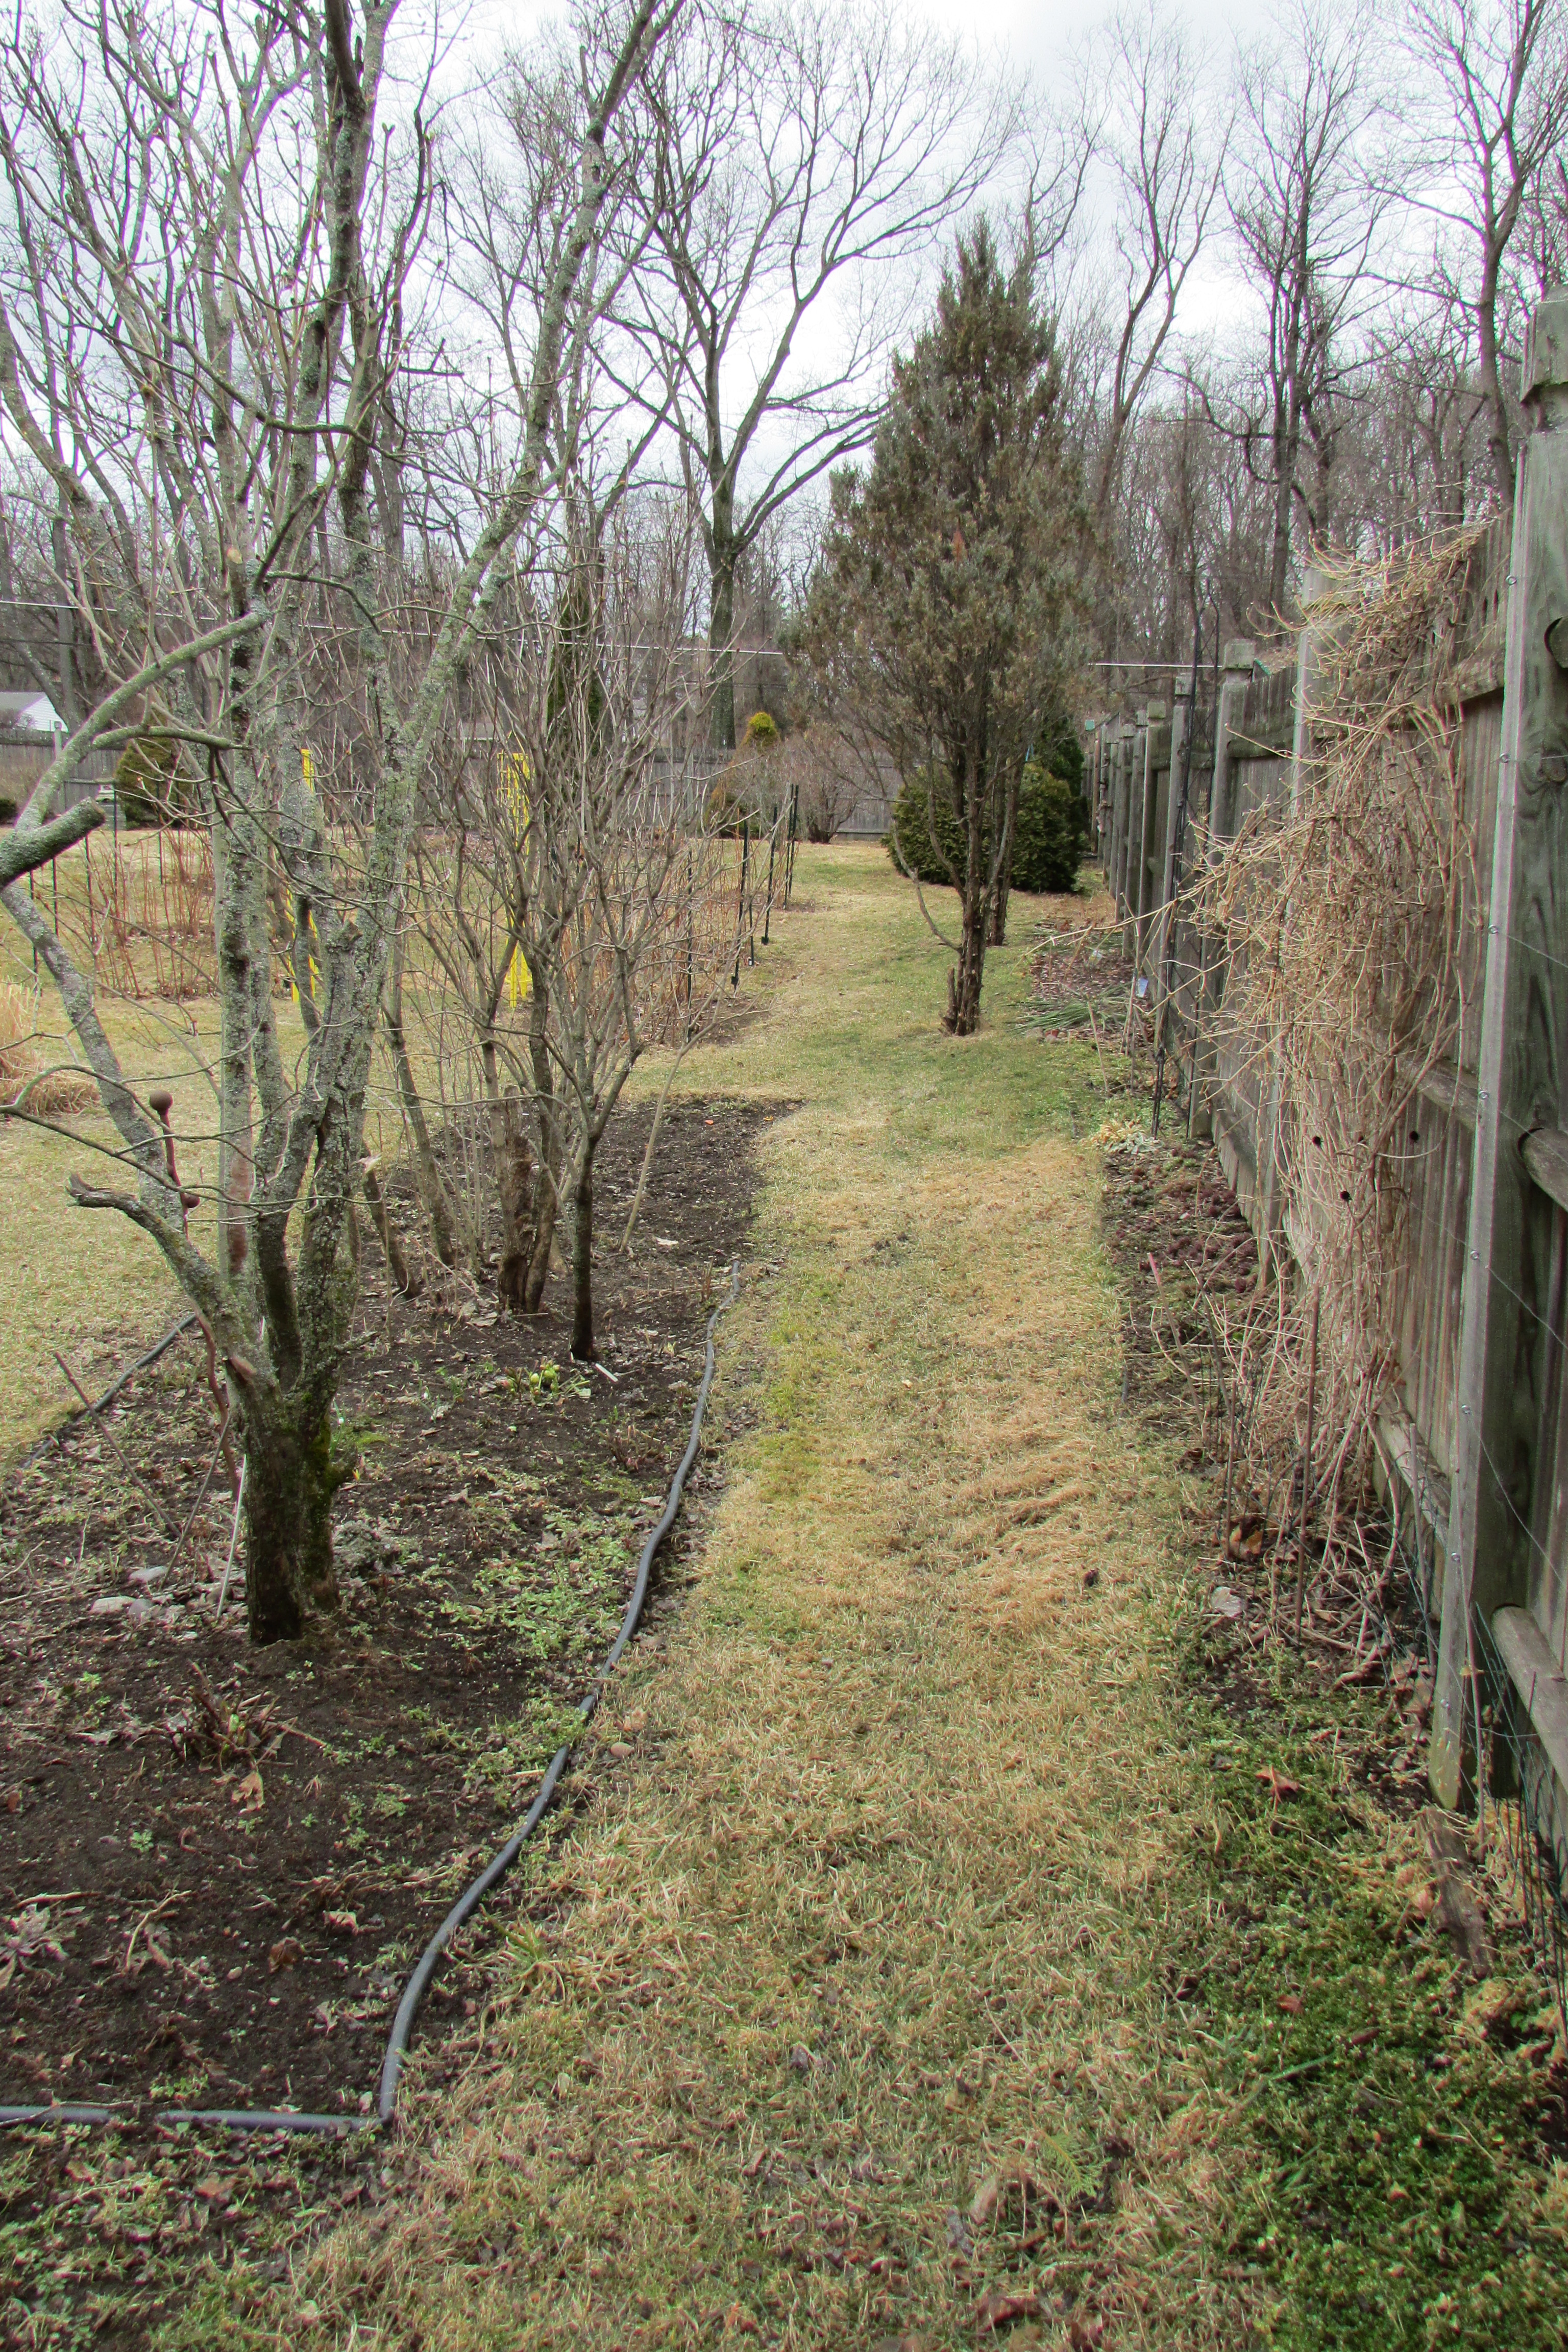 A person can also walk closer to the fence on the north side of the long walk if interested. Notice the moon glow junipers that have struggled to live in my area. Many of the bottom branches have died, but I cut them off and kind of find the trunks and gnarly branches interesting.
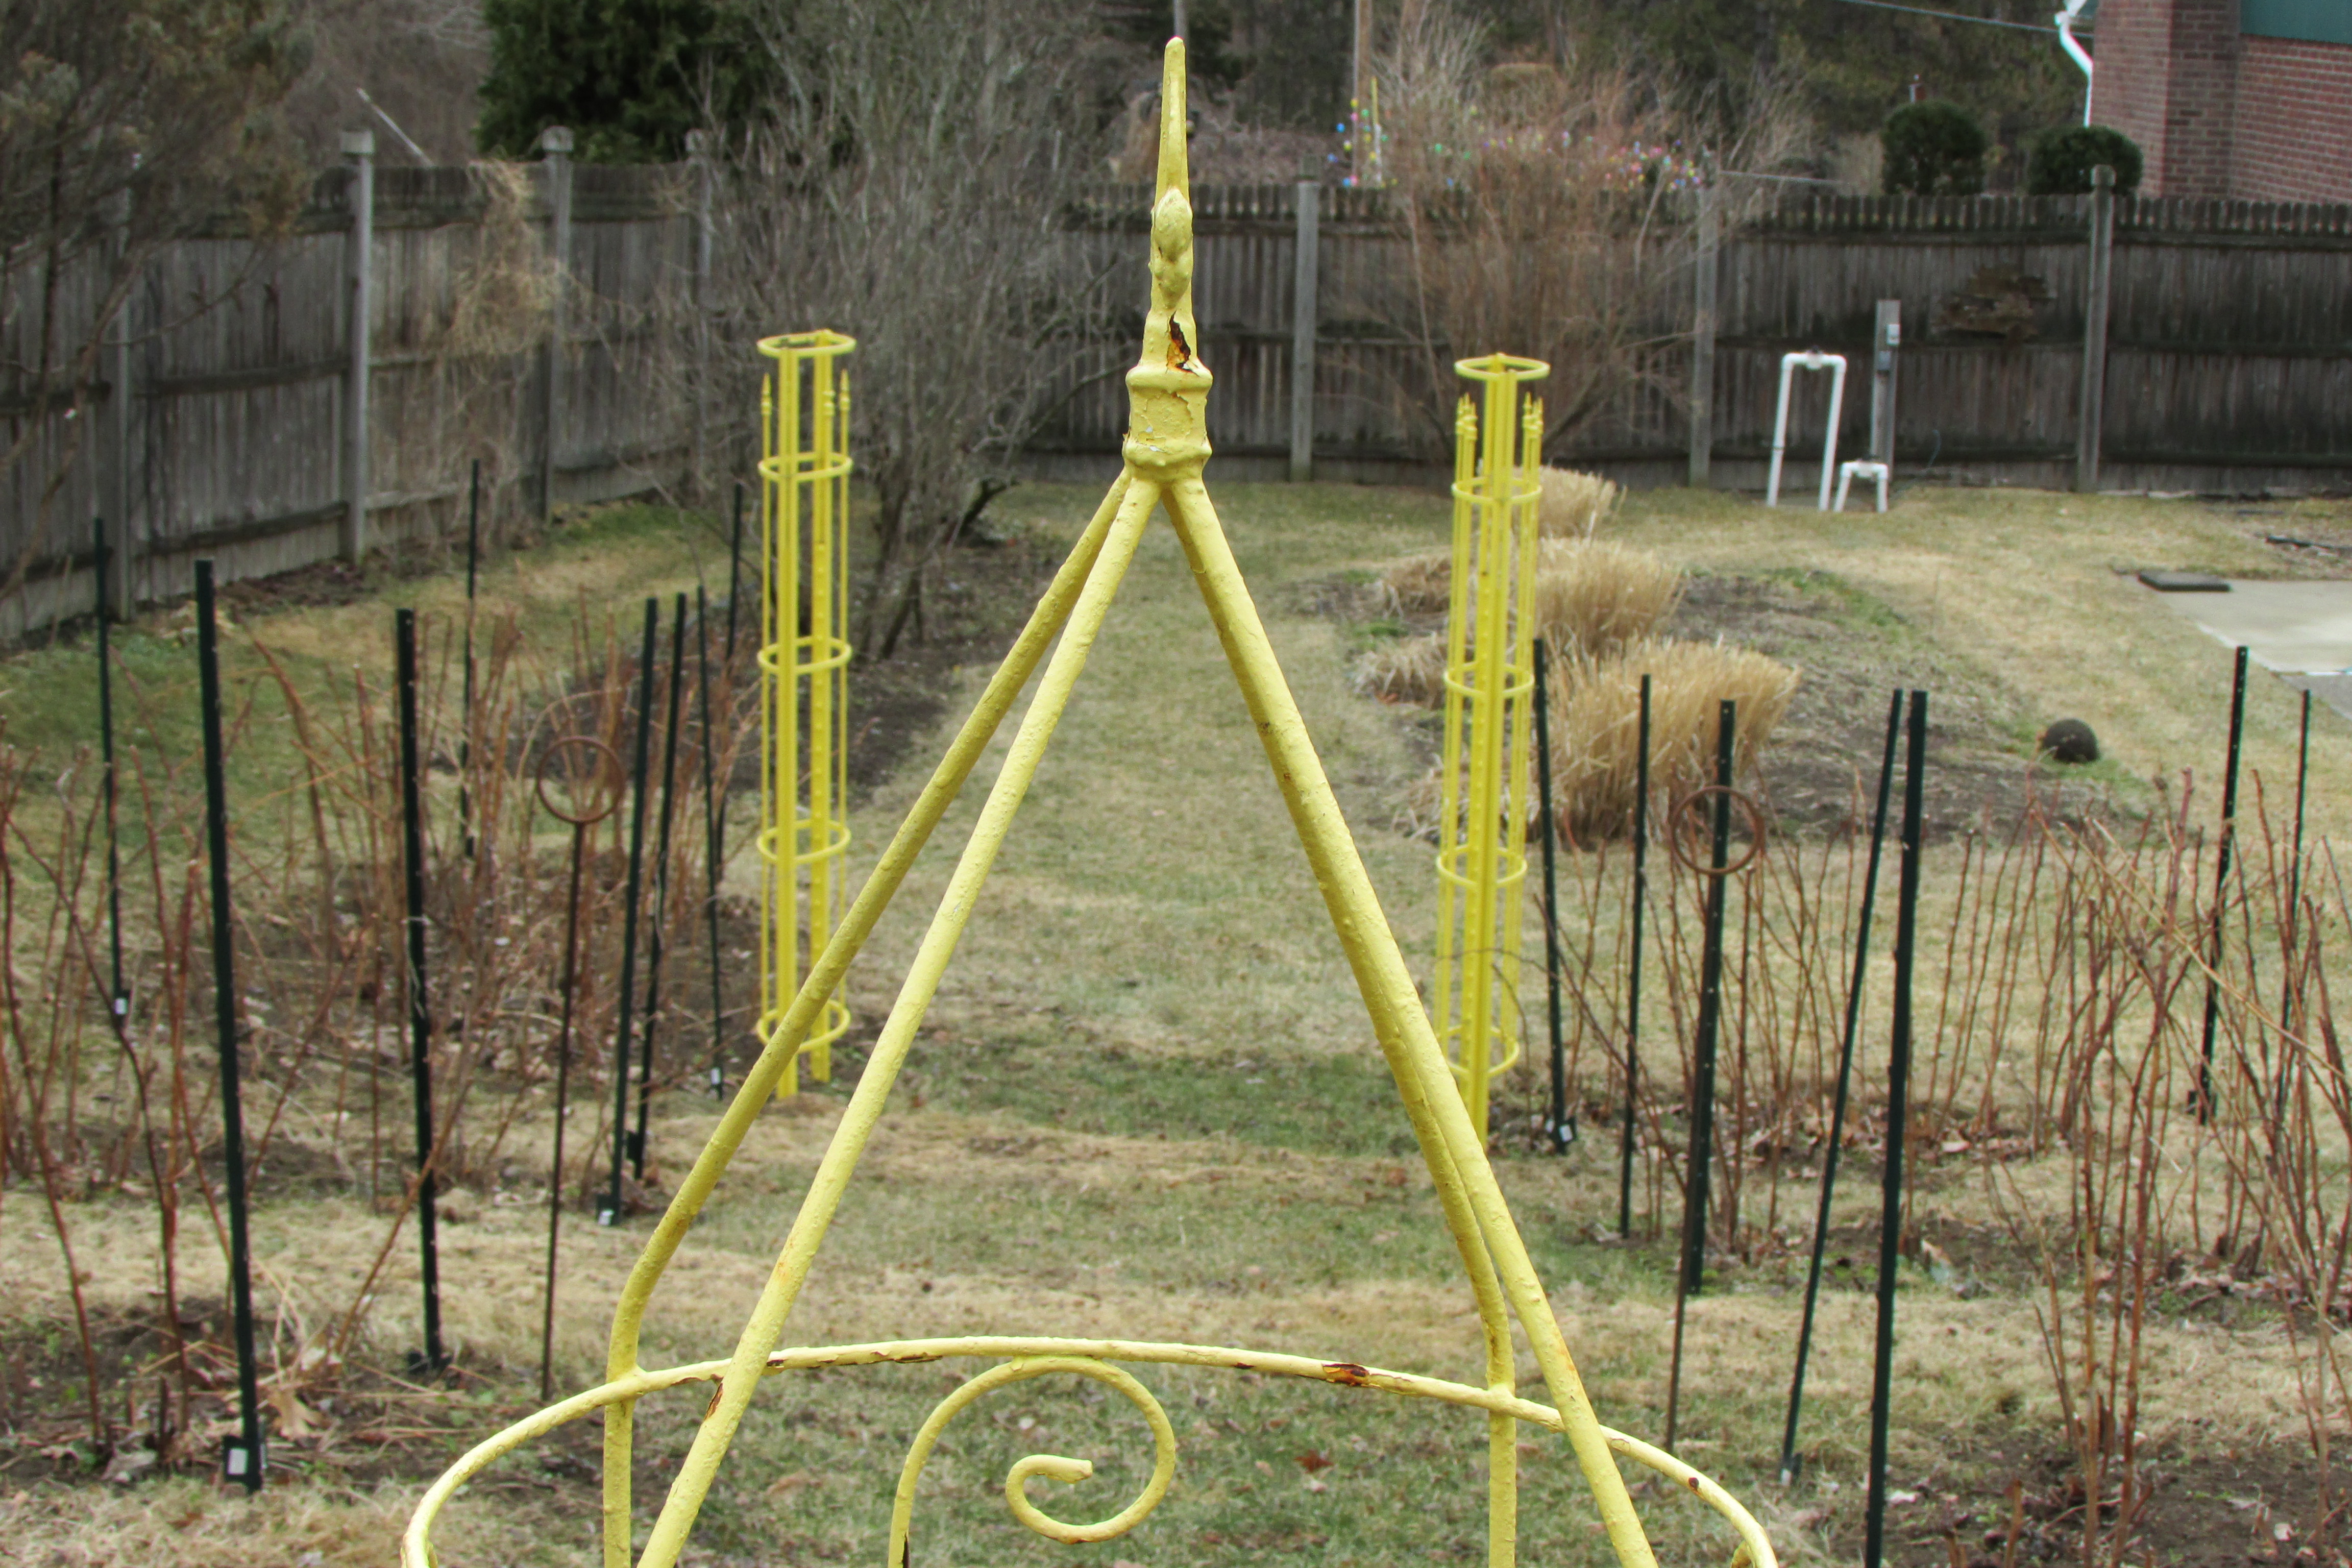
 Two views of the long walk looking east toward the house from the vegetable patch, through the rows of raspberries.
So now my garden tour of Winter Interest at Whimsey Hill has come to an end. I got a lot of my inspiration for arranging Winter interest by going on garden tours put on by the Garden Conservancy, though most of the places I visited were great estates with many acres of plantings and people to maintain them. I took ideas from those places, and to the best of my ability applied them to my 125×270 foot (three-fourths acre property). I hope there is something from this post that you can apply to yours.
I have one more photo for you to look at. It is of the first grouping of nineteen bags of lawn and garden debris that went out to the trash the other day. Those nineteen are just the beginning of many many more bags to be put out, now that I know the garbage man is taking things. 
Companion Posts…
Growing a Topiary from an Upright Yew 6-15-2011,
Some Ideas about Planting Trees by your Home for Curb Appeal 4-26-2012,
Looking at Evergreens in the Garden 1-31-2012,
Foundation Planting, Laying out Foundation Plants in Front of Your Home 9-28-2013,
Putting Foundation Plants across the Front of your Home 10-21-2013,
Distance Foundation Plants from your House when Planting 5-3-2012,
Designing / Laying out Flower Beds 5-4-2013,
Some Ideas about Garden Ornaments, they add that Finishing touch to a Garden 6-29-2013,
Plant a Garden Room on Your Property 2-17-2013
When Designing a Perennial Garden It’s ALL about the Shapes of Leaves 1-15-2011,
How to Plant (Design) a Garden.. Mass versus Specimen Planting 2-17-2011,
Colored Foliage adds that WOW FACTOR to a Garden 2-22-2011.


thank you for sharing! I’d love to see an update in mid summer 😉
Hi there Tracy, here are some photos showing the garden a while back. This last September and October (2015), the back border got a major redesign, Can’t wait until next year to see how it looks.